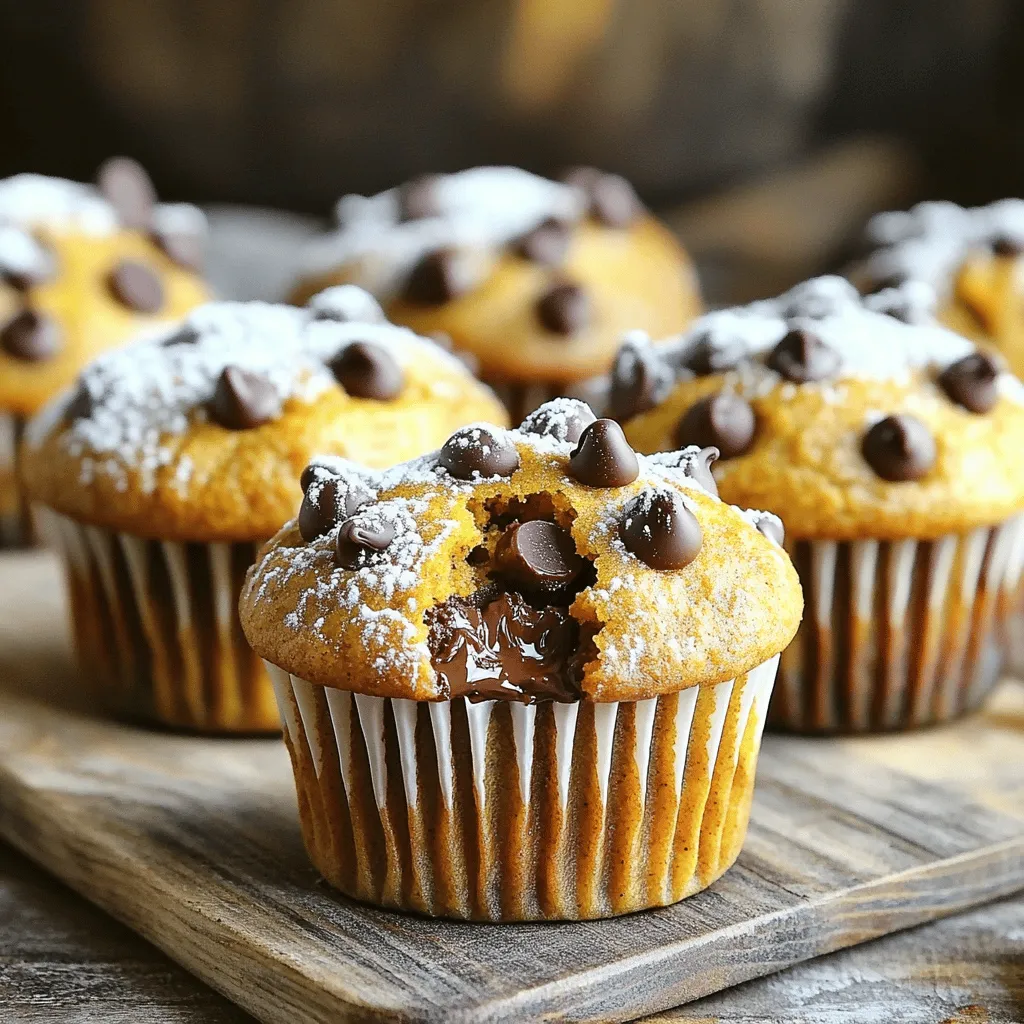
Pumpkin chocolate chip muffins can brighten any day with their warm, cozy flavors. In this blog, I’ll share my top tips for creating bakery-style muffins right at home. You’ll learn how to choose fresh ingredients, follow easy steps to mix and bake, and get helpful tricks to avoid common mistakes. Don’t miss out on mouth-watering variations, storage tips, and answers to your burning questions! Let’s dive into the delicious world of pumpkin muffins!
Ingredients
List of Ingredients for Pumpkin Chocolate Chip Muffins
To make these tasty muffins, you’ll need the following ingredients:
– 1 cup canned pumpkin puree
– 1/2 cup granulated sugar
– 1/2 cup brown sugar, packed
– 1/2 cup vegetable oil
– 2 large eggs
– 1 teaspoon vanilla extract
– 1 1/2 cups all-purpose flour
– 1 teaspoon baking soda
– 1/2 teaspoon baking powder
– 1 teaspoon ground cinnamon
– 1/2 teaspoon ground nutmeg
– 1/4 teaspoon ground ginger
– 1/2 teaspoon salt
– 1 cup semi-sweet chocolate chips
– 1/2 cup chopped walnuts (optional)
These items blend together to create warm, sweet muffins that are perfect for fall.
Ingredient Substitutions
You can swap some ingredients if needed. Here are a few ideas:
– Use applesauce instead of vegetable oil for a lighter muffin.
– Swap granulated sugar for coconut sugar for a healthier option.
– Use flax eggs instead of regular eggs for a vegan choice.
– Substitute almond flour for all-purpose flour for a gluten-free muffin.
Feel free to get creative and make it your own!
Tips for Selecting Fresh Ingredients
Choosing the right ingredients makes a big difference. Here are some tips:
– Look for bright orange pumpkin puree. This color means it’s fresh and flavorful.
– Choose granulated sugar that feels dry and free of clumps.
– For eggs, check the sell-by date on the carton. Fresh eggs will give you the best rise.
– Pick chocolate chips that are semi-sweet for the best balance of sweet and rich.
– If using walnuts, select nuts that smell fresh, not stale.
Fresh ingredients lead to better muffins. Happy baking!
Step-by-Step Instructions
Preparing the Muffin Batter
Start by preheating your oven to 350°F (175°C). This step is key for baking. Next, line a 12-cup muffin tin with paper liners or spray it with non-stick cooking spray.
In a large bowl, mix together the canned pumpkin puree, granulated sugar, brown sugar, vegetable oil, eggs, and vanilla extract. Use a whisk to blend everything until smooth.
In another bowl, whisk the all-purpose flour, baking soda, baking powder, ground cinnamon, ground nutmeg, ground ginger, and salt. This blend adds flavor and helps the muffins rise.
Now, slowly add the dry mix to the pumpkin mix. Stir gently until just combined. It’s okay if there are small lumps; avoid overmixing.
Finally, fold in the semi-sweet chocolate chips and walnuts, if you choose to use them. Make sure they are evenly spread in the batter.
Baking the Muffins
Spoon the batter into the muffin cups, filling each about two-thirds full. This gives them space to rise.
Place the muffin tin in the preheated oven. Bake for 18 to 22 minutes. To check if they are done, insert a toothpick into the center of a muffin. If it comes out clean, they are ready!
Cooling and Serving Suggestions
Once baked, let the muffins cool in the pan for about 5 minutes. Then, transfer them to a wire rack to cool completely.
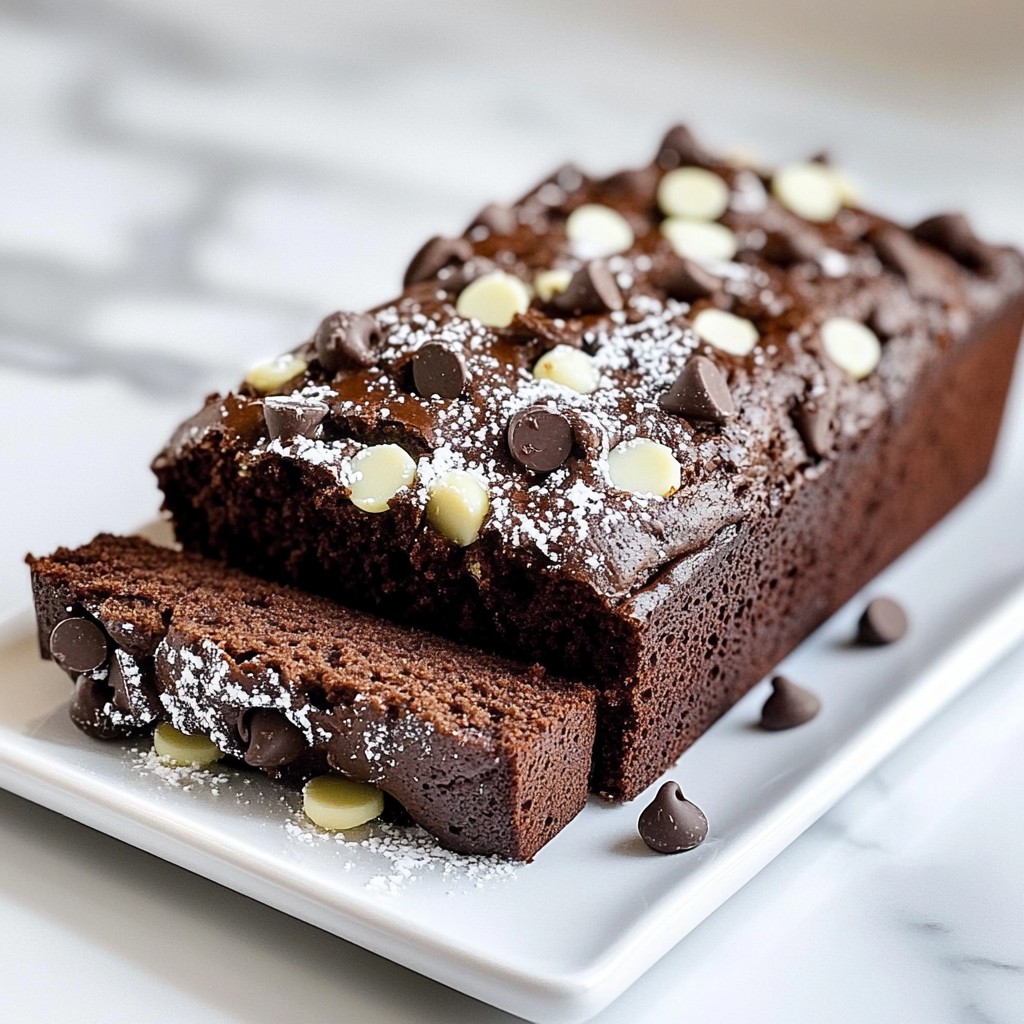
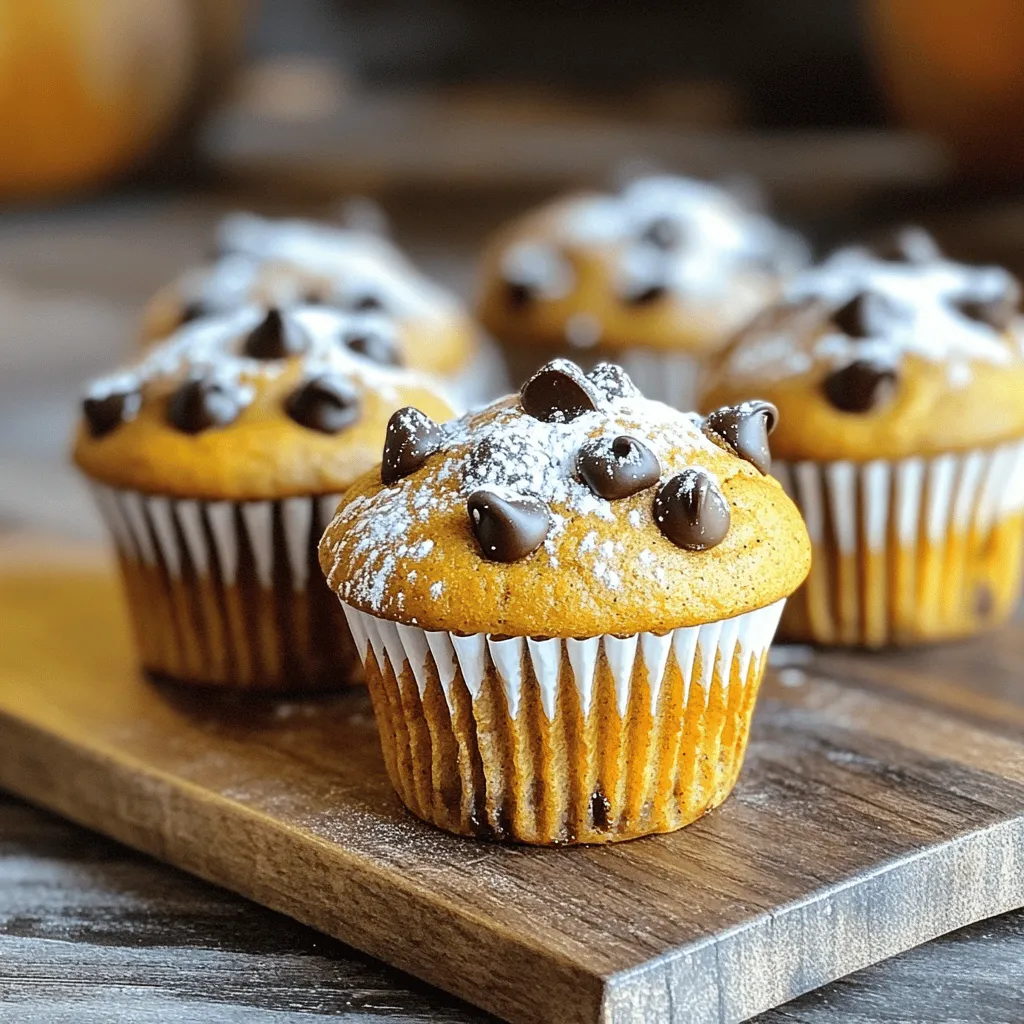
For serving, enjoy them warm. A dusting of powdered sugar on top adds a nice touch. You can also serve them on a rustic wooden board for a bakery-style look.
Tips & Tricks
Achieving Bakery-Style Texture
To get that perfect bakery-style texture, focus on your mixing. Combine wet and dry ingredients without overmixing. Lumps in the batter are okay. This keeps your muffins tender and fluffy. Also, fill your muffin cups about two-thirds full. This allows room for rising without overflowing.
Common Mistakes to Avoid
Many home bakers make the same mistakes. One big mistake is using cold ingredients. Always use room temperature eggs and oil. This helps the batter mix better. Another common error is overbaking. Keep an eye on your muffins. Check them at 18 minutes to avoid dryness.
Enhancing Flavor Profiles
To boost the flavor of your muffins, try adding spices. A pinch of cloves or allspice can add warmth. If you like nuts, walnuts add crunch and richness. You can also swap semi-sweet chocolate chips for dark chocolate for a richer taste. A dash of sea salt on top before baking enhances sweetness too.
Variations
Gluten-Free Pumpkin Chocolate Chip Muffins
You can make these muffins gluten-free. Just swap the all-purpose flour for a gluten-free blend. Look for a blend that has xanthan gum. This helps keep the muffins fluffy. Use the same amount, 1.5 cups, for the gluten-free flour. The taste stays yummy, and you will enjoy the same great flavors.
Vegan Options for Muffins
To make these muffins vegan, replace the eggs with flax eggs. Mix one tablespoon of flaxseed meal with three tablespoons of water for each egg. Let it sit for five minutes to thicken. Use vegetable oil as your fat. Keep the other ingredients the same. These muffins will still be moist and delicious!
Flavor Additions
You can add more flavor to your muffins. Try spices like allspice or cloves for a warm kick. Adding 1/4 teaspoon of each works great. You can also mix in dried fruits like cranberries or raisins. Chopped pecans or almonds add a nice crunch too. Get creative and find what you love best!
Storage Info
Best Ways to Store Muffins
To keep your pumpkin chocolate chip muffins fresh, store them in an airtight container. This will help them stay soft and moist. You can keep them at room temperature for up to three days. If you want them to last longer, consider refrigerating them. Just make sure to wrap them well to avoid drying out.
Reheating Instructions
When you want to enjoy your muffins again, reheating is easy. You can use the microwave for quick warmth. Just place the muffin on a plate and heat it for 15 to 20 seconds. If you prefer a baked texture, use your oven. Preheat it to 350°F (175°C) and warm the muffins for about 5 to 10 minutes. This will bring back that fresh-baked taste.
Freezing for Longer Storage
Freezing is a great way to store muffins for a long time. To freeze them, let the muffins cool completely. Wrap each muffin tightly in plastic wrap. Then place them in a freezer-safe bag or container. They can last up to three months in the freezer. When you’re ready to eat one, just thaw it overnight in the fridge or heat it directly from the freezer. Enjoy fresh muffins any time!
FAQs
How do I know when my muffins are done baking?
You can tell if your muffins are done by using a toothpick. Insert it into the center of a muffin. If it comes out clean, your muffins are ready. This usually takes about 18 to 22 minutes in the oven. The tops should look golden brown and spring back when touched lightly. You want soft, moist muffins, not dry ones.
Can I use fresh pumpkin instead of canned?
Yes, you can use fresh pumpkin. Start by cooking the pumpkin until it is soft. After that, blend it into a smooth puree. This will give your muffins a fresh taste. Just make sure to measure out one cup of the fresh puree. The texture may change slightly, but the flavor is worth it!
What can I substitute for eggs in the recipe?
If you need an egg substitute, you have options. Use 1/4 cup of unsweetened applesauce for each egg. Another option is to use a mashed banana. For a vegan choice, mix one tablespoon of flaxseed meal with three tablespoons of water. Let it sit for five minutes until it thickens. Each of these will help bind your muffins nicely.
This article covers all you need for perfect pumpkin chocolate chip muffins. We explored ingredients, from fresh selections to substitutions. I shared step-by-step instructions for making batter and baking. You also learned tips for bakery-style texture and common mistakes to avoid.
Don’t forget the variations for gluten-free and vegan options. Finally, proper storage and reheating help keep your muffins fresh. Enjoy your baking and let your muffins shine!