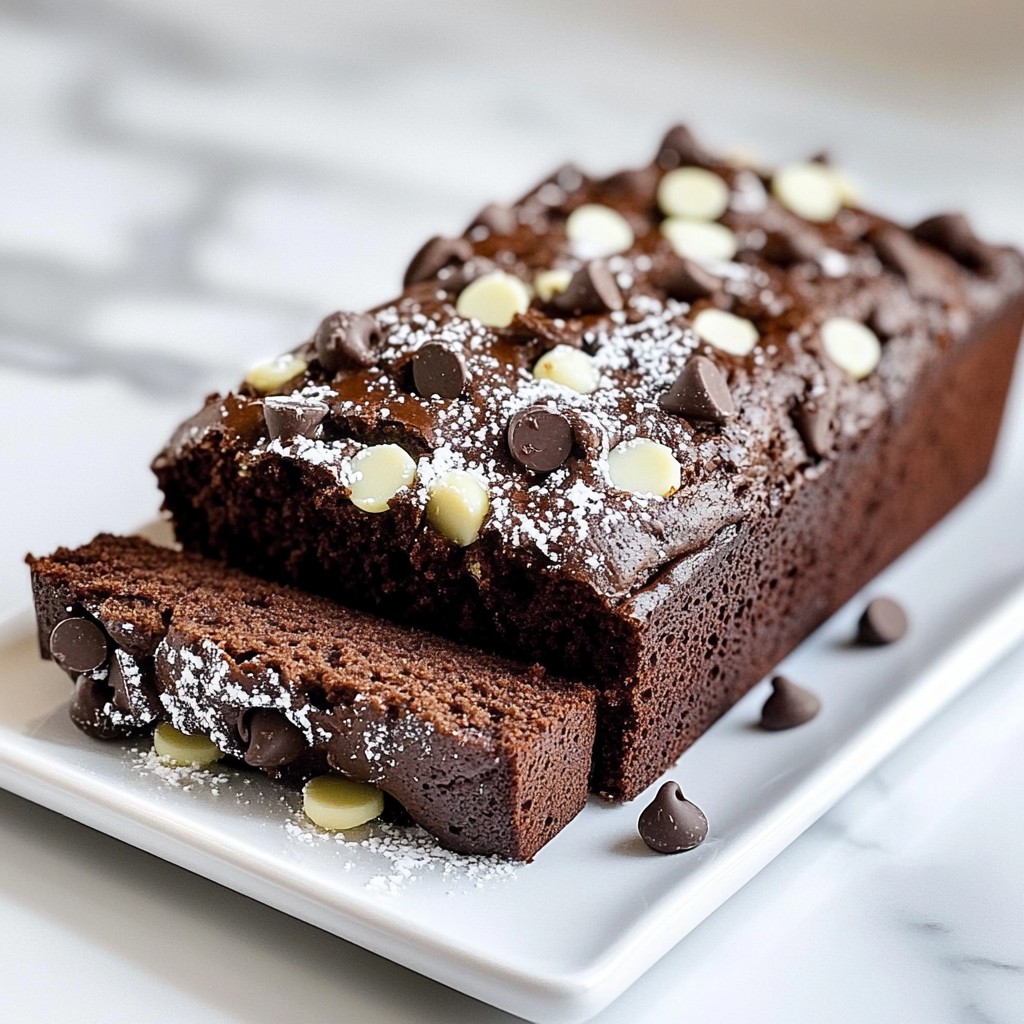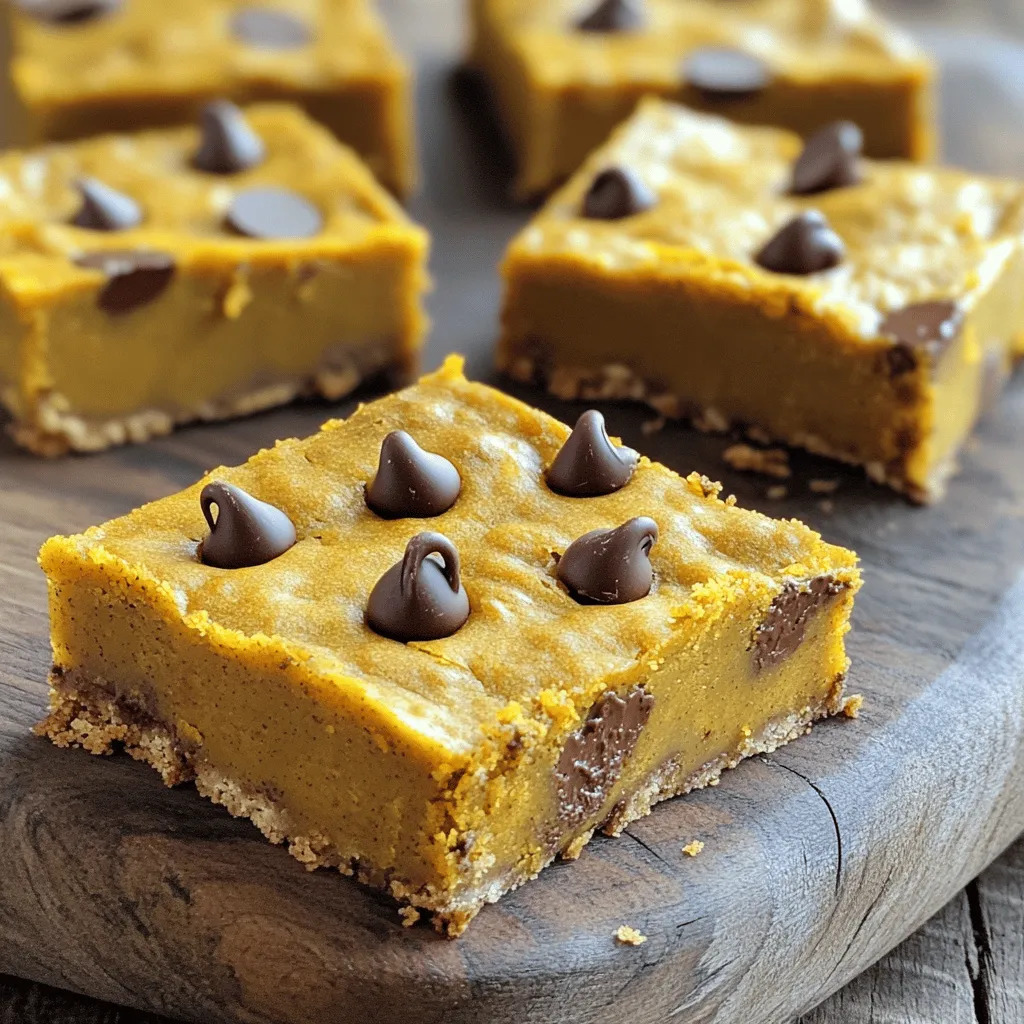
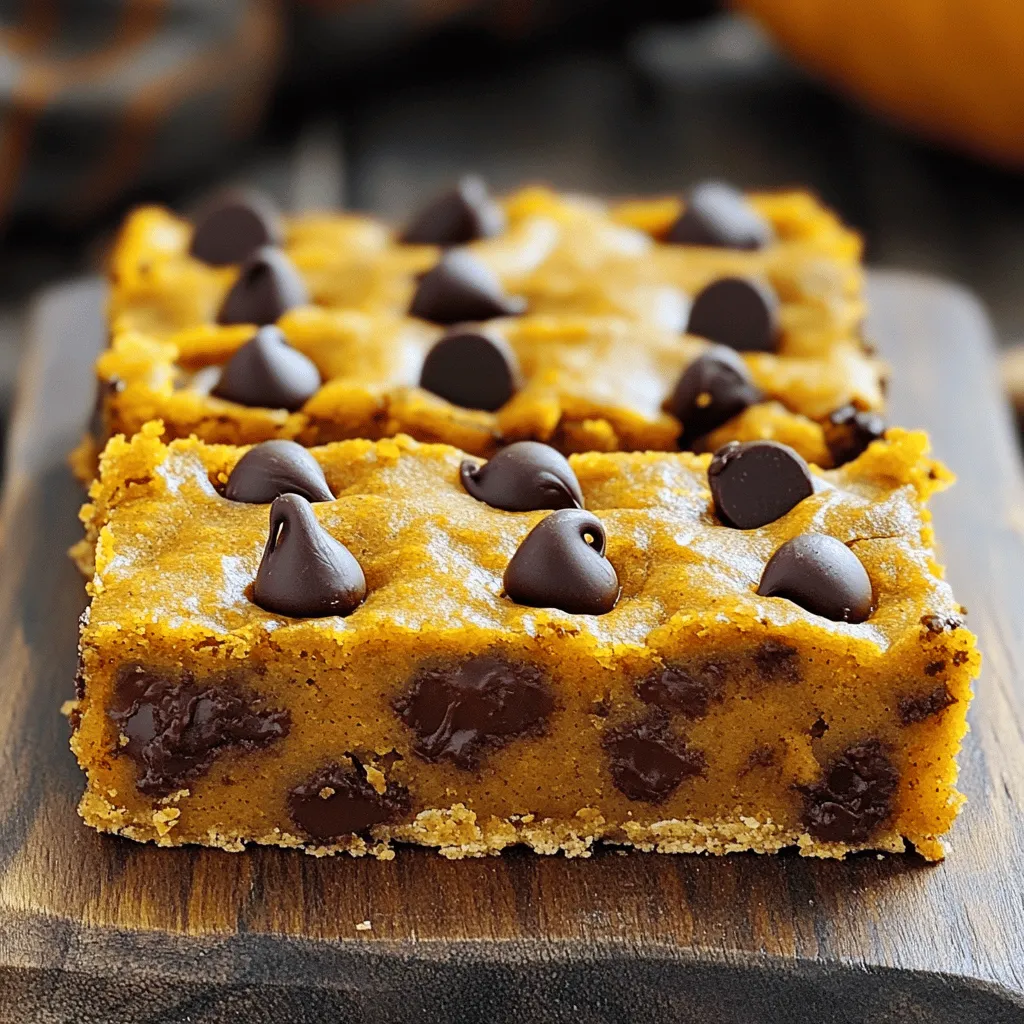
Get ready to enjoy a fall favorite with my Pumpkin Chocolate Chip Bars! This tasty and easy recipe combines the warmth of pumpkin spice with sweet chocolate chips, creating a treat everyone will love. In this blog post, I’ll guide you through simple steps, ingredient tips, and delicious variations. Whether you’re a baking pro or a newbie, you’ll find everything you need to create these delightful bars at home. Let’s get started!
Ingredients
List of Ingredients
– 1 cup canned pumpkin puree
– 1/2 cup granulated sugar
– 1/2 cup brown sugar, packed
– 1/2 cup vegetable oil
– 2 large eggs
– 1 teaspoon vanilla extract
– 1 1/2 cups all-purpose flour
– 1 teaspoon baking powder
– 1 teaspoon baking soda
– 1 teaspoon ground cinnamon
– 1/2 teaspoon ground nutmeg
– 1/2 teaspoon salt
– 1 cup semi-sweet chocolate chips
Suggested Measurements
For this recipe, I use standard measuring cups and spoons. Here are my measurements:
– Pumpkin puree: Use canned for ease. It gives great moisture.
– Sugars: I mix granulated and brown sugar for a nice balance of sweetness.
– Vegetable oil: It keeps the bars moist and soft.
– Eggs: They help bind all the ingredients together.
– Flour: All-purpose flour works best for texture.
– Baking powder and baking soda: These help the bars rise.
– Spices: Cinnamon and nutmeg add that warm, cozy flavor.
– Salt: Just a pinch brings out all the flavors.
– Chocolate chips: Semi-sweet pairs perfectly with pumpkin.
Possible Substitutions
You can swap ingredients to fit your taste or needs:
– Pumpkin puree: You can use homemade pumpkin puree if you prefer.
– Sugars: Try coconut sugar for a lower glycemic option.
– Oil: Applesauce can replace oil for a lighter version.
– Eggs: Use flax eggs if you want a vegan option.
– Flour: Almond flour can be used for a gluten-free version.
– Chocolate chips: Dark chocolate or white chocolate chips work too!
– Spices: Experiment with ginger or allspice for a different kick.
Step-by-Step Instructions
Prepping the Oven and Pan
First, turn your oven to 350°F (175°C). This heat helps cook the bars just right. Next, take a 9×13-inch baking pan. You can grease it lightly or use parchment paper. This makes it easy to lift the bars out later.
Mixing Wet Ingredients
In a large mixing bowl, add 1 cup of canned pumpkin puree. Then, add 1/2 cup of granulated sugar and 1/2 cup of packed brown sugar. Pour in 1/2 cup of vegetable oil. Crack in 2 large eggs and add 1 teaspoon of vanilla extract. Mix everything well until it is smooth and creamy. This mixture gives the bars their moist texture.
Combining Dry Ingredients
In another bowl, whisk together 1 1/2 cups of all-purpose flour. Add 1 teaspoon of baking powder, 1 teaspoon of baking soda, 1 teaspoon of ground cinnamon, 1/2 teaspoon of ground nutmeg, and 1/2 teaspoon of salt. Make sure everything is well blended. This step is key for the right rise and flavor.
Mixing the Batter
Now, slowly add the dry mix to the wet ingredients. Stir gently until just combined. Be careful not to overmix. Overmixing can make the bars tough. After that, fold in 1 cup of semi-sweet chocolate chips. If you want, save a few chips to sprinkle on top.
Baking and Cooling Process
Pour the batter into your prepared pan. Spread it evenly with a spatula. If you saved some chocolate chips, sprinkle them on top now. Bake the bars in the oven for 25-30 minutes. Check them with a toothpick; it should come out clean. Once baked, take them out and let them cool in the pan for about 10 minutes. Then, move them to a wire rack to cool completely. After cooling, cut the bars into squares and enjoy!
Tips & Tricks
How to Ensure Perfect Texture
To get the best texture, use canned pumpkin puree. It makes the bars moist. Measure your flour correctly. Too much flour will make them dry. Be gentle when mixing the batter. Overmixing can lead to tough bars. Bake them until a toothpick comes out clean. This keeps them soft and chewy.
Storing Leftovers Properly
Let the bars cool completely before storing. If they are warm, they can get soggy. Use an airtight container to keep them fresh. You can also wrap them in plastic wrap for extra protection. Store them in the fridge for up to five days. They can even last longer in the freezer. Just make sure to label them!
Enhancing Flavors with Spices
You can boost the flavor with spices. Add more cinnamon or nutmeg for warmth. A pinch of cloves can add depth. If you like it spicy, try adding some ginger. These spices work well with the pumpkin. They make every bite more exciting. Experiment with your favorite spices to find your perfect mix!
Variations
Using Different Types of Chocolate
You can switch up the chocolate in your bars. Instead of semi-sweet chocolate chips, try dark chocolate. Dark chocolate adds a rich flavor that pairs well with pumpkin. You can also use milk chocolate for a sweeter treat. White chocolate chips create a fun contrast. Mix and match to find your favorite!
Adding Nuts or Dried Fruits
Nuts and dried fruits can add extra crunch and flavor. Walnuts or pecans work well here. They add a nice texture to your bars. Dried cranberries or raisins can add sweetness. Just fold them into the batter before baking. Be creative and use what you enjoy!
Alternative Sweeteners
If you want to cut down on sugar, use alternative sweeteners. Maple syrup or honey makes a great substitute. Use about 3/4 cup if you switch to liquid sweeteners. You can also try coconut sugar for a lower glycemic option. Adjust the amount based on your taste.
Storage Info
Best Ways to Store Pumpkin Chocolate Chip Bars
To keep your pumpkin chocolate chip bars fresh, store them in an airtight container. Place a piece of parchment paper between layers if you stack them. This method helps prevent sticking. You can also wrap the bars tightly in plastic wrap. Keep them at room temperature for a few days. If you want to extend their life, refrigerate them. They stay moist and tasty in the fridge.
Freezing Instructions
Freezing your pumpkin chocolate chip bars is easy. First, let the bars cool completely. Then, cut them into squares. Wrap each square in plastic wrap. Place the wrapped bars in a freezer-safe bag or container. Be sure to remove as much air as possible to avoid freezer burn. They can last for up to three months in the freezer. When you’re ready to enjoy them, thaw them at room temperature.
How Long They Last
When stored at room temperature, these bars last about 3 to 4 days. If you keep them in the fridge, they can last up to a week. The flavor and texture remain great during this time. If you freeze them, as mentioned, they can last for three months. Always check for any signs of spoilage before eating. Enjoy your tasty treats!
FAQs
Can I make these bars gluten-free?
Yes, you can. Use a gluten-free flour blend instead of all-purpose flour. Many blends work well in this recipe. Just make sure the blend contains xanthan gum for better structure.
What can I substitute for eggs in this recipe?
You can use flaxseed meal or applesauce. For one egg, mix 1 tablespoon of flaxseed meal with 2.5 tablespoons of water. Let it sit for five minutes. You can also use 1/4 cup of unsweetened applesauce.
How to tell when the bars are done baking?
Check with a toothpick. Insert it in the center of the bars. If it comes out clean or with a few crumbs, they are done. You want to avoid a wet toothpick, which means they need more time.
Can I use fresh pumpkin instead of canned?
Yes, you can! Cook and puree fresh pumpkin until smooth. This can add a fresh taste. Just make sure to measure the same amount as canned pumpkin.
Are pumpkin chocolate chip bars healthier than regular brownies?
They can be! Pumpkin adds fiber and vitamins. Using less sugar can also make them healthier. Plus, the chocolate chips add flavor without too many extra calories.
We covered all the key steps to make pumpkin chocolate chip bars. We discussed the ingredients, measurements, and substitutions to help you customize your recipe. You learned how to prep your oven and mix the batter for great results. Plus, tips for perfect texture and storing leftovers were shared. Remember, you can also try fun variations or alternative ingredients to suit your taste. Enjoy baking and feel free to share your creations!