


LATEST RECIPES


LET'S GET COOKING!
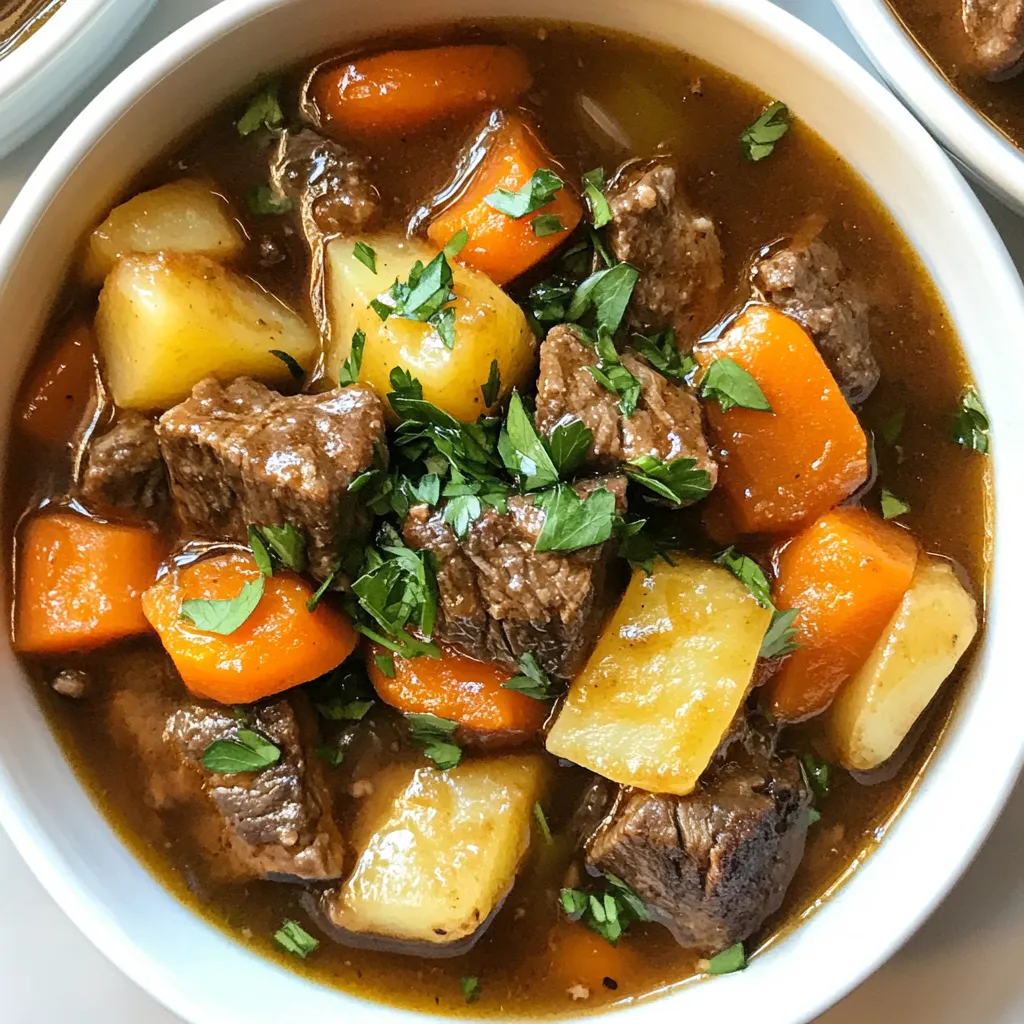
Old Fashioned Beef Stew Hearty and Comforting Meal
There’s nothing quite like a warm bowl of Old Fashioned Beef Stew. This recipe brings you rich flavors, tender beef, and hearty veggies. In just...
Read Full Recipe →