No-Bake Pumpkin Pie Truffles Delightful Fall Treat

WANT TO SAVE THIS RECIPE?

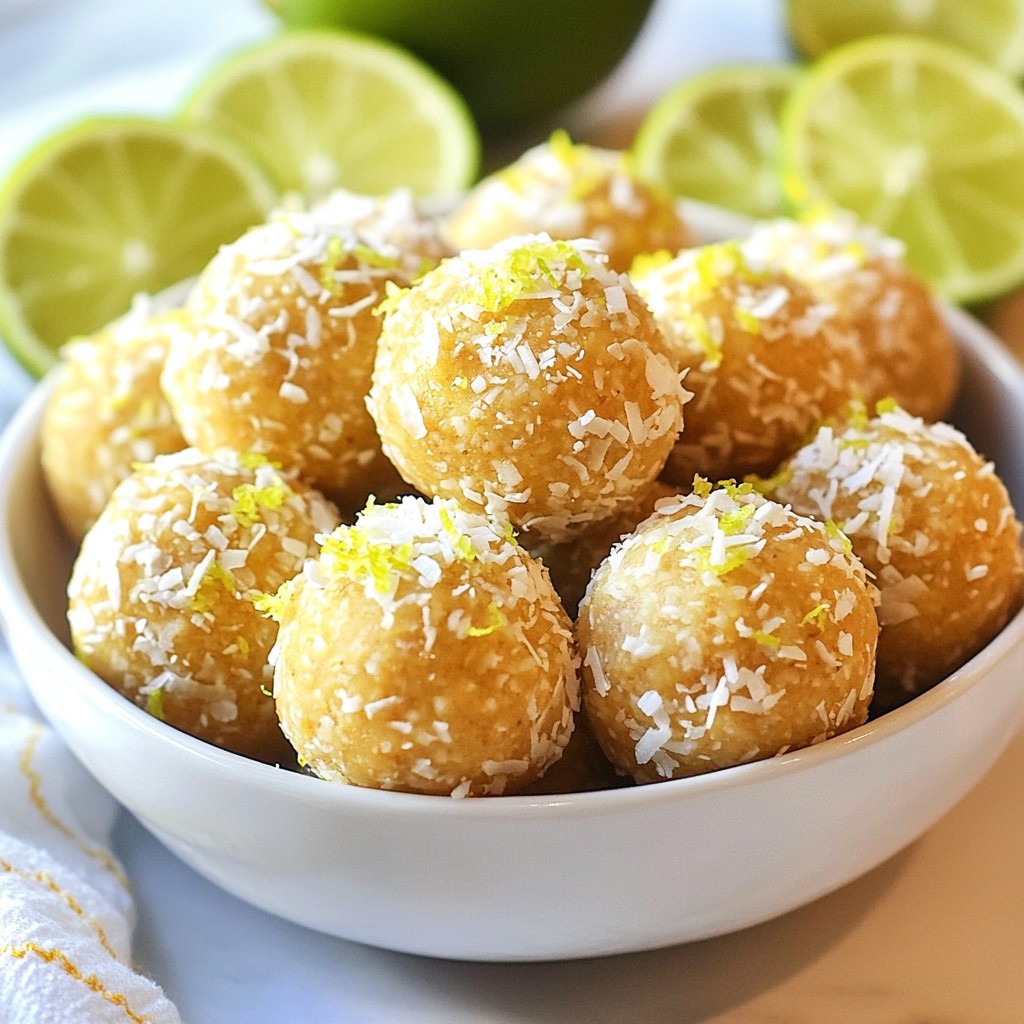
Fall is here, and it’s the perfect time to indulge in tasty treats! You’ll love these No-Bake Pumpkin Pie Truffles. They’re easy to make, packed with pumpkin flavor, and require no oven time. With simple ingredients like cream cheese and graham crackers, these delightful bites are perfect for sharing. Get ready to impress your friends and family with this fall favorite. Let’s dive into making these sweet, creamy truffles!

To make these delightful no-bake pumpkin pie truffles, you need just a few simple ingredients. Here’s what you will need: - 1 cup pumpkin puree - 1 cup cream cheese, softened - 2 cups crushed graham crackers - 1/2 cup powdered sugar - 1 teaspoon pumpkin pie spice - 1/2 teaspoon vanilla extract - 1 cup white chocolate chips, melted - 1/4 cup chopped pecans (optional for topping) Each ingredient plays a key role in creating the rich flavor and creamy texture of the truffles. The pumpkin puree gives a warm, earthy taste. Cream cheese adds creaminess and balance. Crushed graham crackers provide that classic pie crust crunch. Powdered sugar sweetens the mix perfectly. Pumpkin pie spice brings in cozy fall vibes, while vanilla extract rounds out the flavors. Melted white chocolate coats the truffles, making each bite feel like a treat. The chopped pecans on top add a nice crunch and extra flavor, but they are optional. You can adjust the ingredients based on your taste or dietary needs, making this recipe flexible. Enjoy gathering these items before you start creating your truffles! First, grab a mixing bowl. Add 1 cup of pumpkin puree and 1 cup of softened cream cheese. Next, sprinkle in 1/2 cup of powdered sugar and 1 teaspoon of pumpkin pie spice. Don't forget to add 1/2 teaspoon of vanilla extract. Use a hand mixer or spatula to blend everything together. Mix until you have a smooth and creamy texture. Now, it's time to add some crunch. Slowly mix in 2 cups of crushed graham crackers. Stir until the mixture becomes thick and moldable. Cover the bowl with plastic wrap and chill it in the fridge for about 30 minutes. This makes the mixture easier to handle. After chilling, use a small cookie scoop or your hands to form small balls, about 1 inch in diameter. Place each ball on a parchment-lined baking sheet. Once done, freeze them for another 20 minutes. While your truffles chill, melt 1 cup of white chocolate chips. Use a microwave-safe bowl. Heat the chocolate in 30-second bursts, stirring in between. Keep going until it's smooth and melted. Dip each chilled truffle into the melted chocolate using a fork. Let the excess chocolate drip off before placing it back on the parchment paper. If you like, sprinkle chopped pecans on top of each truffle before the chocolate hardens. Finally, let the chocolate set completely at room temperature or in the fridge. To make great truffles, start with the right mix. The ideal mix should be thick and moldable. If it feels too wet, add more crushed graham crackers. If it is too dry, you can blend in a little cream cheese. Chill the mixture for thirty minutes. This step helps the truffles hold their shape better. When handling the mixture, use a small cookie scoop. This tool helps you form even balls. If you prefer, use your hands, but keep them damp. This keeps the mix from sticking. After forming the balls, chill them again. This second chill makes dipping easier. To melt white chocolate safely, you have two options: microwave or stovetop. For the microwave, use a microwave-safe bowl. Heat the chocolate in thirty-second bursts. Stir between each round to prevent burning. For the stovetop, use a double boiler. Place water in a pot and set it on low heat. Put the chocolate in a bowl on top. Stir as it melts to avoid clumps. Whichever method you choose, watch closely. Burnt chocolate is hard to fix. With these tips, your no-bake pumpkin pie truffles will be a delight! {{image_2}} You can make these truffles even more fun with different flavors. Adding spices like cinnamon or nutmeg gives a warm touch. If you love mint, try peppermint extract for a fresh twist. Want to mix in chocolate? Add cocoa powder or mini chocolate chips for a richer taste. Each option brings its own special flair. The coating can change how your truffles taste and look. Instead of white chocolate, use dark chocolate or milk chocolate for a different sweetness. If you want a crunch, roll the truffles in shredded coconut or crushed nuts. These choices add texture and flavor. Experiment to find your favorite coating! To keep your no-bake pumpkin pie truffles fresh, place them in an airtight container. Store them in the fridge for up to one week. Make sure they are fully set before you store them. This keeps the chocolate coating firm. If you want to save them longer, freeze the truffles. Place them in a single layer on a baking sheet until frozen solid. Once frozen, transfer them to a freezer-safe bag or container. They can last up to three months in the freezer. Just remember to let them thaw in the fridge before serving. These truffles pair well with coffee or tea. The warm flavors of fall make this a perfect match. Serve them with a steaming cup to enjoy a cozy treat. These truffles shine at holiday gatherings. Their cute size makes them easy to share. Arrange them on a festive platter for a delightful display. Guests will love their rich flavor and creamy texture. Yes, you can make these truffles ahead of time. I often prepare them a day or two before a party. Just store them in the fridge in an airtight container. This helps them stay fresh and tasty. No-bake pumpkin pie truffles can last about one week in the fridge. If you freeze them, they can last for up to three months. Just make sure to store them in a sealed container to prevent freezer burn. You can use Greek yogurt or mascarpone as a cream cheese substitute. These options give a similar creaminess to the truffles. You might want to adjust the sugar to keep the flavor balanced. These no-bake pumpkin pie truffles are simple and fun to make. You mix pumpkin puree, cream cheese, and spices, then roll them into delicious truffles. You can coat them in melted white chocolate for a great finish. Try adding different flavors or toppings to make them unique. Remember, store them well for the best taste. Enjoy these treats at your next gathering or as a special snack. These truffles will be a hit, so have fun making them and sharing with friends!

Ingredients

To make these delightful no-bake pumpkin pie truffles, you need just a few simple ingredients. Here’s what you will need:

– 1 cup pumpkin puree

– 1 cup cream cheese, softened

– 2 cups crushed graham crackers

– 1/2 cup powdered sugar

– 1 teaspoon pumpkin pie spice

– 1/2 teaspoon vanilla extract

– 1 cup white chocolate chips, melted

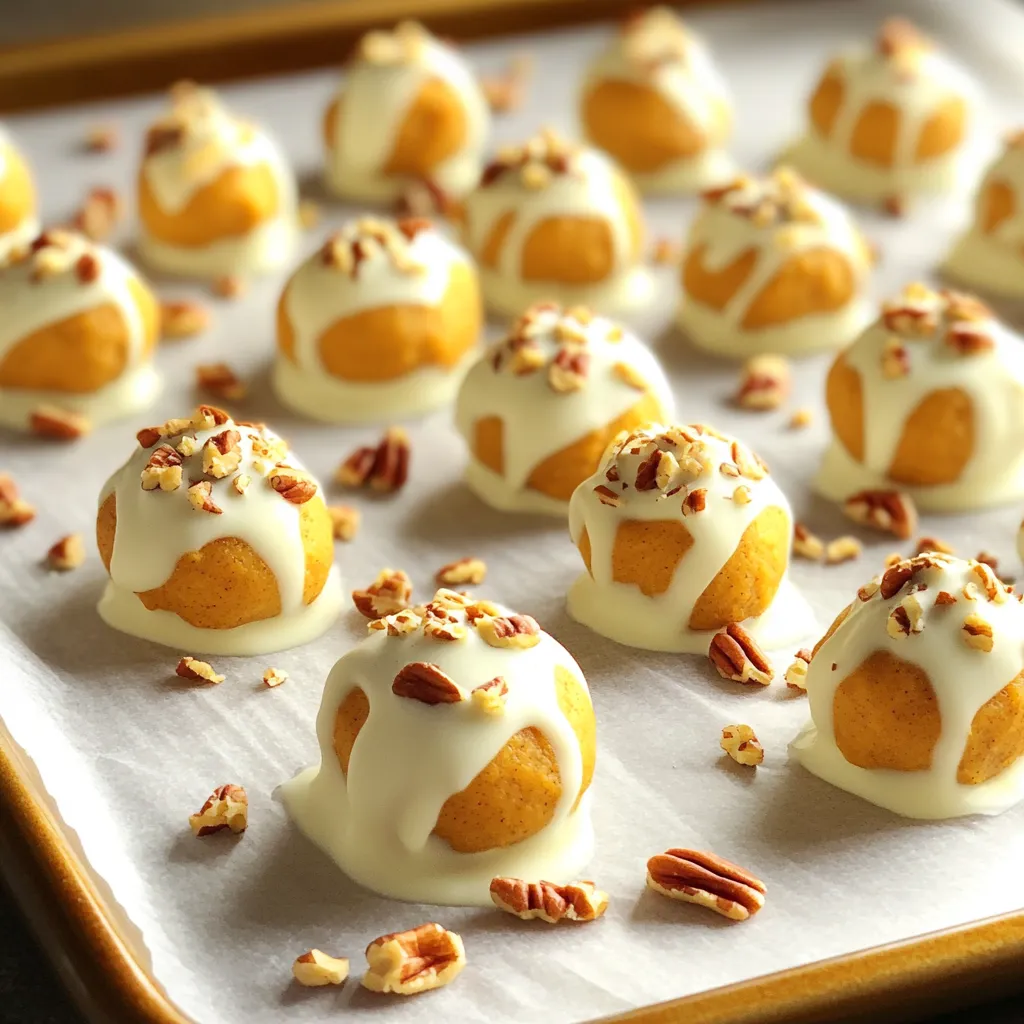
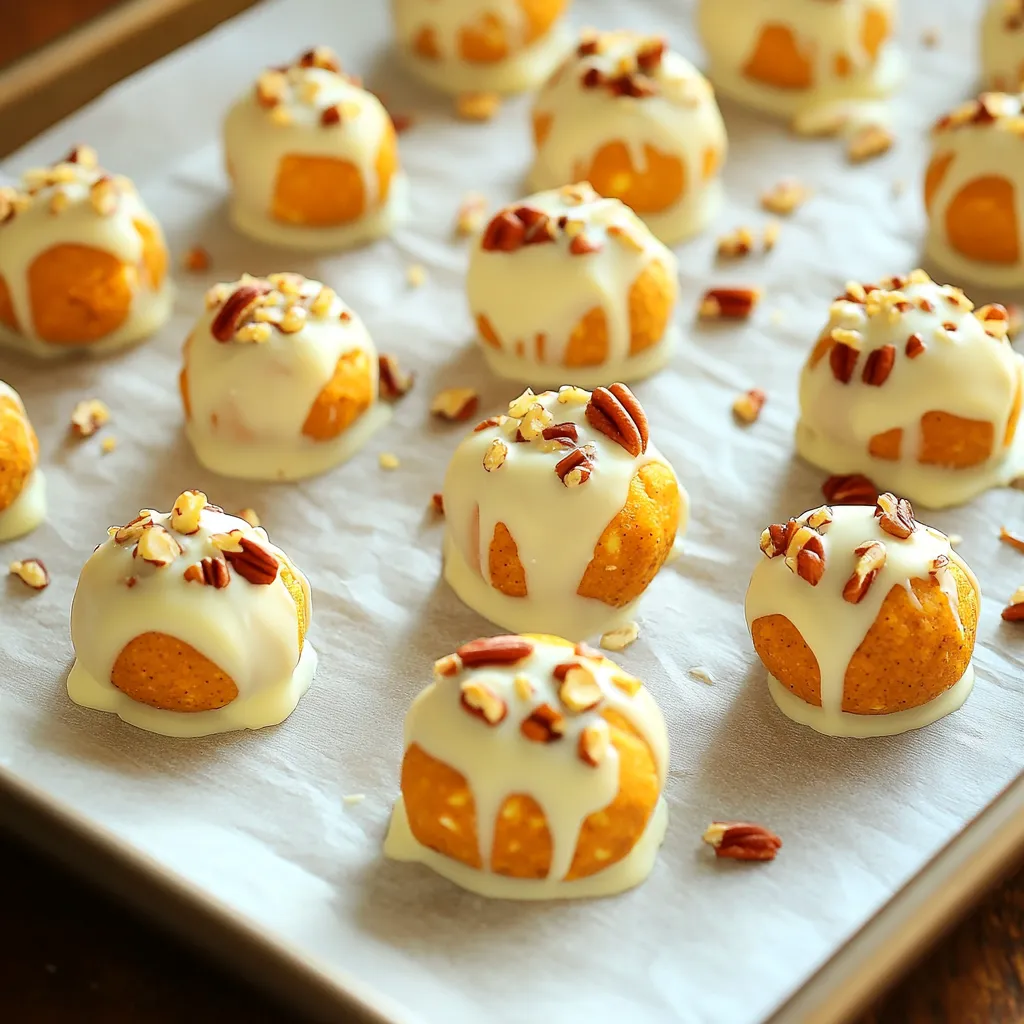
– 1/4 cup chopped pecans (optional for topping)

Each ingredient plays a key role in creating the rich flavor and creamy texture of the truffles. The pumpkin puree gives a warm, earthy taste. Cream cheese adds creaminess and balance. Crushed graham crackers provide that classic pie crust crunch. Powdered sugar sweetens the mix perfectly. Pumpkin pie spice brings in cozy fall vibes, while vanilla extract rounds out the flavors.

Melted white chocolate coats the truffles, making each bite feel like a treat. The chopped pecans on top add a nice crunch and extra flavor, but they are optional. You can adjust the ingredients based on your taste or dietary needs, making this recipe flexible. Enjoy gathering these items before you start creating your truffles!

Step-by-Step Instructions

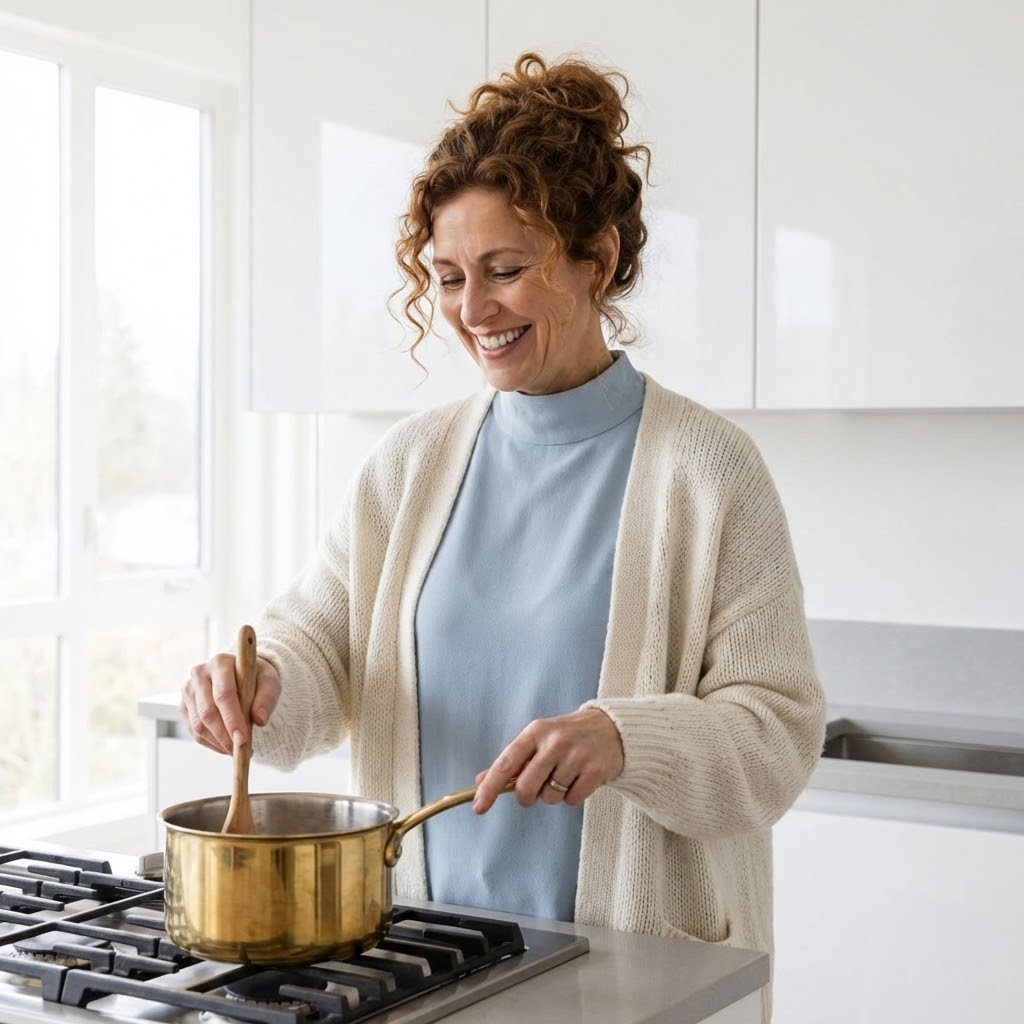
Preparing the Pumpkin Mixture

First, grab a mixing bowl. Add 1 cup of pumpkin puree and 1 cup of softened cream cheese. Next, sprinkle in 1/2 cup of powdered sugar and 1 teaspoon of pumpkin pie spice. Don’t forget to add 1/2 teaspoon of vanilla extract. Use a hand mixer or spatula to blend everything together. Mix until you have a smooth and creamy texture.

Forming the Truffles

Now, it’s time to add some crunch. Slowly mix in 2 cups of crushed graham crackers. Stir until the mixture becomes thick and moldable. Cover the bowl with plastic wrap and chill it in the fridge for about 30 minutes. This makes the mixture easier to handle. After chilling, use a small cookie scoop or your hands to form small balls, about 1 inch in diameter. Place each ball on a parchment-lined baking sheet. Once done, freeze them for another 20 minutes.

Coating and Final Touches

While your truffles chill, melt 1 cup of white chocolate chips. Use a microwave-safe bowl. Heat the chocolate in 30-second bursts, stirring in between. Keep going until it’s smooth and melted. Dip each chilled truffle into the melted chocolate using a fork. Let the excess chocolate drip off before placing it back on the parchment paper. If you like, sprinkle chopped pecans on top of each truffle before the chocolate hardens. Finally, let the chocolate set completely at room temperature or in the fridge.

Tips & Tricks

Making the Perfect Truffles

To make great truffles, start with the right mix. The ideal mix should be thick and moldable. If it feels too wet, add more crushed graham crackers. If it is too dry, you can blend in a little cream cheese. Chill the mixture for thirty minutes. This step helps the truffles hold their shape better.

When handling the mixture, use a small cookie scoop. This tool helps you form even balls. If you prefer, use your hands, but keep them damp. This keeps the mix from sticking. After forming the balls, chill them again. This second chill makes dipping easier.

Melting Chocolate Safely

To melt white chocolate safely, you have two options: microwave or stovetop. For the microwave, use a microwave-safe bowl. Heat the chocolate in thirty-second bursts. Stir between each round to prevent burning.

For the stovetop, use a double boiler. Place water in a pot and set it on low heat. Put the chocolate in a bowl on top. Stir as it melts to avoid clumps. Whichever method you choose, watch closely. Burnt chocolate is hard to fix.

With these tips, your no-bake pumpkin pie truffles will be a delight!

Variations

Flavor Variations

You can make these truffles even more fun with different flavors. Adding spices like cinnamon or nutmeg gives a warm touch. If you love mint, try peppermint extract for a fresh twist. Want to mix in chocolate? Add cocoa powder or mini chocolate chips for a richer taste. Each option brings its own special flair.

Coating Alternatives

The coating can change how your truffles taste and look. Instead of white chocolate, use dark chocolate or milk chocolate for a different sweetness. If you want a crunch, roll the truffles in shredded coconut or crushed nuts. These choices add texture and flavor. Experiment to find your favorite coating!

Storage Info

How to Store

To keep your no-bake pumpkin pie truffles fresh, place them in an airtight container. Store them in the fridge for up to one week. Make sure they are fully set before you store them. This keeps the chocolate coating firm.

If you want to save them longer, freeze the truffles. Place them in a single layer on a baking sheet until frozen solid. Once frozen, transfer them to a freezer-safe bag or container. They can last up to three months in the freezer. Just remember to let them thaw in the fridge before serving.

Serving Suggestions

These truffles pair well with coffee or tea. The warm flavors of fall make this a perfect match. Serve them with a steaming cup to enjoy a cozy treat.

These truffles shine at holiday gatherings. Their cute size makes them easy to share. Arrange them on a festive platter for a delightful display. Guests will love their rich flavor and creamy texture.

FAQs

Can I make these truffles ahead of time?

Yes, you can make these truffles ahead of time. I often prepare them a day or two before a party. Just store them in the fridge in an airtight container. This helps them stay fresh and tasty.

How long do no-bake pumpkin pie truffles last?

No-bake pumpkin pie truffles can last about one week in the fridge. If you freeze them, they can last for up to three months. Just make sure to store them in a sealed container to prevent freezer burn.

What can I substitute for cream cheese?

You can use Greek yogurt or mascarpone as a cream cheese substitute. These options give a similar creaminess to the truffles. You might want to adjust the sugar to keep the flavor balanced.

These no-bake pumpkin pie truffles are simple and fun to make. You mix pumpkin puree, cream cheese, and spices, then roll them into delicious truffles. You can coat them in melted white chocolate for a great finish. Try adding different flavors or toppings to make them unique. Remember, store them well for the best taste. Enjoy these treats at your next gathering or as a special snack. These truffles will be a hit, so have fun making them and sharing with friends!

To make these delightful no-bake pumpkin pie truffles, you need just a few simple ingredients. Here’s what you will need: - 1 cup pumpkin puree - 1 cup cream cheese, softened - 2 cups crushed graham crackers - 1/2 cup powdered sugar - 1 teaspoon pumpkin pie spice - 1/2 teaspoon vanilla extract - 1 cup white chocolate chips, melted - 1/4 cup chopped pecans (optional for topping) Each ingredient plays a key role in creating the rich flavor and creamy texture of the truffles. The pumpkin puree gives a warm, earthy taste. Cream cheese adds creaminess and balance. Crushed graham crackers provide that classic pie crust crunch. Powdered sugar sweetens the mix perfectly. Pumpkin pie spice brings in cozy fall vibes, while vanilla extract rounds out the flavors. Melted white chocolate coats the truffles, making each bite feel like a treat. The chopped pecans on top add a nice crunch and extra flavor, but they are optional. You can adjust the ingredients based on your taste or dietary needs, making this recipe flexible. Enjoy gathering these items before you start creating your truffles! First, grab a mixing bowl. Add 1 cup of pumpkin puree and 1 cup of softened cream cheese. Next, sprinkle in 1/2 cup of powdered sugar and 1 teaspoon of pumpkin pie spice. Don't forget to add 1/2 teaspoon of vanilla extract. Use a hand mixer or spatula to blend everything together. Mix until you have a smooth and creamy texture. Now, it's time to add some crunch. Slowly mix in 2 cups of crushed graham crackers. Stir until the mixture becomes thick and moldable. Cover the bowl with plastic wrap and chill it in the fridge for about 30 minutes. This makes the mixture easier to handle. After chilling, use a small cookie scoop or your hands to form small balls, about 1 inch in diameter. Place each ball on a parchment-lined baking sheet. Once done, freeze them for another 20 minutes. While your truffles chill, melt 1 cup of white chocolate chips. Use a microwave-safe bowl. Heat the chocolate in 30-second bursts, stirring in between. Keep going until it's smooth and melted. Dip each chilled truffle into the melted chocolate using a fork. Let the excess chocolate drip off before placing it back on the parchment paper. If you like, sprinkle chopped pecans on top of each truffle before the chocolate hardens. Finally, let the chocolate set completely at room temperature or in the fridge. To make great truffles, start with the right mix. The ideal mix should be thick and moldable. If it feels too wet, add more crushed graham crackers. If it is too dry, you can blend in a little cream cheese. Chill the mixture for thirty minutes. This step helps the truffles hold their shape better. When handling the mixture, use a small cookie scoop. This tool helps you form even balls. If you prefer, use your hands, but keep them damp. This keeps the mix from sticking. After forming the balls, chill them again. This second chill makes dipping easier. To melt white chocolate safely, you have two options: microwave or stovetop. For the microwave, use a microwave-safe bowl. Heat the chocolate in thirty-second bursts. Stir between each round to prevent burning. For the stovetop, use a double boiler. Place water in a pot and set it on low heat. Put the chocolate in a bowl on top. Stir as it melts to avoid clumps. Whichever method you choose, watch closely. Burnt chocolate is hard to fix. With these tips, your no-bake pumpkin pie truffles will be a delight! {{image_2}} You can make these truffles even more fun with different flavors. Adding spices like cinnamon or nutmeg gives a warm touch. If you love mint, try peppermint extract for a fresh twist. Want to mix in chocolate? Add cocoa powder or mini chocolate chips for a richer taste. Each option brings its own special flair. The coating can change how your truffles taste and look. Instead of white chocolate, use dark chocolate or milk chocolate for a different sweetness. If you want a crunch, roll the truffles in shredded coconut or crushed nuts. These choices add texture and flavor. Experiment to find your favorite coating! To keep your no-bake pumpkin pie truffles fresh, place them in an airtight container. Store them in the fridge for up to one week. Make sure they are fully set before you store them. This keeps the chocolate coating firm. If you want to save them longer, freeze the truffles. Place them in a single layer on a baking sheet until frozen solid. Once frozen, transfer them to a freezer-safe bag or container. They can last up to three months in the freezer. Just remember to let them thaw in the fridge before serving. These truffles pair well with coffee or tea. The warm flavors of fall make this a perfect match. Serve them with a steaming cup to enjoy a cozy treat. These truffles shine at holiday gatherings. Their cute size makes them easy to share. Arrange them on a festive platter for a delightful display. Guests will love their rich flavor and creamy texture. Yes, you can make these truffles ahead of time. I often prepare them a day or two before a party. Just store them in the fridge in an airtight container. This helps them stay fresh and tasty. No-bake pumpkin pie truffles can last about one week in the fridge. If you freeze them, they can last for up to three months. Just make sure to store them in a sealed container to prevent freezer burn. You can use Greek yogurt or mascarpone as a cream cheese substitute. These options give a similar creaminess to the truffles. You might want to adjust the sugar to keep the flavor balanced. These no-bake pumpkin pie truffles are simple and fun to make. You mix pumpkin puree, cream cheese, and spices, then roll them into delicious truffles. You can coat them in melted white chocolate for a great finish. Try adding different flavors or toppings to make them unique. Remember, store them well for the best taste. Enjoy these treats at your next gathering or as a special snack. These truffles will be a hit, so have fun making them and sharing with friends!

No-Bake Pumpkin Pie Truffles

Indulge in the ultimate fall treat with these delightful No-Bake Pumpkin Pie Truffles! Combining creamy pumpkin puree, sweet cream cheese, and a hint of pumpkin pie spice, these truffles are coated in smooth white chocolate for a perfect bite. Learn how to make this easy, no-bake dessert in just an hour. Click through for the full recipe and impress your friends and family with these delectable treats!

Ingredients
  

1 cup pumpkin puree

1 cup cream cheese, softened

2 cups crushed graham crackers

1/2 cup powdered sugar

1 teaspoon pumpkin pie spice

1/2 teaspoon vanilla extract

1 cup white chocolate chips, melted

1/4 cup chopped pecans (optional for topping)

Instructions
 

In a mixing bowl, combine the pumpkin puree, cream cheese, powdered sugar, pumpkin pie spice, and vanilla extract. Use a hand mixer or spatula to mix until smooth and well-combined.

    Gradually add the crushed graham crackers to the pumpkin mixture, stirring until everything is fully incorporated. The mixture should be thick and moldable.

      Cover the bowl with plastic wrap and refrigerate for about 30 minutes to make it easier to handle.

        Once chilled, use a small cookie scoop or your hands to form small balls (about 1 inch in diameter) of the pumpkin mixture.

          Place each ball onto a parchment-lined baking sheet. Once all are formed, freeze for another 20 minutes.

            While the truffles are chilling, melt the white chocolate chips in a microwave-safe bowl in 30-second increments, stirring in between, until smooth.

              Dip each chilled truffle in the melted white chocolate using a fork, letting the excess chocolate drip off before placing it back on the parchment paper.

                If desired, sprinkle chopped pecans on top of each truffle before the chocolate hardens.

                  Allow the chocolate coating to set completely at room temperature or in the fridge.

                    Prep Time: 30 minutes | Total Time: 1 hour | Servings: 24 truffles

                      WANT TO SAVE THIS RECIPE?