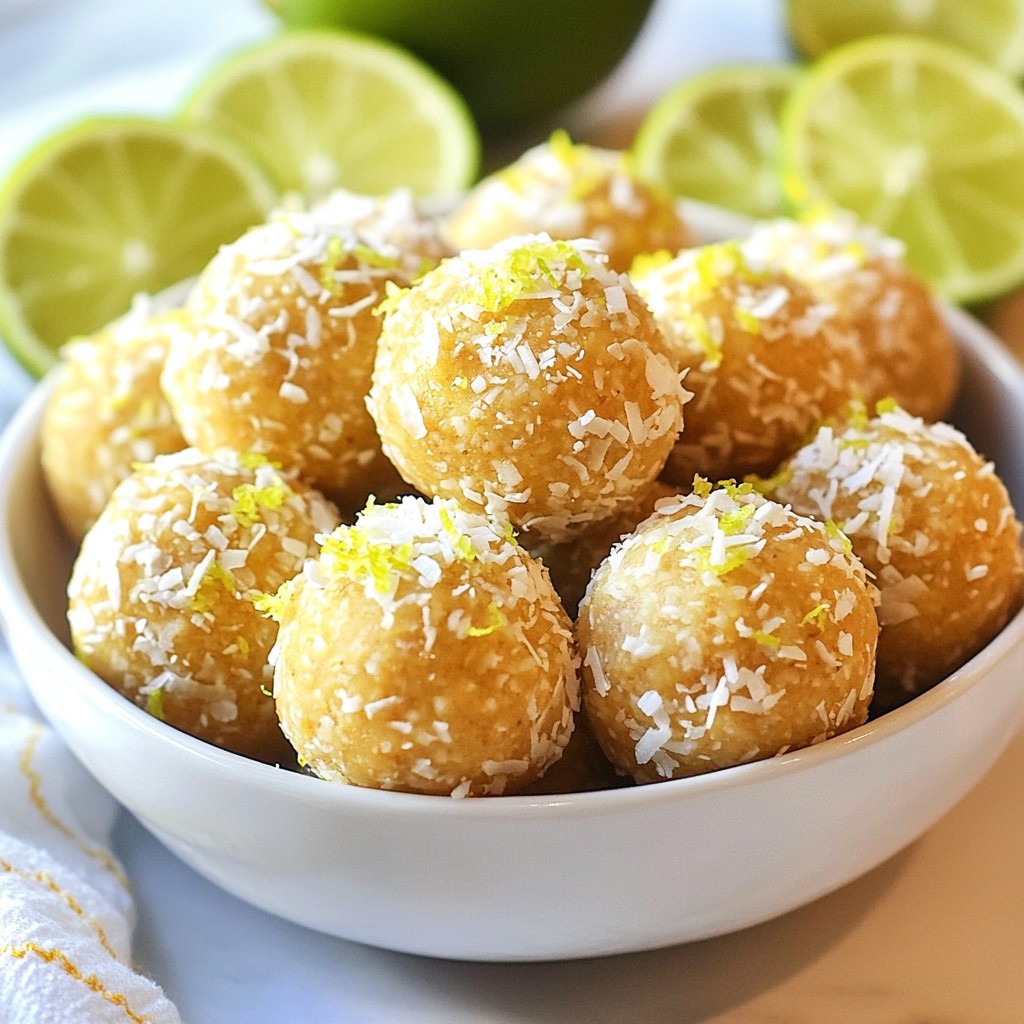
If you love tangy desserts, you’ll adore this simple Key Lime Pie Bars recipe. These bars blend creamy lime filling with a buttery crust, making for a quick and tasty treat. I’ll guide you through easy steps, tips, and delicious variations to impress your family and friends. Ready to bring some sunshine to your kitchen? Let’s dive into the zesty world of Key Lime Pie Bars!
Why I Love This Recipe
- Refreshing Flavor: The combination of fresh lime juice and zest delivers a vibrant, tangy flavor that is perfect for warm weather.
- Coconut Crust: The addition of shredded coconut in the crust adds a delightful tropical twist and a chewy texture.
- Easy to Make: This recipe requires minimal effort with simple ingredients, making it a great choice for bakers of all skill levels.
- Perfect for Sharing: These bars are easy to cut and serve, making them ideal for parties, potlucks, or family gatherings.
Ingredients
Main Ingredients for Key Lime Pie Bars
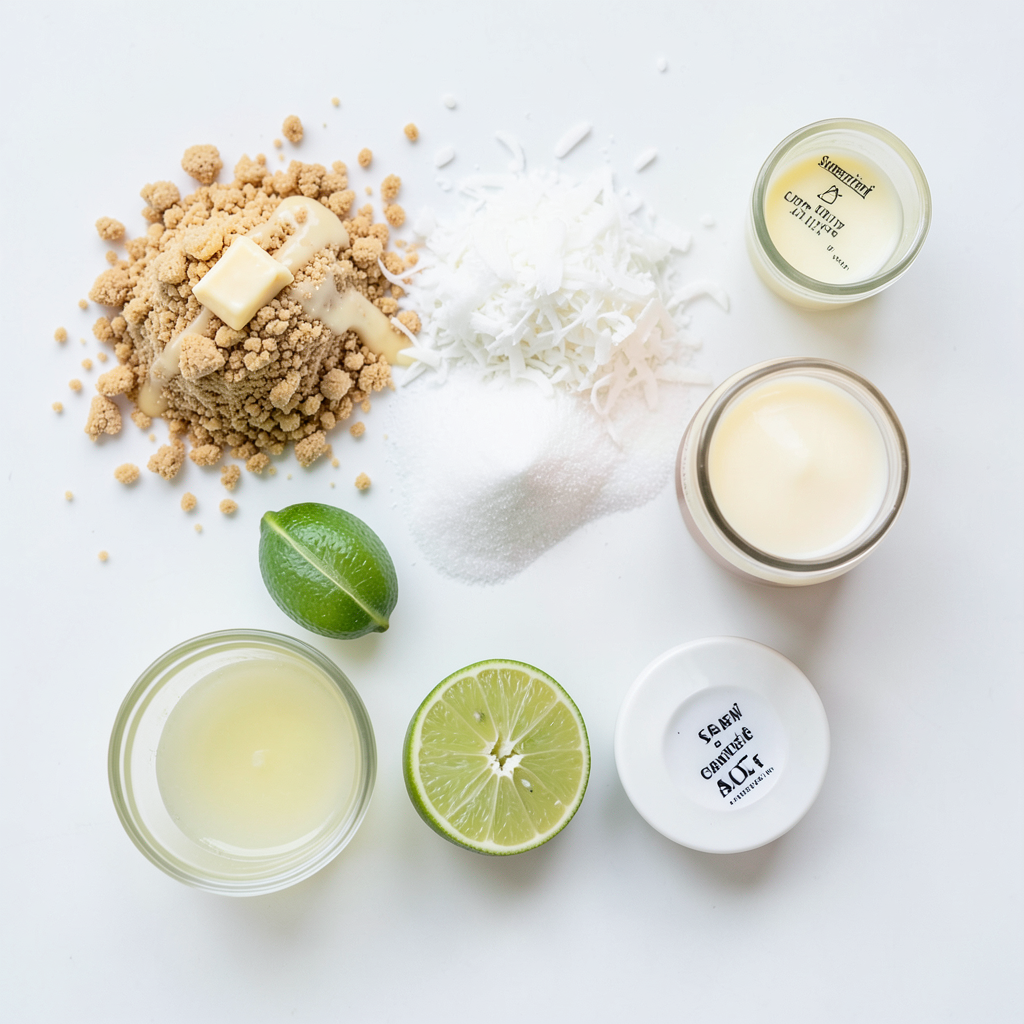
To make these tasty bars, gather these key ingredients:
- 1 ½ cups graham cracker crumbs
- ½ cup unsweetened shredded coconut
- ½ cup unsalted butter, melted
- 1 cup granulated sugar
- 2 large eggs
- 1/3 cup fresh lime juice (about 3-4 limes)
- 1 tablespoon lime zest
- 1 (14 oz) can sweetened condensed milk
- ½ teaspoon vanilla extract
- Pinch of salt
Each ingredient plays a role in creating the perfect balance of sweet and tart. The graham cracker crumbs form a crunchy base, while the lime juice adds that bright, zesty flavor.
Optional Ingredients and Toppings
You can enhance your Key Lime Pie Bars with these optional items:
- Whipped cream for topping
- Extra lime zest for garnish
- Toasted coconut flakes for texture
Adding whipped cream gives a creamy contrast. Lime zest adds more brightness, while coconut flakes give a fun crunch.
Substitutions for Allergies or Preferences
If you have allergies or different tastes, consider these swaps:
- Use gluten-free graham crackers for a gluten-free option.
- Swap eggs with a flaxseed mixture for a vegan version.
- Replace sweetened condensed milk with coconut milk for dairy-free bars.
These substitutions help you enjoy the bars while meeting dietary needs. You can still make them delicious!
Step-by-Step Instructions
Prepping the Baking Pan
Start by preheating your oven to 350°F (175°C). Grab an 8x8-inch baking pan and line it with parchment paper. Make sure to leave some paper hanging over the sides. This helps when you lift the bars out later.
Making the Crust
In a medium bowl, mix together the graham cracker crumbs and shredded coconut. Add in the melted butter and stir well. You want all the crumbs to be wet. Press this mixture firmly into the bottom of the pan. Bake it for 10 minutes until it turns a light golden color. Once baked, take it out and let it cool for a bit.
Preparing the Lime Filling
In a large bowl, whisk the granulated sugar and eggs together. Mix them until they blend well. Then, add the fresh lime juice, lime zest, sweetened condensed milk, vanilla extract, and a pinch of salt. Keep whisking until the mixture is smooth and creamy.
Baking the Bars
Pour the lime filling over your cooled crust. Spread it evenly across the top. Place the pan back in the oven and bake for 15 to 20 minutes. The center should be set but still jiggle a little. After baking, take the bars out and let them cool to room temperature. Chill them in the fridge for at least 2 hours to help them set. Once chilled, lift the bars out using the parchment paper. Cut them into squares or rectangles. Enjoy with whipped cream if you like!
Tips & Tricks
Ensuring a Perfect Crust Texture
To get a great crust, use fresh graham cracker crumbs. You can crush them in a bag or a food processor. Mix the crumbs with melted butter and shredded coconut. Press this mix firmly into the baking pan. Bake it for just 10 minutes. This will help it set nicely. Let it cool a bit before adding the lime filling.
Achieving the Right Lime Flavor
Fresh lime juice is key for the best flavor. Use about three to four limes for one-third cup of juice. Don’t forget the lime zest! It adds a burst of flavor. Make sure to whisk all the ingredients until smooth. This ensures the lime flavor spreads throughout. Taste the filling before pouring it over the crust to check the balance.
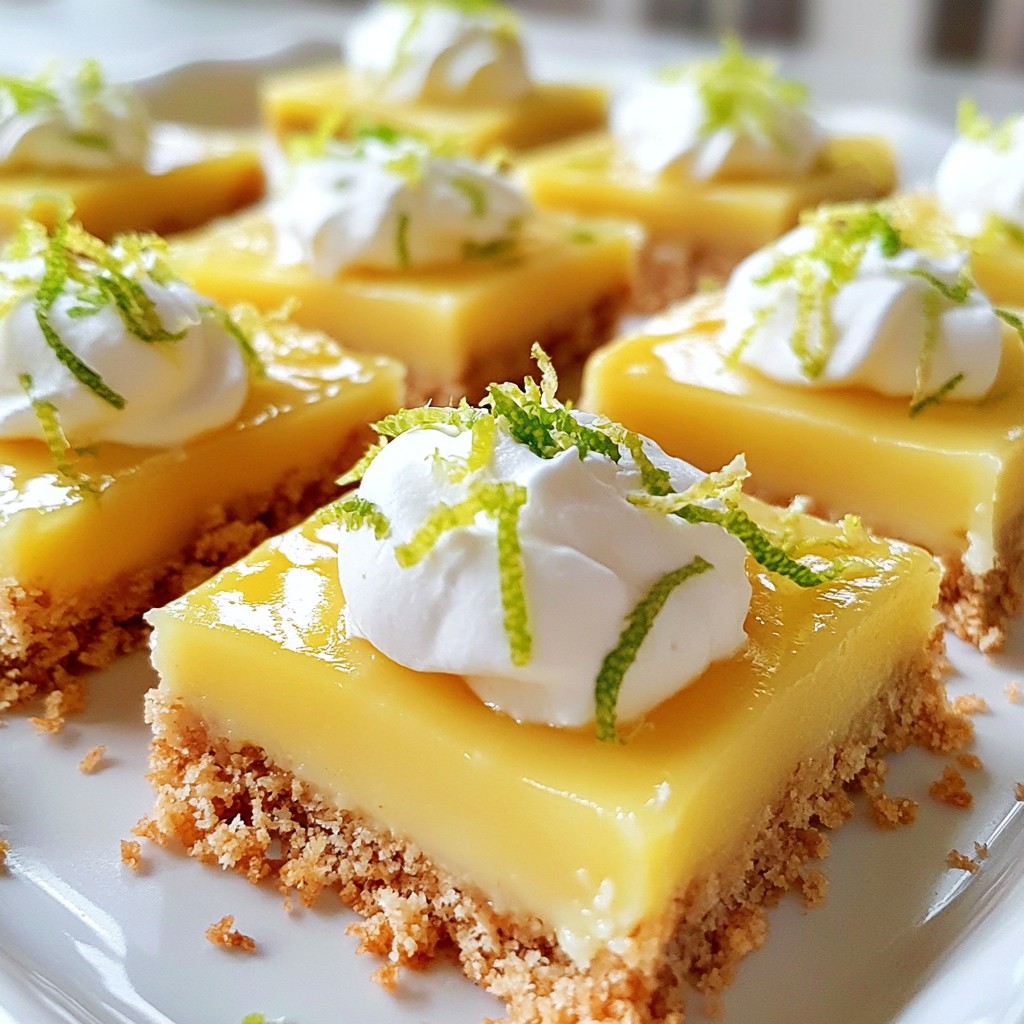
Serving Suggestions and Presentation
Serve these bars cold for a refreshing treat. For a special touch, top with whipped cream. You can also sprinkle extra lime zest or coconut flakes on top. This looks great and adds more flavor. Cut them into squares or rectangles for easy serving. Enjoy with friends or family at any gathering!
Pro Tips
- Use Fresh Limes: Fresh lime juice and zest will give your bars the best flavor. Avoid bottled lime juice if possible for a brighter taste.
- Chill Thoroughly: Allow the bars to cool completely at room temperature before refrigerating. Chilling for at least 2 hours will help them set properly.
- Customize the Topping: Add a variety of toppings such as toasted coconut, lime zest, or even a sprinkle of sea salt for extra flavor and presentation.
- Serve Cold: These bars are best served cold. They offer a refreshing treat that pairs perfectly with warm weather.
Variations
Coconut Key Lime Pie Bars
You can add a tropical twist to your bars. Just mix in shredded coconut. Use ½ cup of unsweetened shredded coconut in the crust. This gives a nice texture. It enhances the flavor too. The coconut pairs well with lime.
Gluten-Free Key Lime Pie Bars
For a gluten-free option, swap the graham cracker crumbs. Use almond flour or gluten-free cookie crumbs. Mix these with melted butter as usual. Check that your sweetened condensed milk is gluten-free too. This way, everyone can enjoy them!
No-Bake Key Lime Pie Bars
You can make these bars without baking. Start with a crust of crushed cookies and butter. Press it into the pan. For the filling, mix the sweetened condensed milk, lime juice, and zest. Pour it over the crust. Chill it in the fridge for a few hours. This version is quick and refreshing!
Storage Info
Best Practices for Storing Leftovers
To keep your Key Lime Pie Bars fresh, store them in the fridge. Place them in an airtight container. If you don’t have one, cover them tightly with plastic wrap. This keeps the bars moist and prevents them from absorbing other flavors.
Freezing Key Lime Pie Bars
You can freeze these bars for later. First, let them cool completely. Then, cut the bars into squares. Wrap each square in plastic wrap. Place the wrapped bars in a freezer-safe bag or container. They freeze well for up to three months.
How Long Do They Last?
In the fridge, Key Lime Pie Bars can last about a week. If you freeze them, they last much longer. Just remember to label your container with the date. This way, you’ll know when to enjoy them again!
FAQs
Can I make Key Lime Pie Bars without condensed milk?
Yes, you can make Key Lime Pie Bars without condensed milk. To do this, use a mix of cream cheese and sour cream. This mix gives a similar creamy texture. You can also use coconut cream for a dairy-free option. Make sure to adjust sugar levels to taste.
How do I know when the bars are done baking?
The bars are done when the center is set but slightly jiggly. This means they will firm up as they cool. Look for a light golden color on the edges. If you see this, your bars are ready!
What is the best way to cut the bars cleanly?
To cut the bars cleanly, use a sharp knife. First, dip the knife in hot water and wipe it dry. This helps make neat cuts. Cut the bars into squares or rectangles while they’re cold. Chilling them helps keep the shape.
Can I use bottled lime juice instead of fresh?
You can use bottled lime juice, but fresh is best. Fresh lime juice gives a brighter flavor. If you use bottled, check for quality. Some brands may add preservatives that alter the taste. For the best results, choose fresh limes when you can.
Key lime pie bars are a tasty treat you can easily make. We covered the main ingredients and optional toppings. I shared step-by-step instructions for making the crust and filling. The tips helped you get the perfect texture and flavor. You can try fun variations, like coconut or gluten-free bars. Store leftovers properly for the best taste. Always remember to check FAQs for any questions. Now, you’re ready to bake these delicious bars and share them with friends. Enjoy every bite you create!