Dive into the creamy goodness of Spinach Artichoke Dip with my delightful recipe guide! This dish is perfect for gatherings, game days, or cozy nights at home. With fresh ingredients and simple steps, you’ll impress your friends and family. Let me show you how to create this cheesy dip that’s bursting with flavor and easy to make. Grab your mixing bowl and let's get started!
Why I Love This Recipe
- Rich and Creamy Flavor: This dip is the perfect combination of creamy cheeses and savory vegetables, making it incredibly indulgent.
- Quick and Easy Preparation: With just a few simple steps, you can prepare this dip in no time, perfect for unexpected guests!
- Versatile Serving Options: Pair it with chips, bread, or veggies; this dip is a crowd-pleaser that fits any occasion.
- Customizable Ingredients: You can easily tweak the recipe by adding your favorite herbs or spices to suit your taste.
Ingredients
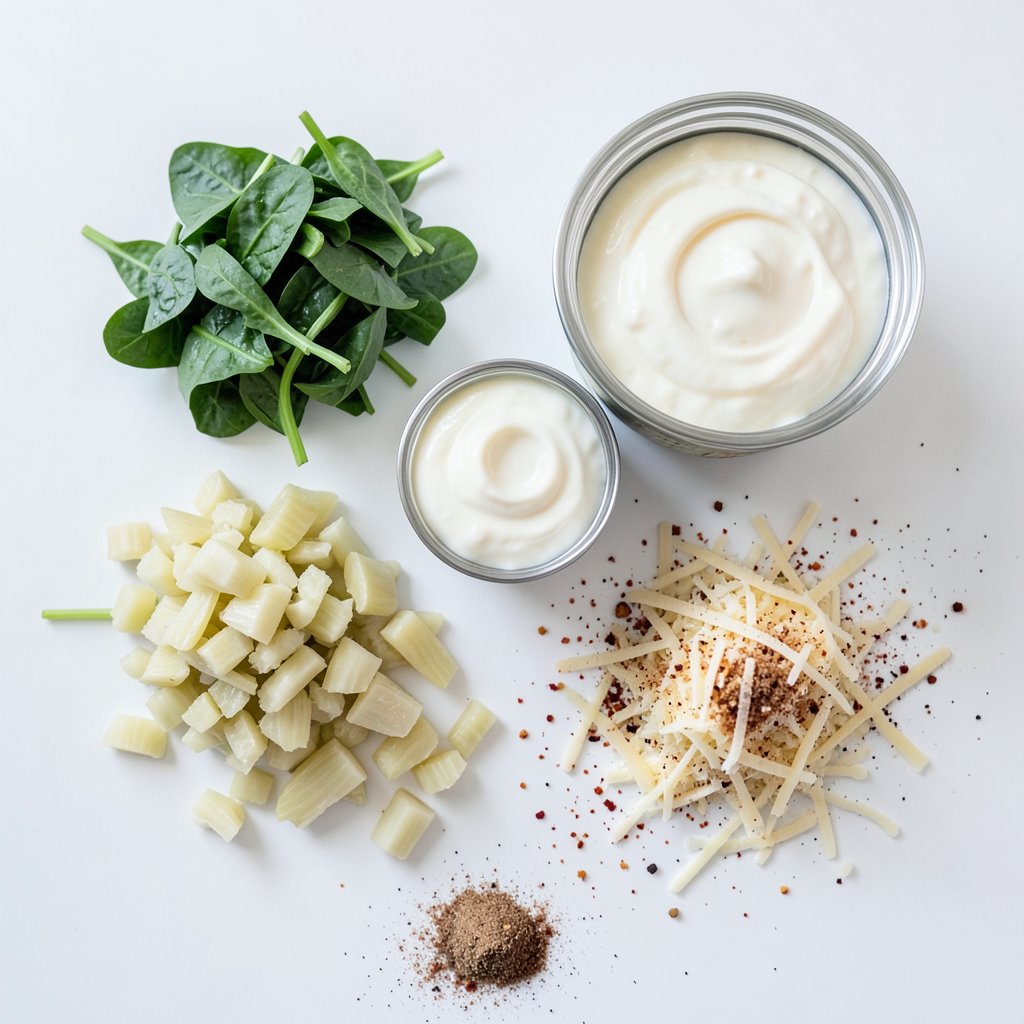
Fresh ingredients needed
- 1 cup fresh spinach, chopped
- 1 cup canned artichoke hearts, drained and chopped
- 2 cloves garlic, minced
- 1 cup cream cheese, softened
- 1/2 cup sour cream
- 1/2 cup mayonnaise
- 1 cup shredded mozzarella cheese
- 1/2 cup grated Parmesan cheese
You need fresh spinach for a bright flavor. The artichoke hearts add a unique taste. Garlic brings depth and aroma. Use cream cheese for a rich base, and sour cream adds tang. Mayonnaise helps with creaminess. Mozzarella gives stretch, while Parmesan adds a savory kick.
Pantry staples
- 1 teaspoon onion powder
- 1 teaspoon red pepper flakes (optional)
- Salt and pepper to taste
Onion powder enhances flavor without the crunch. Red pepper flakes add heat, but it's optional. Salt and pepper are must-haves for seasoning.
Equipment needed
- Mixing bowl
- Baking dish
- Oven
A mixing bowl helps combine all the creamy goodness. You need a baking dish for cooking, and an oven to bring it all together. Preheat it to 350°F (175°C) for best results.
Step-by-Step Instructions
Preparation steps
1. Preheat your oven to 350°F (175°C). This makes sure your dip bakes evenly.
2. In a medium mixing bowl, combine the softened cream cheese, sour cream, and mayonnaise. Mix until smooth and creamy. This step is key for a great texture.
3. Now, stir in the chopped spinach, artichoke hearts, and minced garlic. Add the onion powder and red pepper flakes if you want some heat.
4. Next, add the mozzarella and Parmesan cheeses to the mix. Fold gently until everything blends well.
5. Finally, season the dip with salt and pepper to taste. This enhances all the flavors in your dip.
Baking process
1. Transfer the mixture into a baking dish. Spread it evenly to ensure even baking.
2. Bake in the preheated oven for 25-30 minutes. You want it bubbly and golden brown on top.
Serving the dip
1. Let the dip cool for a few minutes after baking. This helps prevent burns when you dig in.
2. For presentation, serve the dip in the baking dish for a fun and relaxed look. You can also transfer it to a serving bowl.
3. Accompany with tortilla chips, toasted baguette slices, or fresh vegetable sticks. Garnish with red pepper flakes or fresh spinach leaves for added color.
Tips & Tricks
Perfecting the dip
To make your creamy spinach artichoke dip shine, you need the right consistency. Aim for a smooth and creamy texture. Blend the cream cheese, sour cream, and mayonnaise well. If the dip feels too thick, add a splash of milk. This will help it blend better.
For flavor enhancements, consider adding spices. A pinch of nutmeg gives depth. Fresh herbs, like parsley or basil, can brighten the taste. Adding diced jalapeños can bring some heat. You can also experiment with different cheeses. A mix of gouda or cheddar can add a unique twist.
Common mistakes to avoid
One common mistake is overbaking the dip. Keep an eye on it while it cooks. Bake until bubbly and golden, usually 25-30 minutes. If you leave it too long, the dip may dry out.
Another mistake is not seasoning properly. Taste the mixture before baking. It should have a good balance of salt and pepper. Adjust as needed. A well-seasoned dip makes all the difference in flavor.
Serving suggestions
For the best accompaniments, serve your dip with tortilla chips, toasted baguette slices, or veggie sticks. These pair well and add crunch. You can also try pita chips for a fun twist.
Consider creative serving ideas. Serve in a hollowed-out bread bowl for a fun presentation. You can also garnish with red pepper flakes or fresh spinach leaves. This adds color and makes the dip look inviting.
Pro Tips
- Use Fresh Ingredients: Fresh spinach and high-quality artichoke hearts can elevate the flavor of your dip significantly.
- Adjust the Heat: Feel free to add more red pepper flakes or even a dash of hot sauce for an extra kick, depending on your spice preference.
- Make Ahead: Prepare the dip a day in advance, cover it, and refrigerate. Just bake it before serving for a quick and easy appetizer.
- Experiment with Cheeses: Try mixing different types of cheese like cheddar or gouda for a unique flavor twist.
Variations
Flavor twists
You can add spices for a kick. Mix in smoked paprika or cayenne pepper. These add warmth and depth. You can also try different cheeses. Swap mozzarella for gouda or cheddar. Each cheese brings its own taste.
Dietary adaptations
If you need vegan options, use vegan cream cheese and sour cream. You can also replace mayonnaise with cashew cream. This keeps the creamy texture while being plant-based. For gluten-free options, just check all labels. Most dips are gluten-free, but some brands may add gluten.
Serving style variations
You can serve the dip cold if you prefer. Just mix all ingredients and chill. This gives a fresh taste and is great for hot days. Another fun option is spinach artichoke dip bites. Use phyllo dough or wonton wrappers. Fill and bake them for a tasty snack.
Storage Info
Storing leftovers
After enjoying your creamy spinach artichoke dip, store any leftovers in the fridge. Use an airtight container to keep it fresh. It will last for about three to four days. If you want to keep it longer, consider freezing it.
For freezing, transfer the dip to a freezer-safe container. Label it with the date. This dip can stay frozen for up to three months. When you are ready to eat it, thaw it in the fridge overnight.
Reheating instructions
To reheat your dip, use the oven or microwave. If using an oven, preheat it to 350°F (175°C). Place the dip in an oven-safe dish. Heat it for about 15-20 minutes until warm. Stir halfway through to ensure even heating.
If you prefer the microwave, heat the dip in short bursts. Start with one minute, then stir. Continue heating in 30-second intervals until it’s warm. This method helps keep the dip's creamy texture.
Shelf life
The shelf life of your dip is important. In the fridge, it lasts three to four days. In the freezer, it can last up to three months.
Look for signs of spoilage before eating. If you see mold, a change in color, or an off smell, throw it away. Always trust your senses with food safety.
FAQs
Can I make this dip ahead of time?
Yes, you can make this dip ahead of time. Just prepare it up to the baking step. Once mixed, cover it with plastic wrap. Store it in the fridge for up to 24 hours. When you are ready, bake it as usual. This method saves time and lets the flavors blend.
What can I serve with spinach artichoke dip?
You have many tasty options for dippers. Here are some popular choices:
- Tortilla chips
- Toasted baguette slices
- Fresh vegetable sticks (like carrots and celery)
- Pita chips
- Crackers
These dippers add fun textures and flavors. You can mix and match to please your guests.
Is it possible to use frozen spinach?
Yes, frozen spinach works well. Just make sure to thaw it first. Squeeze out any extra water. This prevents your dip from getting soggy. Use about 1 cup of thawed spinach to replace fresh spinach. It’s a great option if you don’t have fresh on hand.
This article covered all you need for a tasty spinach artichoke dip. You learned about fresh ingredients, pantry staples, and essential equipment. We detailed preparation steps, baking methods, and serving ideas. I shared tips to perfect your dip and variations to try. Plus, we discussed storage and reheating methods for leftovers.
Make this dip your own by experimenting with flavors and ingredients. You now have the tools to impress everyone at your next gathering! Enjoy every bite as you share this delicious treat with friends and family.