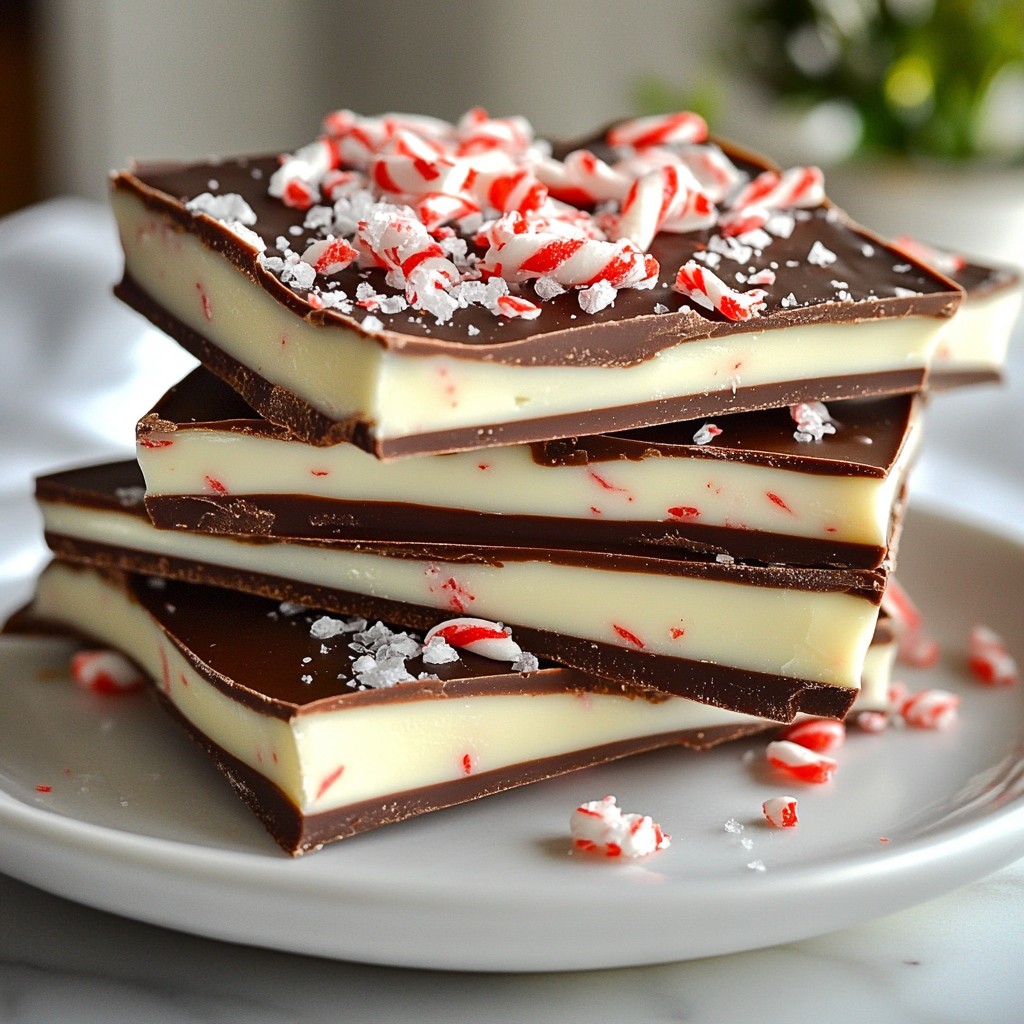
If you're searching for the perfect holiday treat, look no further than chocolate peppermint bark! This delicious mix of dark and white chocolate combines the rich taste of chocolate with a hint of mint. In this guide, I’ll share my favorite tips and tricks to help you create this festive dessert. Plus, I’ll provide ingredient options and clever variations to suit your taste. Get ready to impress your family and friends!
Why I Love This Recipe
- Decadent Flavor: The combination of rich dark chocolate and creamy white chocolate creates a luxurious treat that's perfect for the holidays.
- Festive Crunch: Crushed peppermint candies add a delightful crunch and a refreshing minty flavor that elevates this bark.
- Simple to Make: This recipe requires minimal ingredients and can be prepared in less than an hour, making it ideal for last-minute gifting.
- Customizable: You can easily adjust the flavors or toppings to suit your preferences, making it a versatile treat for any occasion.
Ingredients
Complete Ingredient List
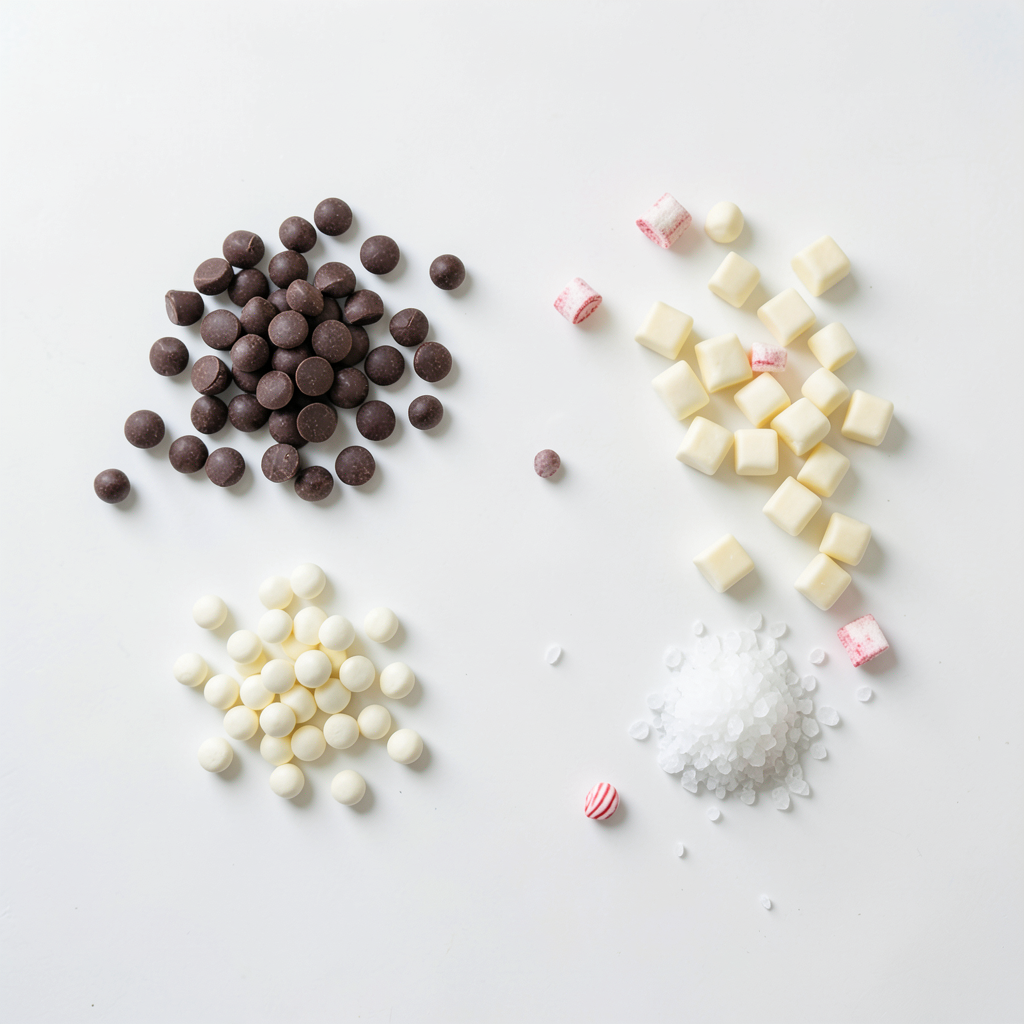
To make your delicious chocolate peppermint bark, gather these ingredients:
- 12 oz dark chocolate chips
- 8 oz white chocolate chips
- 1 teaspoon peppermint extract
- 1 cup crushed peppermint candies or candy canes
- A pinch of sea salt (optional)
Substitute Options
You can easily change the recipe to fit your taste. Here are some ideas:
- Use milk chocolate chips instead of dark chocolate chips for a sweeter taste.
- If you can't find white chocolate, try vanilla-flavored melting wafers.
- Almond or hazelnut extract can replace peppermint extract for a different flavor.
Optional Add-ins
Get creative with your bark by adding more fun flavors or textures. Try these options:
- Add chopped nuts like almonds or walnuts for a crunchy bite.
- Drizzle caramel over the top for a sweet twist.
- Mix in dried fruits like cranberries or cherries for a chewy texture.
These choices help you make this treat your own!
Step-by-Step Instructions
Preparation of Baking Sheet
Start by grabbing a baking sheet. Line it with parchment paper. This helps keep the chocolate from sticking. It also makes cleanup easier. Make sure to smooth out any wrinkles in the paper. This step is key for a neat finish.
Melting Dark Chocolate
Next, take your dark chocolate chips. Place them in a microwave-safe bowl. Heat them in the microwave for 30 seconds. After that, stir the chocolate. Repeat this until the chocolate is smooth. It may take a few rounds, so be patient. Once melted, pour the dark chocolate onto your lined baking sheet. Spread it evenly to form a rectangle or square. Aim for about 1/4 inch thick.
Melting White Chocolate and Assembly
While the dark chocolate cools, it’s time for the white chocolate. In another bowl, place your white chocolate chips. Melt them in the same way, using 30-second bursts. Stir after each time until smooth. Now, mix in the peppermint extract. This adds that fresh minty flavor. Pour the white chocolate over the set dark chocolate. Spread it out evenly. Immediately sprinkle crushed peppermint candies on top. This gives your bark a festive crunch. If you like, add a pinch of sea salt for extra flavor. Finally, put the baking sheet back in the fridge. Let it cool until both layers are hard, about 30 minutes. When ready, break or cut the bark into pieces. Enjoy your sweet treat!
Tips & Tricks
How to Achieve a Smooth Chocolate Texture
To get a smooth chocolate texture, melt your chocolate slowly. Use a microwave-safe bowl. Heat the dark chocolate chips in 30-second bursts. Stir after each burst until it melts. This helps prevent burning. If you notice lumps, keep stirring. The heat will help them melt away. For the white chocolate, do the same. White chocolate can seize easily, so be gentle.
Best Practices for Layering
Layering is key to great peppermint bark. Start with the dark chocolate layer. Spread it evenly on the baking sheet. Aim for about 1/4 inch thick. Once it sets, pour the white chocolate on top. Pour it slowly and spread it evenly. This creates a beautiful contrast. Quickly add the crushed peppermint candy. Press them lightly into the soft white chocolate. This helps them stick well.
Cooling and Setting Tips
Cooling is important for the best texture. After pouring each layer, chill it in the fridge. For the dark chocolate, chill for 10-15 minutes. For the white chocolate, chill for about 30 minutes after all layers are done. This helps the bark set well. It also makes it easier to break into pieces. If you want a sweet and salty mix, sprinkle a pinch of sea salt on top before chilling.
Pro Tips
- Use Quality Chocolate: The flavor of your bark heavily relies on the quality of the chocolate. Opt for high-quality dark and white chocolate chips for the best taste and texture.
- Crush Peppermint Candies Finely: For an even distribution of peppermint flavor, crush the candies into smaller pieces. This will ensure that every bite has the perfect balance of minty freshness.
- Experiment with Toppings: Feel free to add other toppings like chopped nuts, dried fruits, or even a drizzle of caramel to personalize your bark and make it even more delicious.
- Store Properly: To keep your bark fresh, store it in an airtight container in a cool, dry place. This will prevent it from melting or becoming too soft.
Variations
Mint-Cocoa Variants
You can change up the mint flavor. Try using mint chocolate instead of dark chocolate. This adds a rich cocoa taste. You can also mix in mint extract for a stronger mint taste. If you love dark chocolate, use dark mint chocolate chips. It gives a nice twist to your bark.
Using Different Types of Chocolate
You can swap out the chocolate types in this recipe. Use milk chocolate for a sweeter bark. White chocolate adds a creamy touch and is great alone. If you want to go bold, use dark chocolate with a high cocoa percentage. This creates a more intense flavor. The choice depends on your taste and mood.
Nut Additions or Alternatives
Adding nuts gives your bark a crunchy texture. Chopped almonds or walnuts work well. If you prefer something softer, use crushed hazelnuts. You can also skip nuts for a nut-free version. Just focus on the chocolates and mint. This bark is tasty no matter what you choose!
Storage Info
How to Store Chocolate Peppermint Bark
To keep your chocolate peppermint bark fresh, you should store it properly. Place the bark pieces in a single layer in an airtight container. This way, it won’t stick together or lose its crunch. If you have a lot of bark, you can add parchment paper between the layers to prevent sticking.
Shelf Life and Freezing Tips
Chocolate peppermint bark lasts about two weeks at room temperature. If you want it to last longer, you can freeze it. Wrap the bark in plastic wrap, then place it in a freezer-safe bag. It can stay frozen for up to three months. When you want to enjoy it, let it thaw in the fridge for a few hours.
Best Containers for Storage
For the best storage, use glass or plastic containers with tight-fitting lids. These types of containers block air and moisture, keeping your bark fresh. Avoid using paper bags or flimsy containers, as they won’t protect your treat well.
FAQs
What is Chocolate Peppermint Bark?
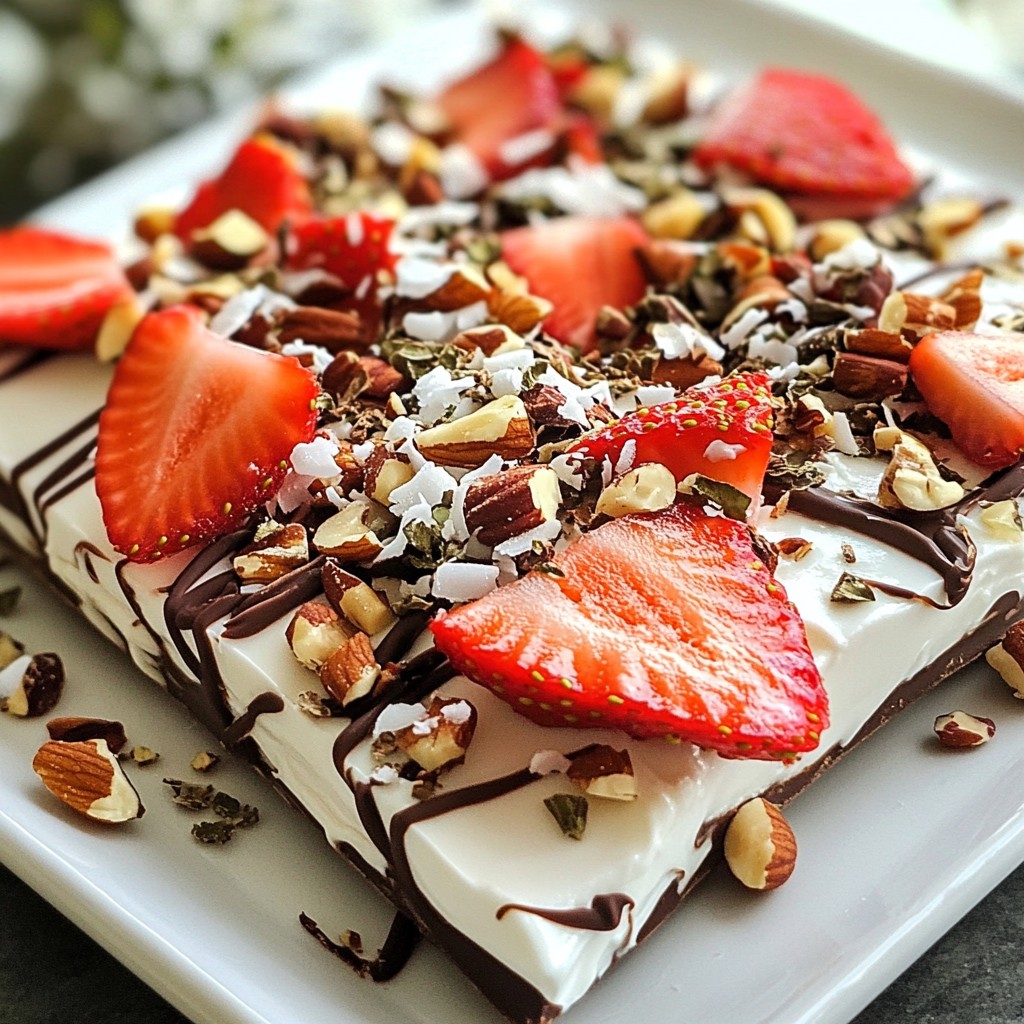
Chocolate peppermint bark is a sweet treat made with layers of chocolate and peppermint. You start with dark chocolate, then add white chocolate and crushed peppermint. The contrast of flavors and textures makes it special. The dark chocolate is rich, while the white chocolate is creamy. The peppermint adds a refreshing crunch. This treat is perfect for the holidays and a great gift.
Can I make Chocolate Peppermint Bark in advance?
Yes, you can make chocolate peppermint bark ahead of time. In fact, it stores well! You can prepare it a week before your event. Just keep it in an airtight container. Store it in a cool, dry place to keep it fresh. If you want to make it even earlier, you can freeze it. Just wrap it tightly in plastic wrap before freezing.
How do I make my own peppermint candy for the bark?
Making your own peppermint candy is simple. Start with granulated sugar, water, and corn syrup. Cook them together until they reach hard crack stage (300°F or 150°C). Stir in peppermint oil for flavor. Pour the mixture onto a greased surface and let it cool. Once hard, crush the candy using a rolling pin. This will give you fresh peppermint for your bark.
In this post, we covered everything about making Chocolate Peppermint Bark. You learned the complete ingredient list, substitution options, and add-ins. We walked through step-by-step instructions for melting chocolate and assembling the bark. I shared tips for smooth texture and best layering practices. You also discovered fun variations and essential storage info. Lastly, I answered common questions about this festive treat. With this knowledge, you can easily create your own delicious chocolate peppermint bark. Enjoy your baking and the tasty rewards!