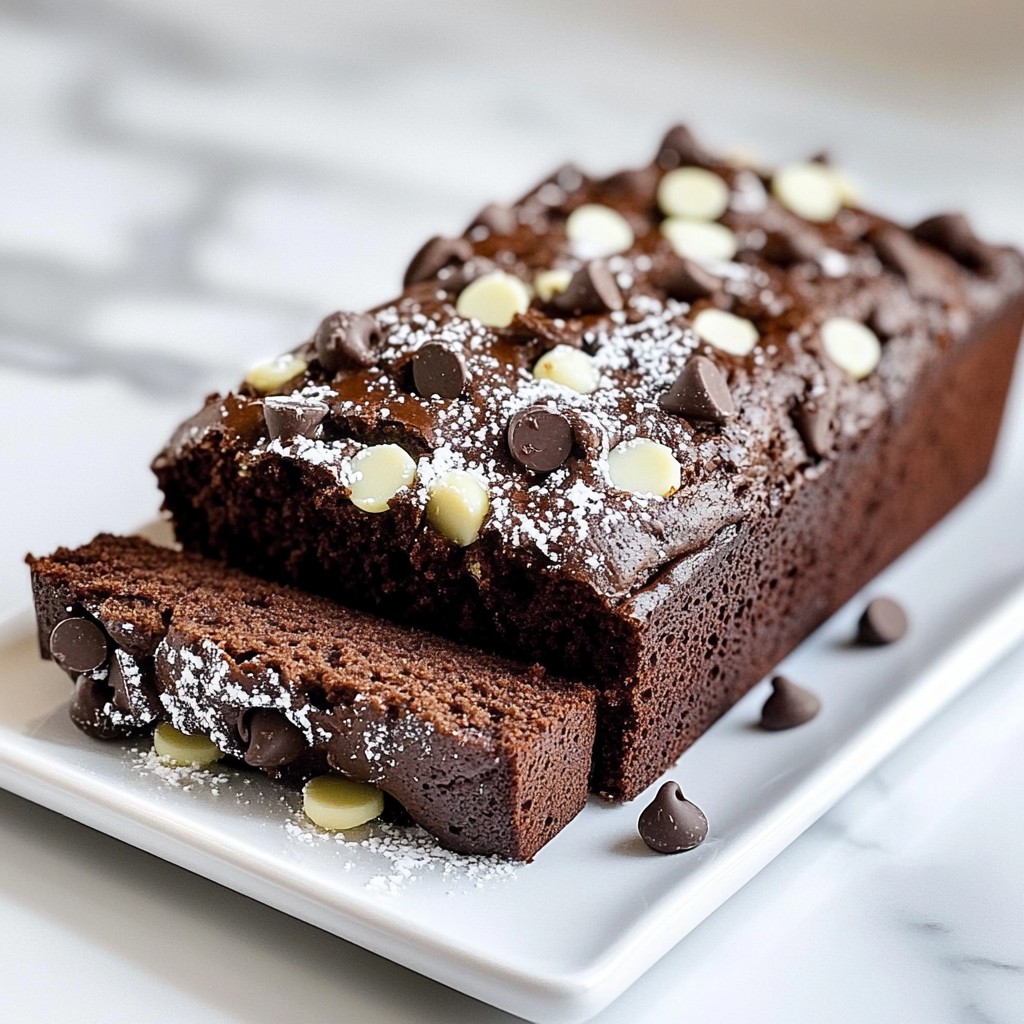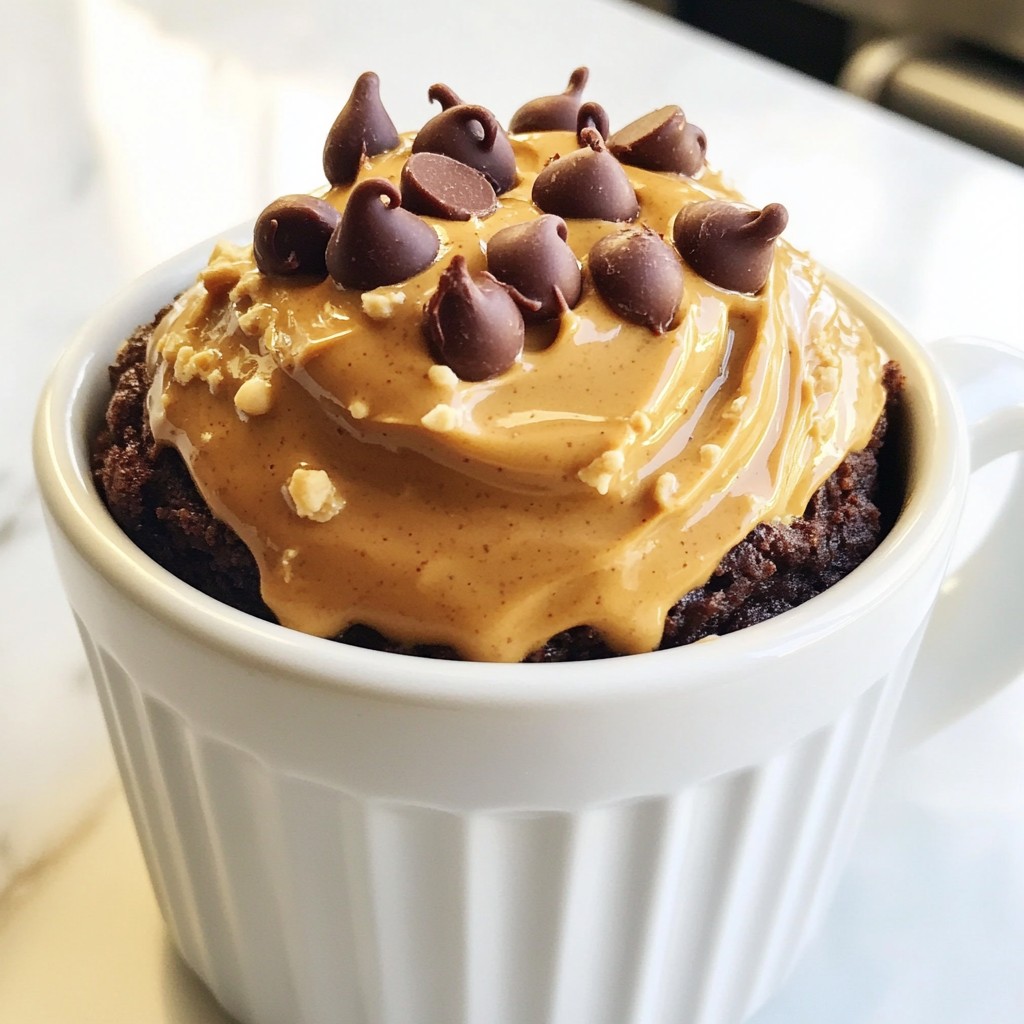
Craving a warm dessert that’s quick and easy? Look no further! My Chocolate Peanut Butter Mug Cake is the perfect fix. You only need a few simple ingredients and just a few minutes in the microwave. This mug cake is rich, creamy, and oh-so-delicious. Join me as I share the step-by-step recipe, tips, and variations to make this treat your own. Let’s dive in and satisfy that sweet tooth!
Why I Love This Recipe
- Quick and Easy: This mug cake can be prepared in just 5 minutes, making it perfect for a last-minute dessert craving.
- Decadent Flavor: The combination of chocolate and peanut butter creates a rich and indulgent taste that satisfies sweet tooth cravings.
- Customizable: You can easily add your favorite mix-ins, like chocolate chips or nuts, to personalize the cake to your liking.
- No Oven Required: This recipe is perfect for those who want a warm dessert without the hassle of preheating an oven.
Ingredients
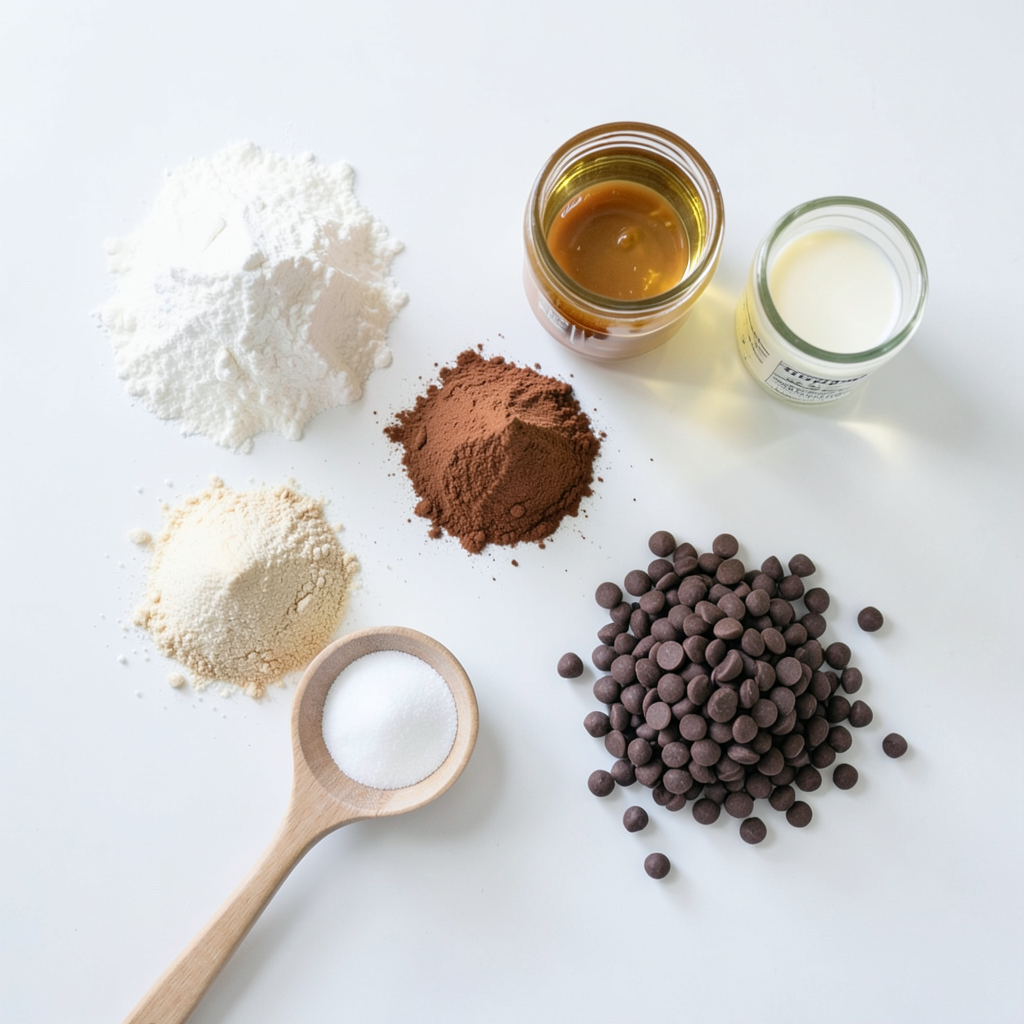
List of Ingredients
To make a delicious chocolate peanut butter mug cake, you will need:
- 4 tablespoons all-purpose flour
- 4 tablespoons granulated sugar
- 2 tablespoons unsweetened cocoa powder
- 1/8 teaspoon baking powder
- 1/8 teaspoon salt
- 3 tablespoons milk
- 2 tablespoons peanut butter
- 2 tablespoons vegetable oil
- 1/4 teaspoon vanilla extract
- 1 tablespoon chocolate chips (optional)
Measurements and Substitutions
You can easily adjust the recipe for your needs. If you want a lighter cake, reduce the sugar a bit. You can swap all-purpose flour for a gluten-free blend if needed. For dairy-free options, use almond milk or coconut milk in place of regular milk. If you don't have peanut butter, try almond butter or sunbutter for a different taste.
Suggested Toppings and Mix-ins
Make your mug cake even better! You can add toppings like:
- Extra peanut butter on top
- A scoop of vanilla ice cream
- Whipped cream for a light touch
- Sliced bananas for a fruity twist
- Chopped nuts for crunch
- More chocolate chips for a chocolate lover's dream
Each option adds flavor and fun to your cake!
Step-by-Step Instructions
Detailed Mixing Instructions
To start, grab a microwave-safe mug that holds about 12 oz. This size helps the cake rise well. First, add these dry ingredients to the mug:
- 4 tablespoons all-purpose flour
- 4 tablespoons granulated sugar
- 2 tablespoons unsweetened cocoa powder
- 1/8 teaspoon baking powder
- 1/8 teaspoon salt
Mix these dry items together until they blend well. Using a fork works great for this. Next, add the wet ingredients:
- 3 tablespoons milk
- 2 tablespoons peanut butter
- 2 tablespoons vegetable oil
- 1/4 teaspoon vanilla extract
Stir everything together until you see a smooth batter. If you want an extra chocolatey treat, fold in 1 tablespoon of chocolate chips. This step makes your cake gooey and delicious!
Microwave Cooking Tips
Now it's time to cook! Place the mug in the microwave. Cook it on high for about 1 minute and 30 seconds. Keep in mind that microwaves cook differently. If your microwave is stronger, check it around 1 minute. If it’s weaker, you might need a bit longer. Watch as the cake rises. You want it to be set but still soft in the middle.
How to Check for Doneness
To check if your cake is ready, look for a few signs. The cake should rise and pull away from the mug's sides. You can also gently touch the center with a fork. If it feels wet, it needs more time. If it feels firm but slightly soft, it’s perfect! Let the mug cake cool for a minute or two. This cooling time helps the flavors settle. Once it cools, you can add more peanut butter or even a scoop of ice cream on top. Enjoy your quick and easy chocolate peanut butter mug cake!
Tips & Tricks
Common Mistakes to Avoid
When making your chocolate peanut butter mug cake, watch out for these mistakes:
- Too much liquid: Adding too much milk or oil can make it soggy. Stick to the amounts in the recipe.
- Overmixing: Mix just until combined. Overmixing can lead to a tough texture.
- Not checking the microwave: Every microwave is different. Start with 1 minute and check often to avoid overcooking.
How to Achieve the Perfect Texture
To get that ideal soft and gooey texture, remember these tips:
- Use a large mug: A 12 oz mug gives the cake room to rise.
- Don’t overcook: Stop the microwave when the center is slightly soft. It will continue to cook as it cools.
- Add chocolate chips: They melt and create a rich, fudgy texture.
Enhancing Flavor Profiles
You can make this mug cake even more delicious with simple tweaks:
- Add a pinch of cinnamon: This warm spice enhances the chocolate flavor.
- Try different nut butters: Almond or cashew butter can add a unique twist.
- Toppings matter: A dollop of whipped cream or a scoop of ice cream makes it special.
Pro Tips
- Microwave Variations: Cooking times may vary based on your microwave wattage. Start with 1 minute and then check in 15-second intervals until it's just set.
- Peanut Butter Swirl: For a richer flavor, try swirling in the peanut butter instead of mixing it in completely. This creates a delicious layer of peanut butter goodness.
- Make it Gluten-Free: Swap out the all-purpose flour for a gluten-free flour blend to enjoy this mug cake without gluten.
- Personalize Your Toppings: Customize your mug cake with toppings like whipped cream, nuts, or fresh fruit to elevate your dessert experience.
Variations
Additional Flavor Combinations
You can change up the flavor of your mug cake easily. Try adding a dash of cinnamon for warmth. A sprinkle of espresso powder gives it a nice coffee kick. You can also swap peanut butter for almond butter or Nutella for a fun twist.
Gluten-Free or Vegan Options
To make this mug cake gluten-free, use almond flour or a gluten-free blend. For a vegan version, replace the milk with almond milk and use a flax egg instead of the peanut butter. Just mix one tablespoon of ground flaxseed with three tablespoons of water and let it sit for five minutes to thicken.
Alternative Add-ins (e.g., nuts, fruits)
Mix in some chopped nuts for a crunchy bite. Walnuts or pecans work well. You can also add berries like raspberries or sliced bananas for a fruity touch. These add-ins bring extra flavor and texture to your chocolate peanut butter mug cake. Enjoy experimenting!
Storage Info
Best Ways to Store Leftovers
Store any leftover mug cake in an airtight container. This keeps it fresh. Place it in the fridge to enjoy later. It’s best to eat it within one day. The longer it sits, the drier it gets.
Reheating Instructions
To reheat your mug cake, pop it back in the microwave. Heat it for about 10 to 15 seconds. Check if it’s warm enough. If not, heat it a little more. Avoid overheating, or it may turn tough.
Freezing for Future Treats
You can freeze the mug cake for future treats. Cut it into pieces and wrap each piece in plastic wrap. Place these in a freezer-safe bag or container. This way, you can enjoy a chocolate peanut butter delight later. When ready to eat, thaw in the fridge. Reheat in the microwave as needed.
FAQs
Can I make this mug cake without a microwave?
Yes, you can! If you don’t have a microwave, use an oven instead. Preheat your oven to 350°F (175°C). Pour the batter into a small oven-safe dish. Bake for about 15 minutes or until the top is set. Check it often to avoid overbaking.
How long will the mug cake stay fresh?
The mug cake is best when eaten right away. If you have leftovers, cover it tightly. Store it in the fridge for up to two days. Reheat it in the microwave for a few seconds to enjoy it warm.
What can I substitute for peanut butter?
You can try almond butter or sunflower seed butter. Both work well and give a nice flavor. If you want a nut-free option, use a nut-free spread. Just remember to check for allergies if you share it with others.
In this post, I shared how to create a delicious mug cake. You learned about the key ingredients and their measurements, plus fun toppings. I explained step-by-step mixing and cooking tips. We discussed common mistakes and how to enhance flavors. I also shared tasty variations, storage tips, and answered common questions.
With these insights, you can confidently make your own mug cake, tailored to your taste. Enjoy exploring different flavors and sharing your tasty treats!