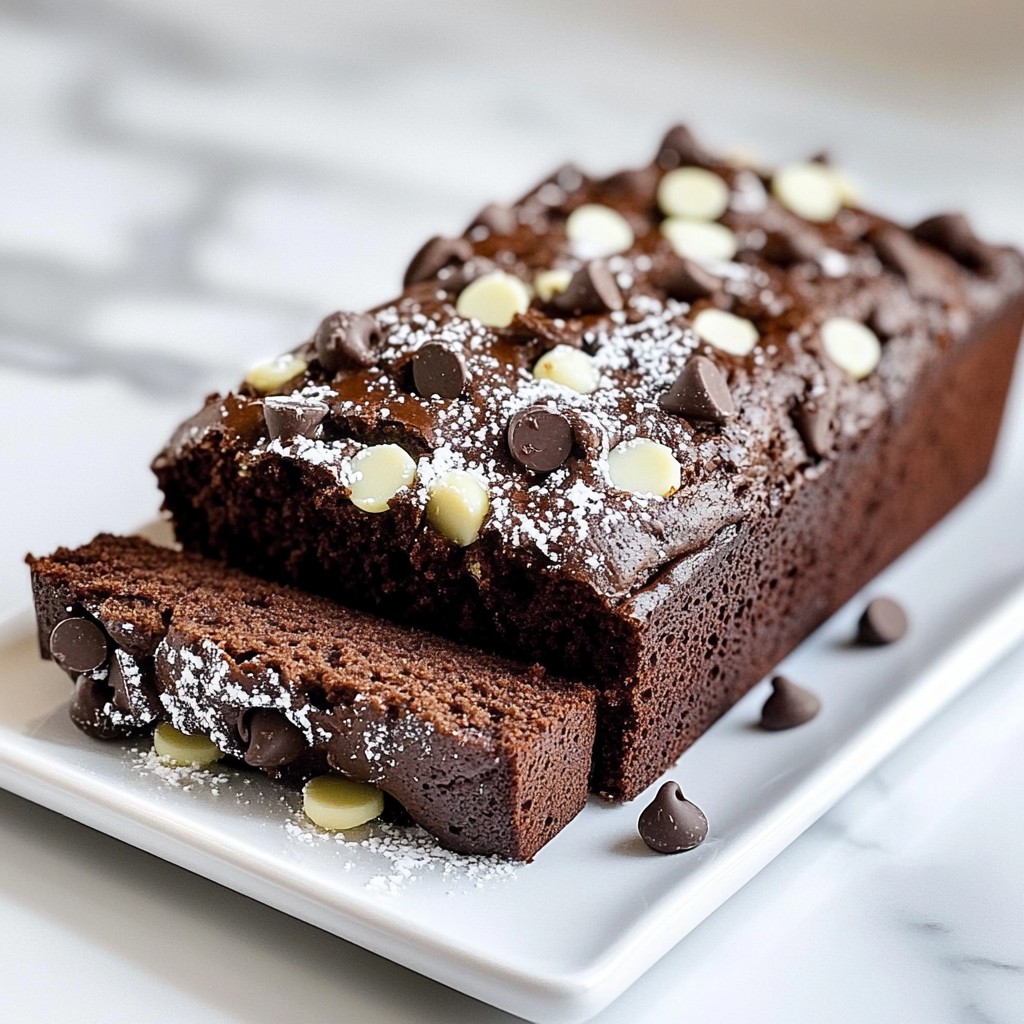
Craving a dessert that’s both simple and scrumptious? Let’s make Chocolate Hazelnut Crepes! This delightful treat is perfect for any time of day. With a smooth blend of rich chocolate and nutty hazelnuts, these crepes will impress everyone, even you! In this post, I’ll share the essential ingredients, easy steps, and tips to get that perfect texture. Let’s whip up a delicious dessert that you can enjoy at home!
Why I Love This Recipe
- Decadent Flavor: The combination of chocolate and hazelnuts creates a rich and indulgent taste that is simply irresistible.
- Easy to Make: This recipe is straightforward, making it perfect for both novice and experienced cooks.
- Customizable Toppings: You can top these crepes with your favorite fruits, nuts, or whipped cream, allowing for endless variations.
- Perfect for Any Occasion: Whether it's breakfast, dessert, or a special brunch, these crepes are sure to impress!
Ingredients
List of All Ingredients
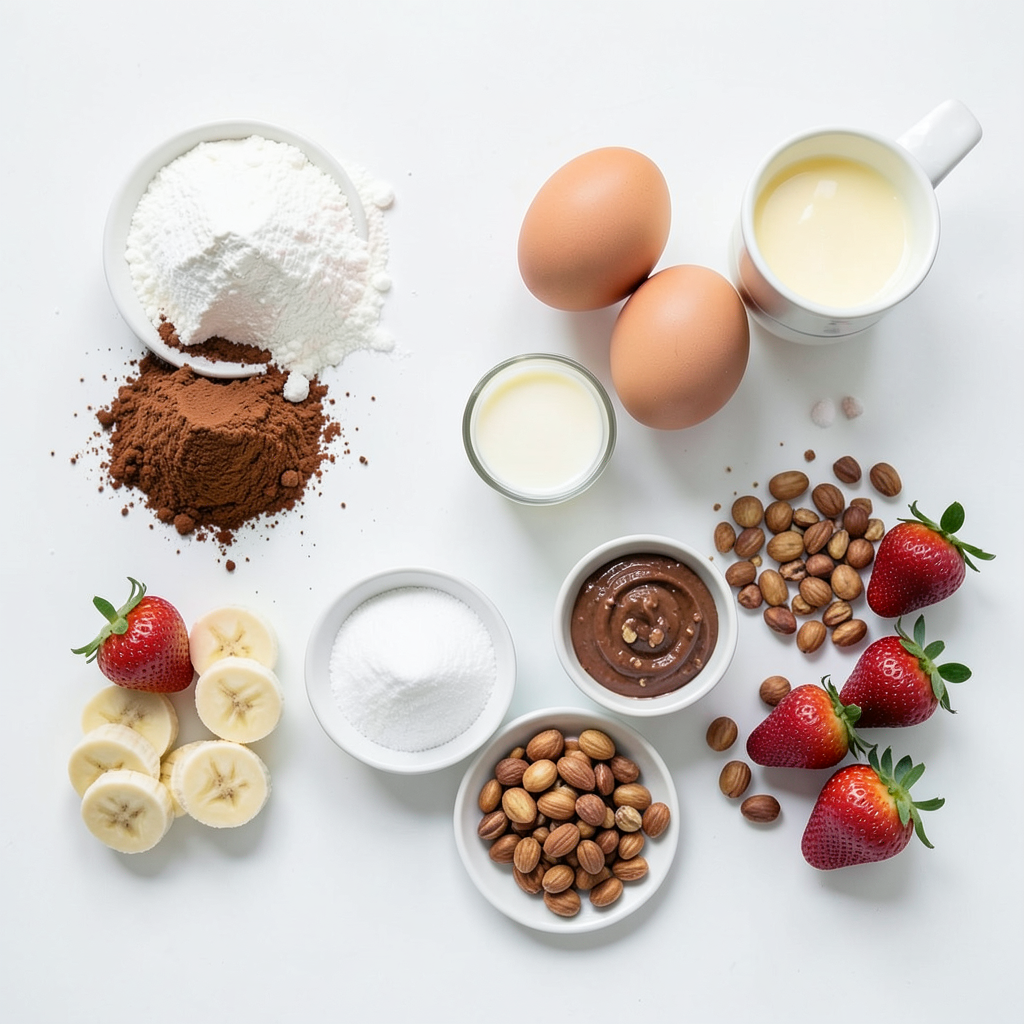
To make chocolate hazelnut crepes, gather these items:
- 1 cup all-purpose flour
- 2 tablespoons cocoa powder
- 2 tablespoons sugar
- 1/4 teaspoon salt
- 2 large eggs
- 1 1/2 cups milk
- 2 tablespoons melted butter
- 1 teaspoon vanilla extract
- 1/2 cup chocolate hazelnut spread (like Nutella)
- Chopped toasted hazelnuts for garnish
- Fresh strawberries or banana slices for topping
- Whipped cream (optional)
Importance of Ingredient Quality
The quality of your ingredients matters a lot. Fresh eggs and good chocolate hazelnut spread make your crepes taste great. Use high-quality cocoa powder for rich flavor. If your flour is fresh, it helps the crepes rise and stay fluffy. Remember, the better the ingredients, the better the dish.
Gluten-Free and Dairy-Free Alternatives
You can make these crepes gluten-free. Substitute all-purpose flour with a gluten-free blend. For dairy-free options, use almond milk or oat milk instead of regular milk. You can also swap the melted butter with coconut oil. This way, everyone can enjoy this tasty treat!
Step-by-Step Instructions
Preparation of Crepe Batter
Start by mixing the dry ingredients. In a bowl, whisk together:
- 1 cup all-purpose flour
- 2 tablespoons cocoa powder
- 2 tablespoons sugar
- 1/4 teaspoon salt
Mix it well until everything is combined. In another bowl, beat 2 large eggs. Then, add 1 1/2 cups milk, 2 tablespoons melted butter, and 1 teaspoon vanilla extract. Stir until mixed.
Now, slowly pour the wet mix into the dry ingredients. Whisk until the batter is smooth. Let it rest for 30 minutes. This helps the flavors blend together.
Cooking Perfect Crepes
Heat a non-stick skillet or crepe pan over medium heat. Lightly grease it with butter. Pour about 1/4 cup of the batter into the center of the pan. Swirl the pan to spread the batter evenly. Cook for 1-2 minutes. You know it’s ready when the edges lift and the top looks set.
Flip the crepe and cook for another 30 seconds to 1 minute. Transfer it to a plate. Repeat with the rest of the batter.
Assembling and Serving the Crepes
Once all your crepes are cooked, it’s time to fill them. Spread a generous layer of chocolate hazelnut spread on one half of each crepe. Fold the crepes in half or roll them up tightly.
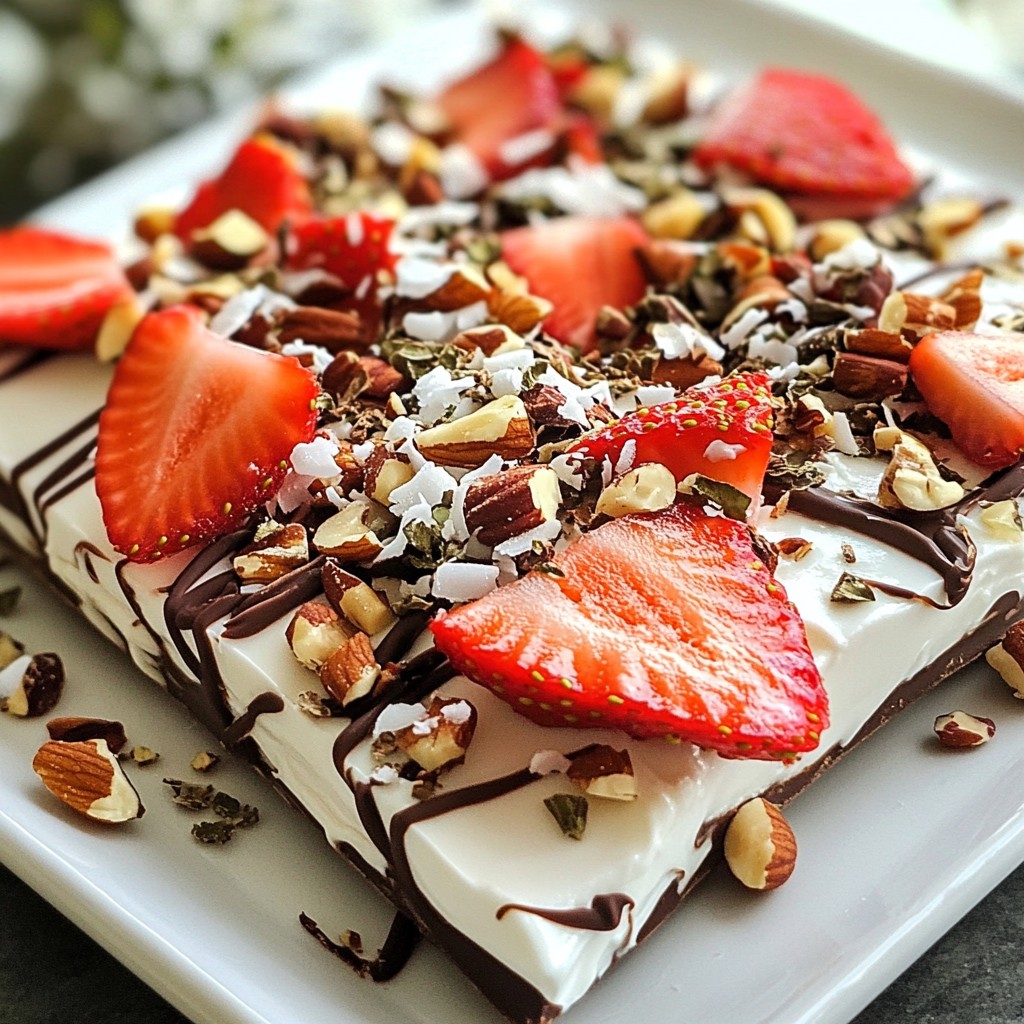
Serve the crepes warm. Top with chopped toasted hazelnuts, fresh strawberries, or banana slices. A dollop of whipped cream makes it even better! Enjoy your sweet treat!
Tips & Tricks
How to Achieve the Perfect Crepe Texture
To get the ideal crepe texture, focus on your batter. Start with a smooth mix. Whisk together flour, cocoa powder, sugar, and salt. Then, mix in the eggs, milk, melted butter, and vanilla. Let the batter rest for 30 minutes. This step helps the gluten relax. It makes the crepes tender. When cooking, ensure your pan is hot but not too hot. A medium heat works best. Pour just enough batter to coat the pan. Swirl it to get a thin layer. This gives you that delicate, paper-like texture.
Common Mistakes to Avoid
Avoid common mistakes for the best crepes. One mistake is pouring too much batter. This results in thick crepes that are hard to flip. Another mistake is not letting the batter rest. Skipping this step leads to chewy crepes. Also, make sure your pan is properly greased. If the crepes stick, they will tear. Finally, don’t rush the cooking. If you flip too soon, the crepes won't set properly. Wait until the edges lift to flip them.
Tools and Equipment Recommendations
Having the right tools makes cooking easier. A non-stick skillet or crepe pan is key. It helps cook the crepes evenly. A heat-resistant spatula is great for flipping. Measuring cups and spoons ensure you get the right amounts. A whisk will help mix your batter well. If you want to get fancy, a crepe spreader can help with even layers. Remember, having good tools makes cooking more fun!
Pro Tips
- Rest the Batter: Allowing the batter to rest for 30 minutes helps to relax the gluten, resulting in more tender crepes.
- Control the Heat: Keep the heat at medium to avoid burning the crepes. Adjust as necessary for even cooking.
- Use a Non-Stick Pan: A non-stick skillet is key for easy flipping and to prevent the crepes from sticking.
- Experiment with Fillings: Feel free to mix up the toppings! Try different fruits or flavored whipped cream for variety.
Variations
Flavor Variations: Adding Essence or Extracts
You can change the taste of your crepes with different essences. Try almond or orange extract for a new twist. Just add one teaspoon to your liquid mix. These flavors blend well with chocolate and hazelnuts. They add depth and make your crepes stand out.
Alternative Fillings and Toppings
While chocolate hazelnut spread is great, you can use other spreads. Try peanut butter or almond butter for a nutty flavor. You can also use fruit jams or fresh fruit. For a crunchy touch, add granola or crushed cookies. These toppings make each bite unique and fun.
Seasonal Variations: Fruit and Nut Combinations
Seasonal fruits can elevate your crepes. In spring, use fresh strawberries or raspberries. In fall, pair your crepes with sliced apples or pears. You can sprinkle cinnamon on top for added spice. Nuts like walnuts or pecans also add nice texture. Mix and match to find your favorite seasonal combos.
Storage Info
How to Store Leftover Crepes
To store leftover crepes, stack them neatly. Place parchment paper between each crepe. This keeps them from sticking together. Then, wrap the stack in plastic wrap. You can also use an airtight container. Store them in the fridge for up to three days.
Freezing Crepes for Later Use
Freezing crepes is easy and smart. After cooling, stack the crepes with parchment paper. Wrap the stack tightly in plastic wrap. Then, place the wrapped stack in a freezer bag. Be sure to squeeze out air. Your crepes can last up to two months in the freezer. When you want to use them, simply thaw overnight in the fridge.
Reheating Tips for Best Results
Reheating crepes is simple and quick. For the best taste, use a skillet. Heat the skillet over medium heat. Place the crepe in the skillet for about 30 seconds on each side. You can also use the microwave. Heat on medium for about 15 seconds. If you want them warm and soft, cover with a damp paper towel while heating. Enjoy your crepes warm for the best flavor!
FAQs
What is the best way to flip crepes?
To flip crepes, use a thin spatula. Gently slide it under the crepe. Lift it slightly and quickly turn it over. You can also use your hands if you feel brave. Just be careful not to burn yourself! Flipping takes practice. Start slow, and you will get better.
Can I make the batter ahead of time?
Yes, you can make the batter ahead of time. Mix the dry and wet ingredients, then let it rest. Cover the bowl with plastic wrap. Store it in the fridge for up to 24 hours. Just stir it again before cooking. This helps the flavors develop and makes crepes even tastier.
How do I know when crepes are fully cooked?
Crepes are fully cooked when the edges lift slightly. The surface should look set, not shiny. Cook for about 1-2 minutes on one side, then flip. After flipping, cook for about 30 seconds more. The crepes should be soft and slight golden. Perfect for adding your chocolate hazelnut spread!
In this blog post, we explored how to make delicious crepes. Quality ingredients matter for taste and texture. We learned to prepare, cook, and assemble crepes step by step. I shared tips to avoid mistakes and suggestions for tools. We discussed fun flavor and filling variations, plus storage and reheating methods. Remember, practice makes perfect. Enjoy your crepe-making journey and try new flavors. Crepes are simple and fun for all!