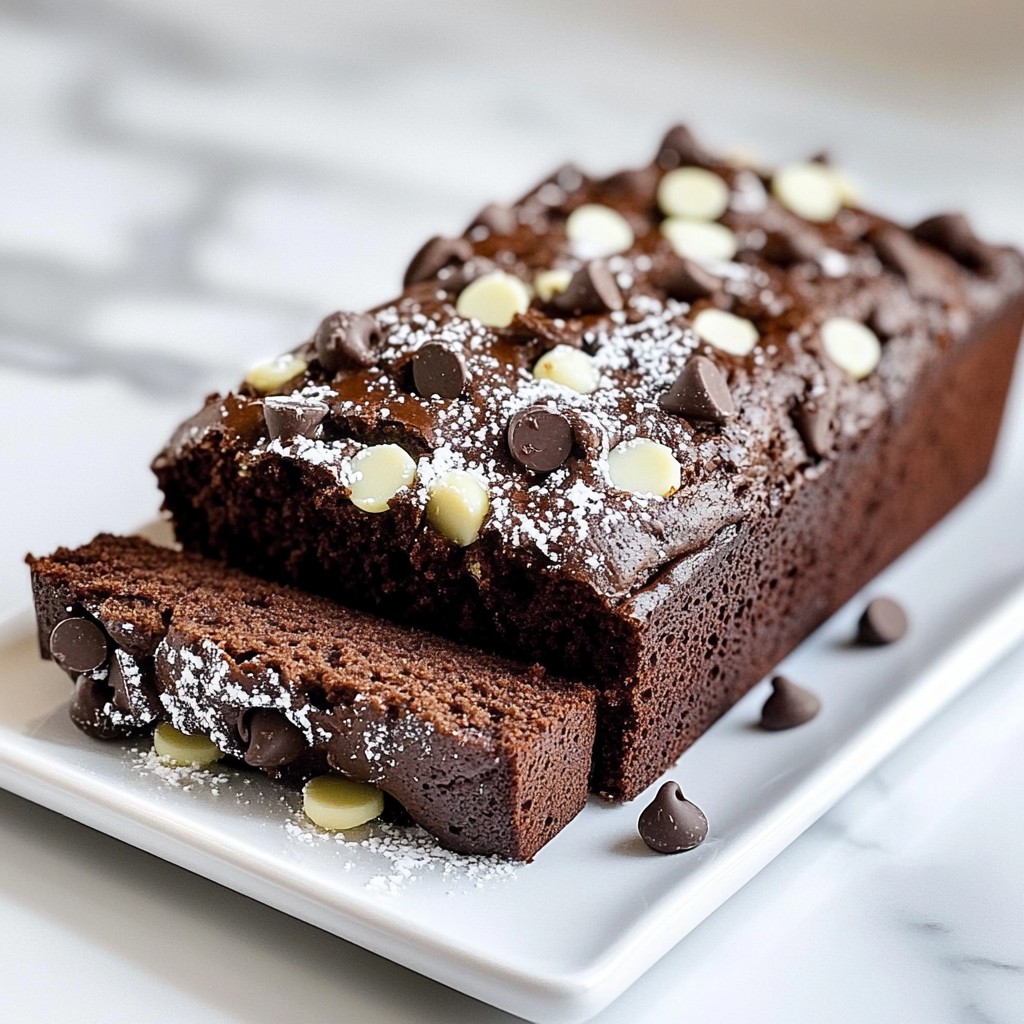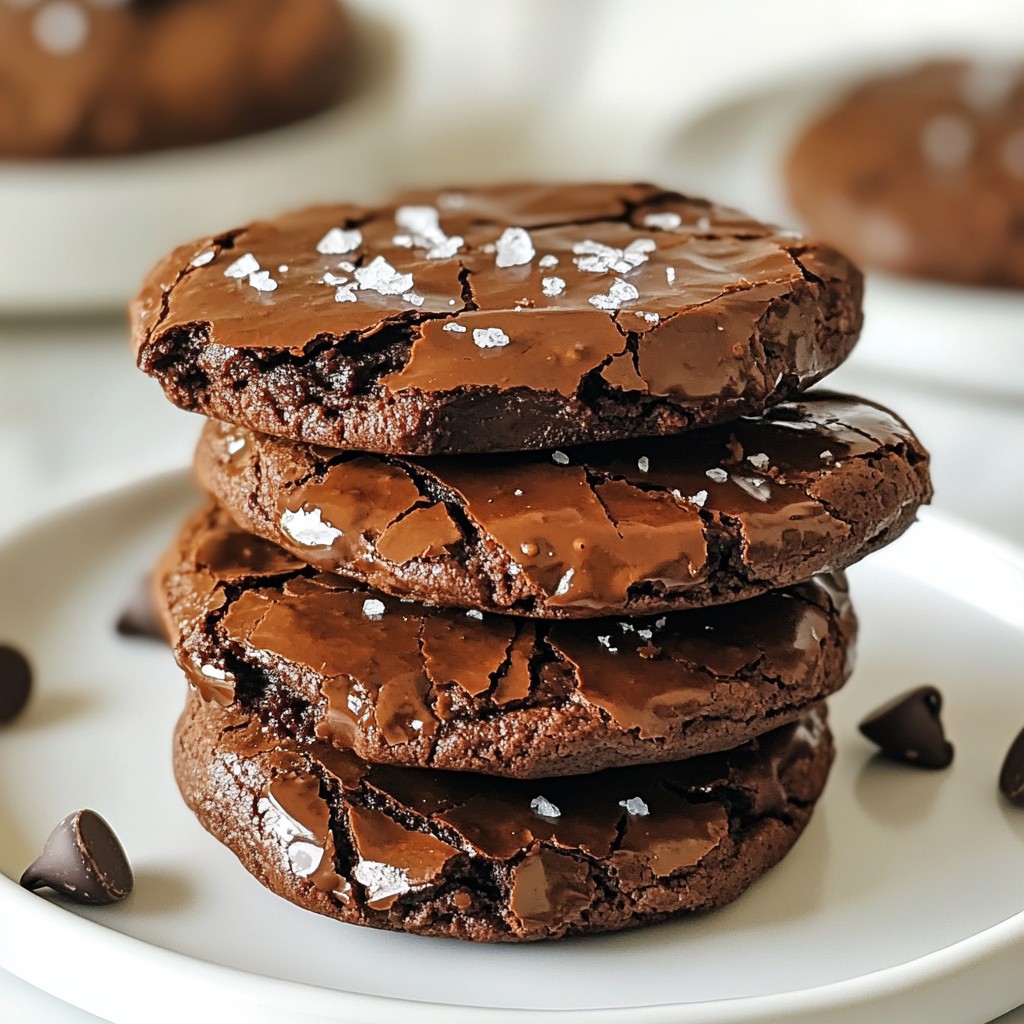
Are you ready to dive into a world of rich, chocolatey goodness? These Chocolate Fudge Brownie Cookies are the perfect treat for any chocolate lover. With a chewy texture and a burst of flavor, each bite will leave you craving more. In this post, I will guide you through simple steps to create these irresistible cookies, along with tips, variations, and storage secrets. Let’s make your kitchen a haven of sweet delight!
Why I Love This Recipe
- Decadent Flavor: These cookies are rich and fudgy, combining the best elements of brownies and cookies in every bite.
- Quick and Easy: With just a 15-minute prep time, you can enjoy freshly baked cookies in no time.
- Customizable: Add your favorite nuts or even swap in different types of chocolate chips to make them your own.
- Perfect for Sharing: These cookies are great for gatherings or as a sweet gift, sure to impress anyone who tries them.
Ingredients
To make Chocolate Fudge Brownie Cookies, you need the following ingredients. These items help create rich, chewy cookies that everyone will love.
- ½ cup (1 stick) unsalted butter, melted
- 1 cup granulated sugar
- 2 large eggs
- 1 teaspoon vanilla extract
- 1 cup all-purpose flour
- ⅓ cup unsweetened cocoa powder
- ½ teaspoon baking powder
- ¼ teaspoon salt
- 1 cup semisweet chocolate chips
- ½ cup chopped walnuts or pecans (optional)
- Sea salt for sprinkling
Each ingredient plays a key role in the flavor and texture of these cookies. The unsalted butter gives a creamy base. Granulated sugar adds sweetness and helps create that chewy texture. Eggs bind everything together while adding moisture.
Vanilla extract adds a warm, inviting flavor. Flour acts as the main structure. Cocoa powder gives the cookies their rich chocolate taste. Baking powder helps them rise slightly, while salt balances the sweetness.
Semisweet chocolate chips provide little pockets of melted chocolate, which are amazing! If you want some crunch, try adding walnuts or pecans. Lastly, a sprinkle of sea salt enhances all the flavors.
These ingredients combine to make cookies that are truly irresistible.

Step-by-Step Instructions
Preparation
1. Start by preheating your oven to 350°F (175°C). This step is key for even baking.
2. Next, line a baking sheet with parchment paper. This helps the cookies not to stick.
Mixing the Ingredients
1. In a mixing bowl, combine the melted butter with granulated sugar. Stir until the mix is smooth and shiny.
2. Add the eggs one at a time. Beat well after each egg. Mix in the vanilla extract until it’s fully blended.
3. In another bowl, sift the all-purpose flour, cocoa powder, baking powder, and salt together.
4. Gradually add the dry mix to the wet mix. Stir until just combined. Overmixing can make cookies tough.
5. Now it’s time to fold in the chocolate chips and nuts if you are using them. Make sure they are evenly spread.
Baking the Cookies
1. Use a cookie scoop or tablespoon to drop heaping spoonfuls of dough onto the baking sheet. Leave about 2 inches between each one.
2. Sprinkle a small pinch of sea salt on top of each cookie. This adds a nice flavor boost.
3. Bake in the preheated oven for 10-12 minutes. The edges should be set, but the center should look a bit underbaked. This keeps them soft.
4. Let the cookies cool on the baking sheet for 5 minutes before moving them to a wire rack. This helps them firm up a bit.
Tips & Tricks
Achieving the Perfect Texture
To get the ideal texture, mix just enough. Overmixing makes cookies tough. You should stop when you can still see some dry flour. The dough should feel thick and a bit sticky.
Watch for signs of doneness when baking. The edges should look set and firm. The center may look soft and slightly underbaked. This helps keep them chewy and rich.
Enhancing Flavor
You can boost flavor with fun mix-ins. Try adding caramel bits for a sweet twist. Mint chips give a refreshing taste. You can also use dried fruit for extra chewiness.
For serving, warm the cookies just a bit. They taste best when fresh out of the oven. Pair them with a glass of milk or a scoop of ice cream.
Presentation Ideas
For a creative touch, stack cookies on a pretty plate. You can also use a mason jar tied with a ribbon. This makes them look lovely for gifts or parties.
Pair the cookies with hot chocolate or coffee. The rich flavors match well together. You can even serve them with a scoop of vanilla ice cream for a special treat.
Pro Tips
- Use Quality Chocolate: Opt for high-quality semisweet chocolate chips for a richer flavor in your cookies.
- Don’t Overmix: Mixing the dough just until combined helps to keep the cookies soft and chewy.
- Chill the Dough: For thicker cookies, chill the dough for 30 minutes before baking to prevent spreading.
- Check for Doneness: The cookies should look slightly underbaked in the center; they will continue to firm up as they cool.
Variations
Flavor Variations
You can easily change the flavor of your cookies. If you want a nut-free option, just skip the nuts. The cookies will still be rich and tasty. You can also try different types of chocolate chips. Use dark, milk, or even white chocolate chips. Each type gives a fun twist to the flavor.
Dietary Modifications
For a gluten-free alternative, swap all-purpose flour with a gluten-free flour blend. This keeps the texture soft and chewy. If you're vegan, replace the eggs with flax eggs. Just mix one tablespoon of ground flaxseed with three tablespoons of water. Let it sit for a few minutes to thicken, then add it to your mix. You can also use plant-based butter instead of regular butter.
Seasonal Twists
Get creative for the holidays! Add peppermint extract for a festive flavor. You can also mix in mini marshmallows for a fun holiday treat. For birthdays, add colorful sprinkles to the dough. These little touches make each batch special and fun for any occasion.
Storage Info
Best Storage Practices
Store your chocolate fudge brownie cookies at room temperature. They stay soft and chewy this way. If you want them to last longer, use an airtight container. This keeps the cookies fresh and prevents them from drying out. You can also put them in the fridge, but this may change their texture. Cookies get firmer when chilled.
Freezing Cookies
You can freeze both the cookie dough and baked cookies. To freeze dough, scoop it onto a baking sheet. Space them out and freeze until solid. Then, transfer them to a freezer bag. For baked cookies, let them cool completely. Then, layer them in a freezer-safe container with parchment paper in between.
To thaw, take out the cookies or dough and leave them at room temperature for about 30 minutes. Bake the dough without needing to defrost.
Shelf Life
These cookies are best eaten fresh, but they can last for up to a week at room temperature. If you store them in the fridge, they can last for about two weeks. If frozen, they can keep for up to three months. Just remember, the sooner you eat them, the better they taste!
FAQs
How do I know when the cookies are done baking?
You can tell the cookies are done when the edges are set. Look for a slight shine in the center. After baking for 10-12 minutes, they may seem soft. They will firm up as they cool.
Can I add different nuts or ingredients?
Yes, you can add different nuts or ingredients. Try using almonds, hazelnuts, or even dried fruit. Just make sure to keep the total amount the same. This keeps the cookie texture just right.
How do I keep my cookies soft?
To keep your cookies soft, store them in an airtight container. You can also add a slice of bread to the container. The bread will help keep the cookies moist and soft.
What's the best way to store leftover cookies?
Store leftover cookies in an airtight container at room temperature. They stay fresh for about a week this way. For longer storage, consider freezing them, which I’ll explain below.
Can I make these cookies ahead of time?
Yes, you can make these cookies ahead of time. You can prepare the dough and chill it for a few hours. You can also freeze the dough for up to a month. Just thaw it in the fridge before baking.
You learned how to make delicious cookies. From the right ingredients to storage, each step matters. Follow the mixing and baking instructions for tasty results. Use my tips for texture and flavor, too. Try fun variations to match any occasion. Remember, proper storage keeps your cookies fresh longer. Enjoy making and sharing these treats. Happy baking!