Are you ready to take your dinner game to the next level? My Cheese-Stuffed Chicken with Sun-Dried Tomatoes recipe delivers a burst of flavor in every bite. This dish combines juicy chicken breasts with a creamy cheese filling, enhanced by tangy sun-dried tomatoes. With simple steps and easy ingredients, you’ll impress your family or guests. Let’s dive into this delicious main course that will surely become a favorite!
Why I Love This Recipe
- Delicious Flavor Combination: The creamy cheese paired with the tangy sun-dried tomatoes creates a mouthwatering filling that elevates the chicken to a new level of taste.
- Easy to Prepare: This recipe requires minimal prep time, making it perfect for a weeknight dinner without sacrificing flavor.
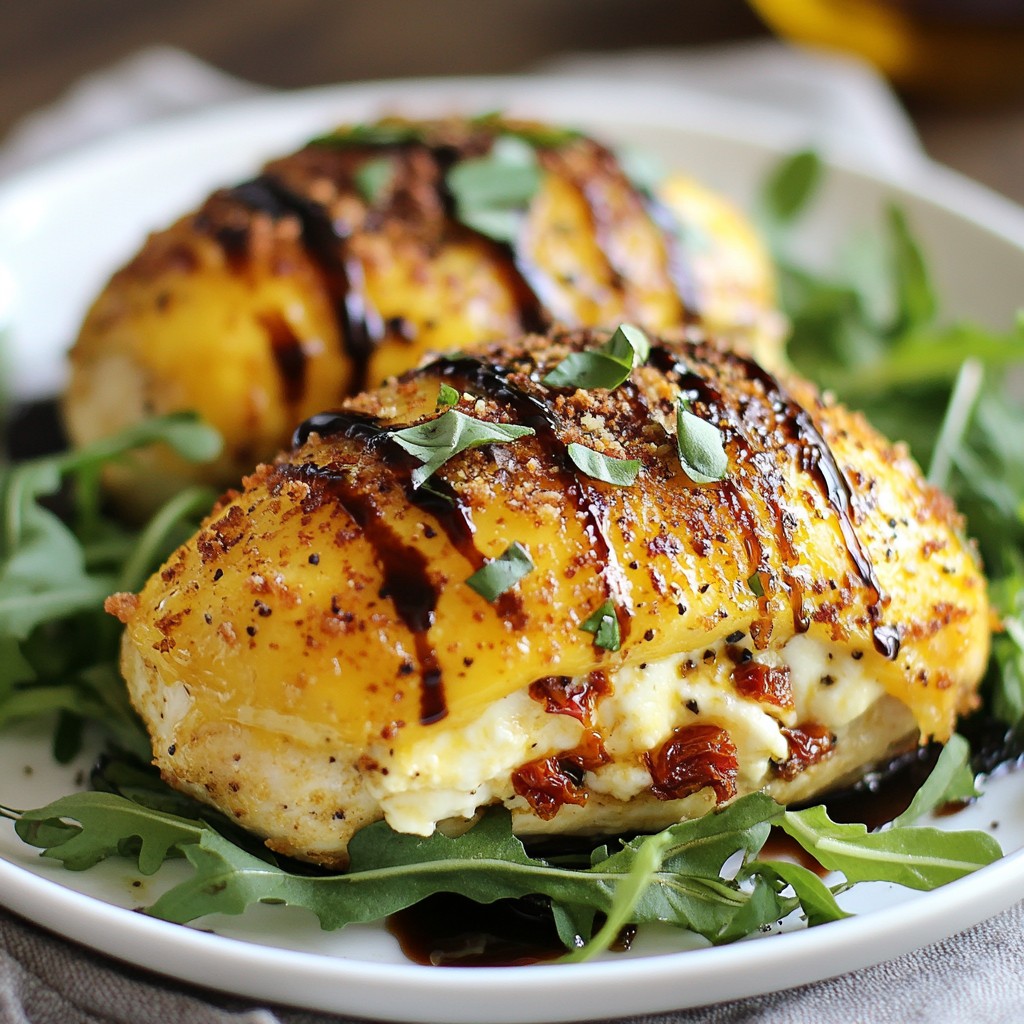
- Impressive Presentation: With its golden crust and colorful filling, this dish looks as good as it tastes, making it great for entertaining guests.
- Customizable Ingredients: You can easily swap the filling ingredients based on your preferences or what you have on hand, making it versatile and fun to experiment with.
Ingredients
List of Ingredients
- 4 boneless, skinless chicken breasts
- 1 cup cream cheese, softened
- 1 cup shredded mozzarella cheese
- 1/2 cup sun-dried tomatoes, finely chopped
- 1/4 cup fresh basil, chopped
- 2 cloves garlic, minced
- 1 teaspoon Italian seasoning
- Salt and pepper to taste
- 2 tablespoons olive oil
- 1/2 cup breadcrumbs
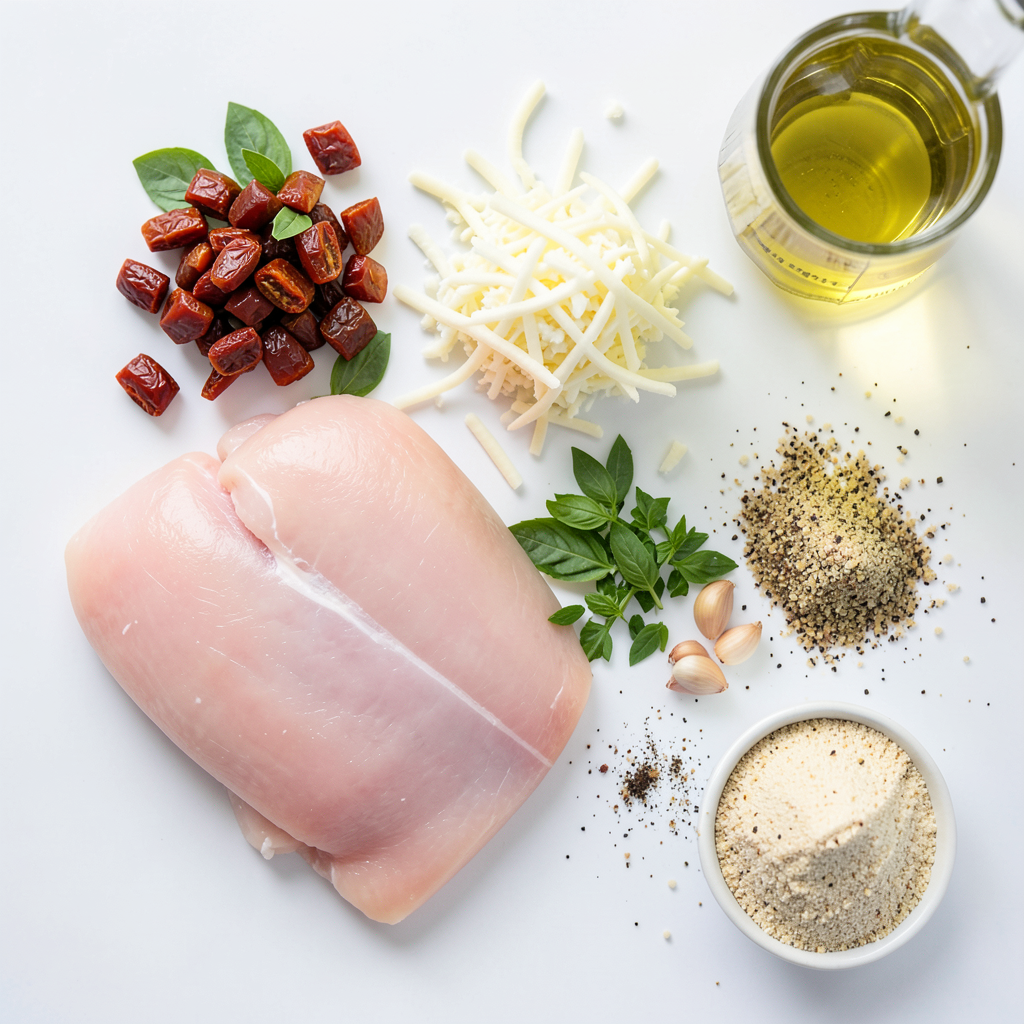
To make cheese-stuffed chicken with sun-dried tomatoes, gather these fresh ingredients. You need chicken breasts as the main item. Cream cheese and mozzarella create a rich filling. Sun-dried tomatoes add a burst of flavor. Fresh basil brightens the dish, while garlic brings depth. Italian seasoning ties everything together. Don’t forget salt and pepper to enhance taste. Olive oil helps with cooking, and breadcrumbs add a crispy topping.
These ingredients work well together. Each one plays a role in making the chicken delicious. Preparing them right will ensure your dish shines. Enjoy picking out your ingredients; freshness makes a big difference!
Step-by-Step Instructions
Preparation and Preheating
First, preheat your oven to 375°F (190°C). This step gets your oven ready for baking. While it heats, gather your ingredients. You need boneless, skinless chicken breasts, cream cheese, mozzarella, sun-dried tomatoes, fresh basil, garlic, Italian seasoning, salt, pepper, olive oil, and breadcrumbs. Make sure everything is within reach to keep the cooking smooth.
Preparing the Cheese Mixture
In a bowl, combine the cream cheese, shredded mozzarella, and chopped sun-dried tomatoes. Add in the fresh basil and minced garlic. Sprinkle in the Italian seasoning, salt, and pepper. Mix it all well until it becomes a smooth, flavorful cheese blend. This mixture will give your chicken a tasty surprise inside.
Stuffing the Chicken
Take each chicken breast and carefully slice it lengthwise to create a pocket. Be careful not to cut all the way through. Once you have your pockets, stuff each one with the cheese mixture. If needed, use toothpicks to seal the openings. This keeps the cheesy goodness inside while cooking.
Cooking the Chicken
Heat olive oil in a large skillet over medium-high heat. Once hot, place the stuffed chicken breasts in the skillet. Sear them for about 3-4 minutes on each side until they turn golden brown. After searing, transfer the chicken to a baking dish. Top each breast with breadcrumbs for a nice crunch. Bake in the oven for 25-30 minutes. The chicken should reach an internal temperature of 165°F (75°C) when done.
Final Touches
After baking, let the chicken rest for a few minutes. This helps keep it juicy. For a beautiful presentation, serve the cheese-stuffed chicken on a bed of fresh arugula or spinach. Drizzle with balsamic glaze and garnish with extra basil and sun-dried tomatoes. This makes your dish look colorful and appetizing!
Tips & Tricks
Cooking Tips
To keep chicken juicy, I recommend a few simple steps. First, choose fresh chicken breasts. They tend to stay moist during cooking. When you create the pocket, do not cut all the way through. This helps seal in the filling. Sear the chicken in a hot skillet with olive oil. This step adds flavor and keeps the juices locked in. Finally, bake the chicken at the right temperature for a perfect finish.
Flavor Enhancements
Want to boost flavor? Try adding more herbs and spices. Fresh thyme or oregano pairs well with the sun-dried tomatoes. You could also mix in a bit of red pepper flakes for heat. If you love garlic, add more minced garlic to the cheese mixture. These small changes can make a big difference in taste.
Presentation Tips
For a beautiful plate, serve the chicken on a bed of fresh arugula. Drizzle balsamic glaze over the dish for a touch of sweetness. Garnish with extra basil and sun-dried tomatoes for color. This makes the dish look as good as it tastes. You want your meal to be eye-catching and delicious!
Pro Tips
- Choose the Right Chicken: Opt for chicken breasts that are of even thickness to ensure even cooking and prevent drying out.
- Customize the Filling: Feel free to add other ingredients such as spinach, roasted red peppers, or different cheeses to the stuffing for added flavor.
- Let it Rest: Allow the chicken to rest for a few minutes after baking to let the juices redistribute, ensuring a moist and tender bite.
- Breadcrumb Choice: Use panko breadcrumbs for an extra crispy topping; they create a delightful crunch that contrasts nicely with the creamy filling.
Variations
Ingredient Swaps
You can change the cheese in this dish. Try feta or goat cheese. Both add a tangy flavor. You can also swap the stuffing. Add spinach or mushrooms for a different taste. Use your favorite herbs, like thyme or oregano, to mix things up.
Cooking Methods
You can grill or bake the chicken. Grilling gives a smoky flavor and nice grill marks. It takes about 20 minutes on medium heat. Baking is easier and keeps the chicken moist. It takes about 30 minutes in the oven. Choose what fits your style and mood.
Dietary Adjustments
You can make this dish gluten-free. Just use gluten-free breadcrumbs or skip them altogether. If you need a dairy-free option, try using vegan cream cheese. You can also use nutritional yeast for a cheesy flavor. Always check labels to ensure all ingredients fit your diet.
Storage Info
Storing Leftovers
After you enjoy your cheese-stuffed chicken, store leftovers safely. Place the chicken in an airtight container. It helps keep moisture in and flavors fresh. You can refrigerate it for up to three days. Make sure to cool the chicken before sealing it. This step aids in keeping the chicken juicy.
Reheating Instructions
To reheat your chicken, use an oven for the best taste. Preheat the oven to 350°F (175°C). Place the chicken in a baking dish and cover it with foil to keep it moist. Heat for about 15-20 minutes until warm. You can also use a microwave, but it may dry out the chicken. If using a microwave, cover the chicken and heat in short bursts, checking often.
Freezing Tips
If you want to save some for later, freezing works well. Wrap each stuffed chicken breast tightly in plastic wrap. Then, place them in a freezer bag or airtight container. Label the bag with the date. You can freeze them for up to three months. To thaw, move the chicken to the fridge overnight. After thawing, reheat as mentioned above to enjoy a tasty meal later.
FAQs
How long to bake the cheese-stuffed chicken?
Bake the cheese-stuffed chicken for 25 to 30 minutes. This time allows the chicken to cook through. Make sure the internal temperature reaches 165°F (75°C) for safety. If you have a meat thermometer, it’s a great tool to check.
Can I use different cheeses for stuffing?
Yes, you can use different cheeses for stuffing. Options like feta or cheddar work well. Experimenting with flavors can lead to exciting results. Choose cheeses that melt nicely for that gooey texture.
What sides go well with cheese-stuffed chicken?
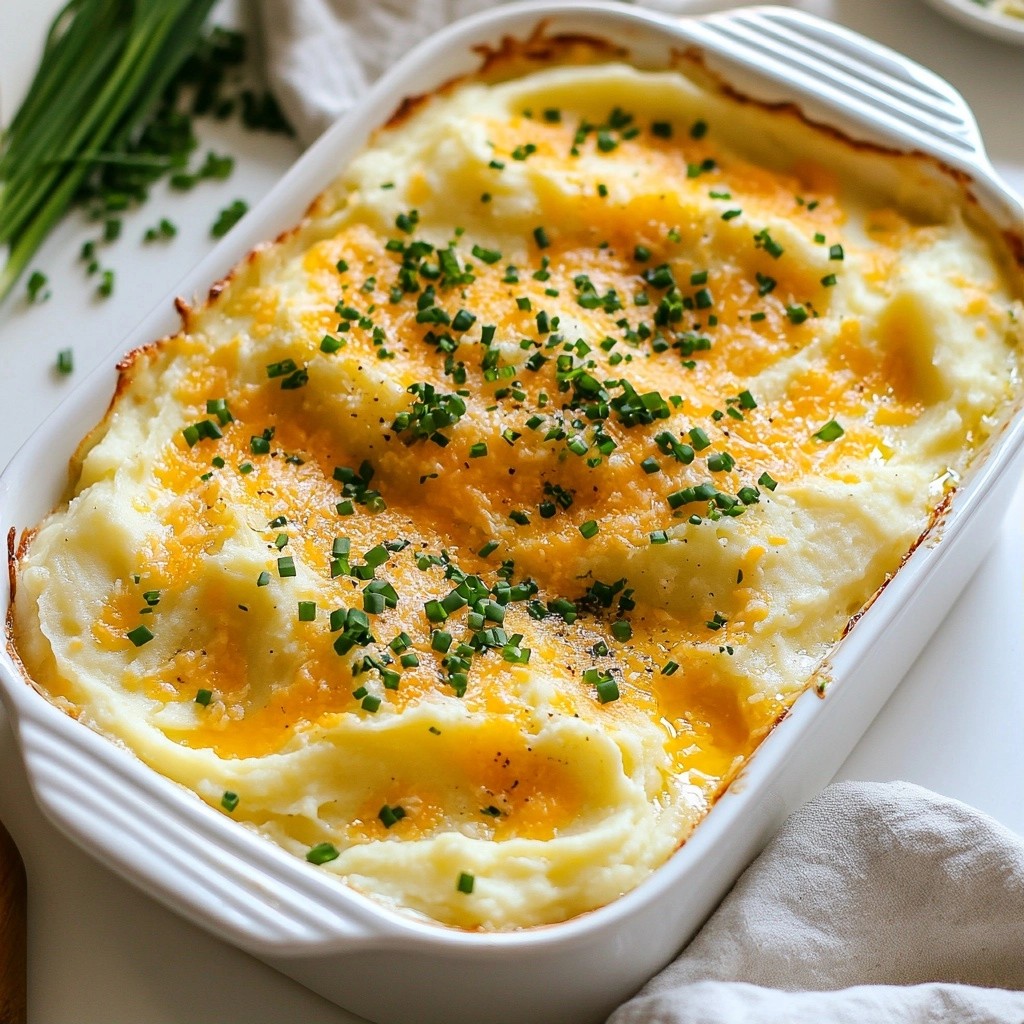
Cheese-stuffed chicken pairs well with many sides. You can serve it with fresh salad or roasted vegetables. Mashed potatoes or quinoa are also great options. A light pasta dish can complement the rich flavors too.
Can I make this recipe ahead of time?
You can prepare the cheese-stuffed chicken ahead. Stuff the chicken and store it in the fridge for up to a day. This makes it easy for a quick dinner later. Just remember to adjust the cooking time if it's cold from the fridge.
Is it necessary to seal the chicken pockets?
Sealing the chicken pockets is not strictly necessary. However, it helps keep the cheese inside during cooking. Use toothpicks if you want to ensure no cheese leaks out. This can also make for a neater presentation.
You now have a clear plan to make delicious cheese-stuffed chicken. We covered essential ingredients, step-by-step cooking, tips for success, and ways to customize the dish. With helpful storage info and answers to common questions, you can enjoy this meal anytime. Experiment with flavors, and don't be afraid to try new ideas. This dish is not just about taste; it’s also about having fun in the kitchen. Your cheese-stuffed chicken will impress everyone at the table. Happy cooking!