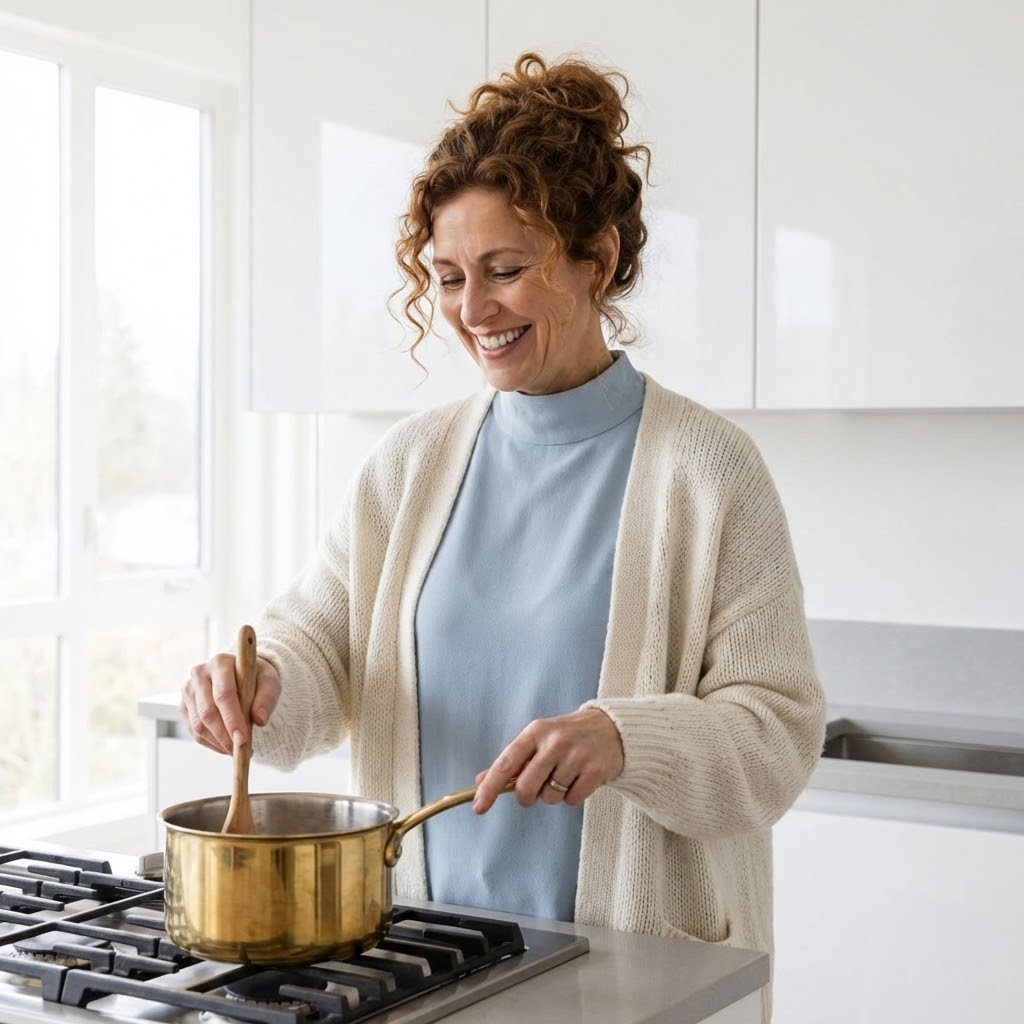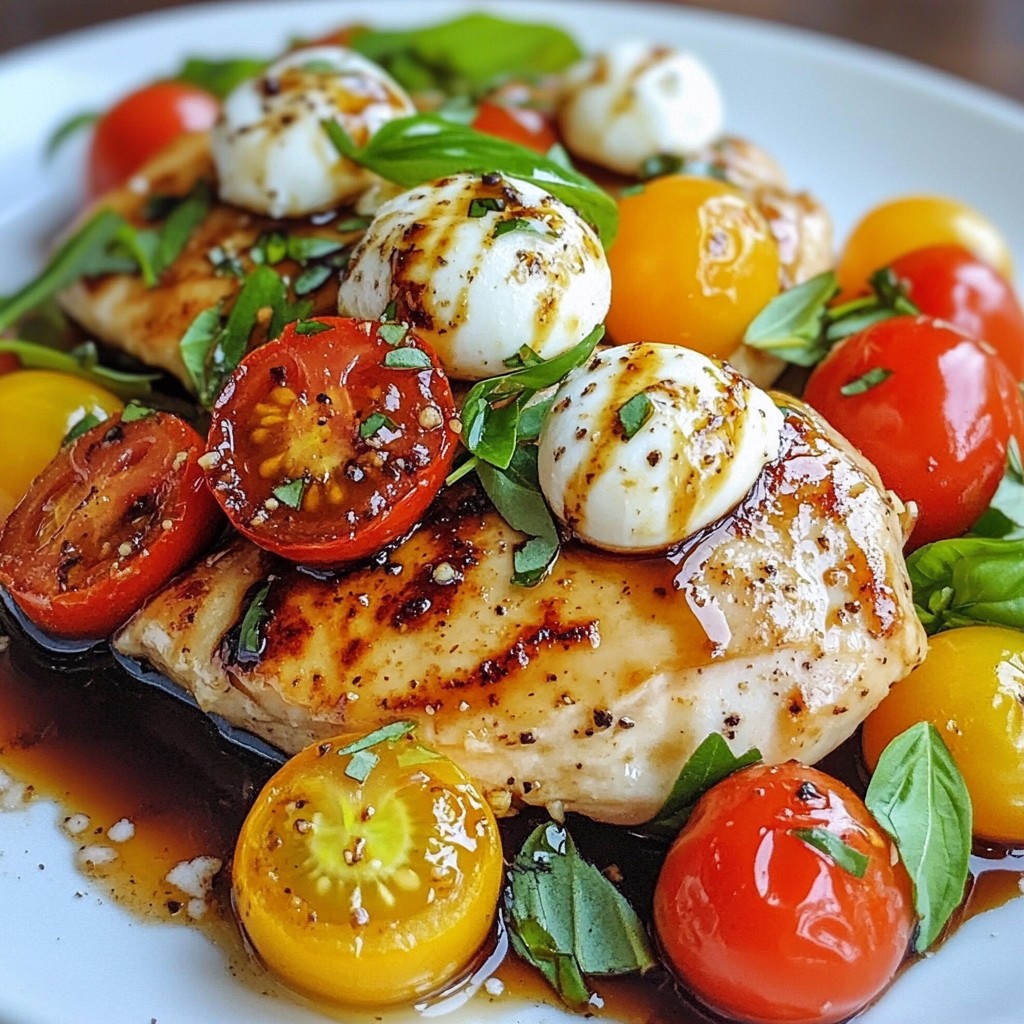
Looking for a quick and tasty meal? Balsamic Glazed Caprese Chicken is a perfect choice! It combines juicy chicken, fresh mozzarella, and vibrant tomatoes, all drizzled with a sweet balsamic glaze. This dish is easy to make and packed with flavor. In this guide, I'll walk you through the simple steps, share tips for perfection, and offer variations to suit everyone’s tastes. Let’s get cooking!
Why I Love This Recipe
- Quick and Easy: This recipe takes just 30 minutes from start to finish, making it perfect for busy weeknights.
- Flavorful Combination: The sweet and tangy balsamic glaze pairs beautifully with the juicy chicken and fresh ingredients.
- Healthy and Colorful: With fresh tomatoes and basil, this dish is not only nutritious but also visually appealing.
- Customizable: You can easily swap ingredients like using different cheeses or adding vegetables according to your preference.
Ingredients
Main Ingredients
- 4 boneless, skinless chicken breasts
- 1 cup cherry tomatoes, halved
- 1 cup fresh mozzarella balls, halved
- 1/2 cup fresh basil leaves, chopped
Pantry Staples
- 2 tablespoons olive oil
- 1/4 cup balsamic vinegar
- 2 tablespoons honey
Seasoning
- Salt and pepper to taste
- 1 teaspoon garlic powder
- 1 teaspoon dried Italian herbs
To make Balsamic Glazed Caprese Chicken, gather these ingredients first. The chicken breasts are the main star of the dish. They provide protein and a nice texture. Cherry tomatoes add sweetness and color. Fresh mozzarella offers creaminess that melts beautifully. Fresh basil brings a fragrant touch.
Next, check your pantry for staples. Olive oil is perfect for cooking the chicken. Balsamic vinegar adds a tangy flavor to the glaze. Honey balances the acidity with sweetness.
Finally, don’t forget the seasoning. Salt and pepper enhance every bite. Garlic powder gives a warm, savory note. Dried Italian herbs bring an aromatic blend that ties everything together. Each ingredient plays a key role in creating a tasty dish. With these items, you are ready to start cooking!

Step-by-Step Instructions
Preparing the Chicken
To start, season both sides of the chicken breasts. Use salt, pepper, and garlic powder for great flavor. Don't be shy with the seasonings. They will enhance the chicken's taste.
Next, heat olive oil in a large skillet over medium-high heat. Once hot, add the chicken breasts. Sear them for about 5 to 7 minutes on each side. Look for a nice golden brown color. This shows they're cooked through. After searing, remove the chicken from the skillet and set it aside.
Making the Balsamic Glaze
Now, it’s time to make the balsamic glaze. Lower the heat to medium. In the same skillet, add balsamic vinegar, honey, and dried Italian herbs. Stir these ingredients together well. Let them cook for about 3 to 4 minutes. You want the mixture to thicken slightly. This will create a sweet and tangy glaze.
Combining Ingredients
Add the halved cherry tomatoes and fresh mozzarella to the skillet. Stir them into the glaze. Cook for an additional 2 to 3 minutes. This helps the tomatoes soften and the cheese melt a little.
Finally, return the seared chicken to the skillet. Spoon the balsamic glaze, tomatoes, and mozzarella over the chicken. Cook for another 1 to 2 minutes until everything is heated through.
This process creates a delicious dish that looks and tastes great!
Tips & Tricks
Perfecting the Chicken
- Recommended cooking times: Cook the chicken for 5-7 minutes on each side. You want it golden brown and cooked through. Use a meat thermometer to check. The inside should reach 165°F.
- Ensuring chicken is juicy: Let the chicken rest for a few minutes after cooking. This keeps the juices inside. It makes every bite tender and flavorful.
Enhancing the Balsamic Glaze
- Variations on sweetness using honey: Adjust the amount of honey based on your taste. More honey gives a sweeter glaze. Less honey makes it tangier. Find what you like best!
- Adjusting consistency if too thick: If the glaze is too thick, add a splash of water. Stir and heat it gently until it reaches your desired thickness.
Serving Suggestions
- Ideal side dishes: Pair the chicken with roasted vegetables or a fresh salad. Garlic bread also makes a great side. It soaks up the tasty glaze!
- Presentation tips: Serve the chicken on a nice plate. Drizzle extra balsamic glaze over it. Top with fresh basil for a pop of color. It looks as good as it tastes!
Pro Tips
- Use Fresh Ingredients: For the best flavor, always opt for fresh basil, ripe cherry tomatoes, and high-quality mozzarella.
- Perfectly Cooked Chicken: To ensure the chicken is juicy, use a meat thermometer; it should reach an internal temperature of 165°F (75°C).
- Customize the Glaze: Feel free to adjust the sweetness of the balsamic glaze by adding more or less honey according to your taste.
- Serve with Sides: Pair this dish with a fresh salad or garlic bread to complete your meal and soak up that delicious glaze.
Variations
Ingredient Swaps
You can easily change the cheese in this dish. Instead of fresh mozzarella, try goat cheese or feta. Both add a creamy texture and distinct flavor. Use a mix of cheeses for a fun twist! For herbs, fresh oregano or thyme can give a new taste. You can also mix in parsley for a fresh touch. These swaps keep the dish exciting and flavorful.
Preparing for Different Diets
If you need a gluten-free option, this recipe is great as is. Just make sure your balsamic vinegar is gluten-free. Most brands are safe, but check the label. For low-carb diets, skip the honey or use a sugar-free sweetener. You can also serve the dish with a salad instead of bread or pasta. This helps keep carbs low while still enjoying the meal.
Cooking Methods
You can bake the chicken if you prefer. Preheat your oven to 375°F. Place the seasoned chicken in a baking dish and cover it. Bake for 25-30 minutes until cooked through. Stovetop cooking is quick and gives a nice sear. The chicken has a great flavor this way. Grilling is another fun method. Grill the chicken on medium heat for 6-8 minutes per side. This adds a smoky taste that pairs well with the balsamic glaze.
Storage Info
Leftover Storage
To keep your Balsamic Glazed Caprese Chicken fresh, store it in an airtight container. This helps lock in flavor and moisture. Place it in the fridge within two hours of cooking. It stays good for about three to four days.
Freezing Instructions
Yes, you can freeze Balsamic Glazed Caprese Chicken. First, let it cool completely. Then, wrap it tightly in plastic wrap and place it in a freezer bag. It will stay fresh for up to three months. To thaw, move it to the fridge overnight. Reheat it gently in a skillet or the microwave.
Meal Prepping
You can prepare this dish in advance for busy days. Cook the chicken and the glaze separately ahead of time. Store the chicken and the glaze in separate containers. This way, you keep them fresh longer. When ready to eat, warm them together for a quick meal.
FAQs
How long does it take to cook Balsamic Glazed Caprese Chicken?
Cooking Balsamic Glazed Caprese Chicken takes about 30 minutes. This includes 10 minutes for prep and 20 minutes for cooking. You will sear the chicken for 5-7 minutes on each side. Then, you will make the glaze and cook the veggies for about 5-7 minutes.
Can I make this dish ahead of time?
Yes, you can make this dish ahead of time. Cook the chicken and glaze, then cool them down. Store them in the fridge for up to three days. Reheat the chicken gently in a skillet. This keeps the chicken juicy and the flavors fresh.
What to serve with Balsamic Glazed Caprese Chicken?
Balsamic Glazed Caprese Chicken pairs well with many sides. Try serving it with:
- Fresh salad
- Garlic bread
- Rice or quinoa
- Roasted vegetables
These sides enhance the meal and add more color to your plate.
This article guides you through making Balsamic Glazed Caprese Chicken. Start with fresh chicken, tomatoes, mozzarella, and basil. Use pantry staples like olive oil and balsamic vinegar. I shared tips on how to prepare your chicken and make a thick glaze. You learned variations for diets and cooking methods. Lastly, I covered storage tips for leftovers. Enjoy creating this tasty dish that fits your lifestyle and meal plans. It's simple, delicious, and perfect for any occasion!