FREE DINNER EBOOK!
Get your copy!
Cookie Policy
GDPR Policy
Disclaimer
Terms Of Use
Visit my other site:
Fun Cookie Recipes
Home
Dinner
Desserts
Drinks
Appetizers
Contact
About
Privacy Policy
Home
Dinner
Desserts
Drinks
Appetizers
Contact
About
Privacy Policy
Cookie Policy
GDPR Policy
Disclaimer
Terms Of Use
Visit my other site:
Fun Cookie Recipes
HOME / CATEGORIES /
Latest
Greek Beetroot Yogurt Dip Flavorful and Simple Recipe
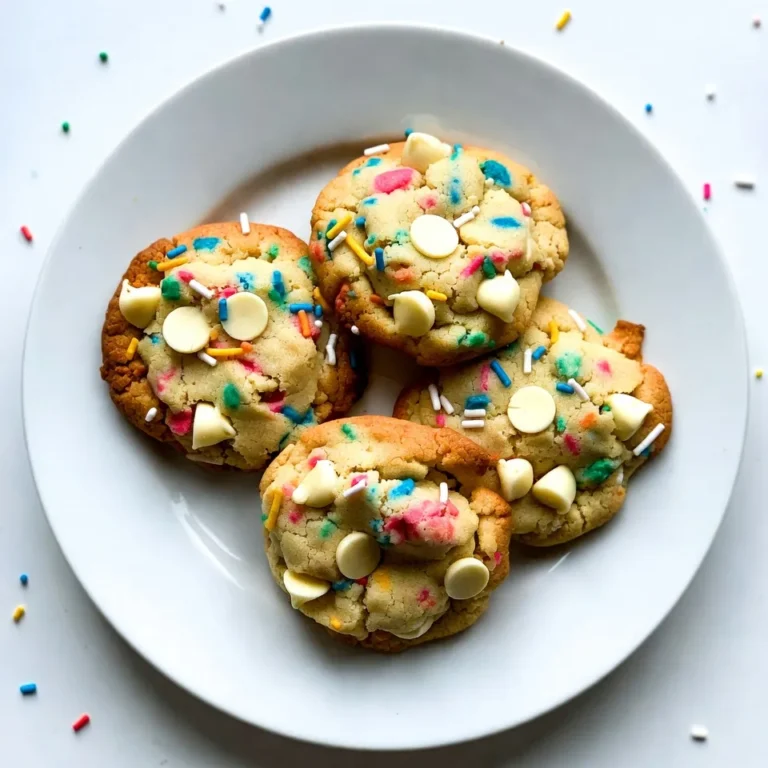
Funfetti Birthday Cake Cookies Delightful Sweet Treat
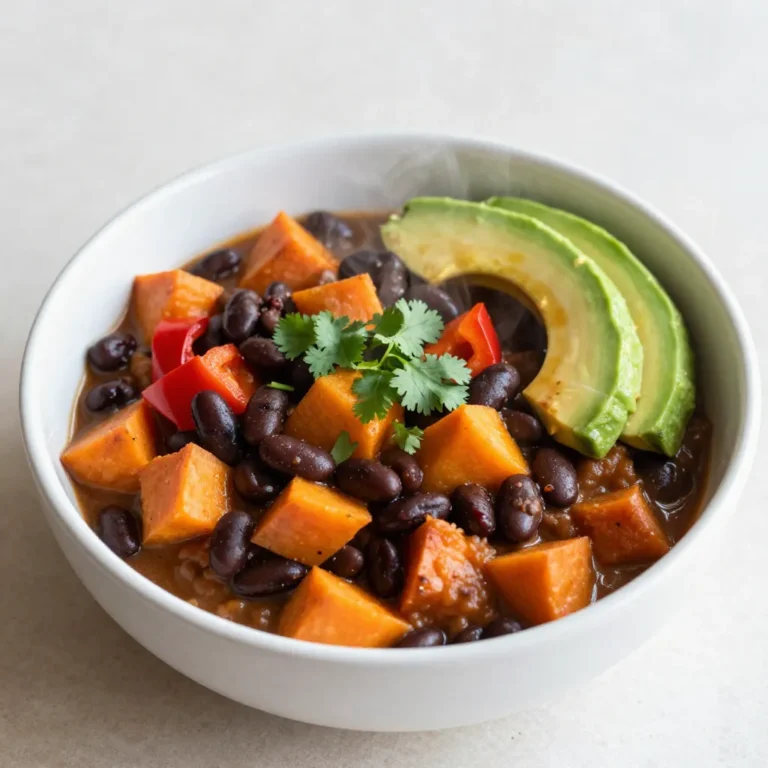
Sweet Potato Black Bean Chili Tasty and Healthy Dish
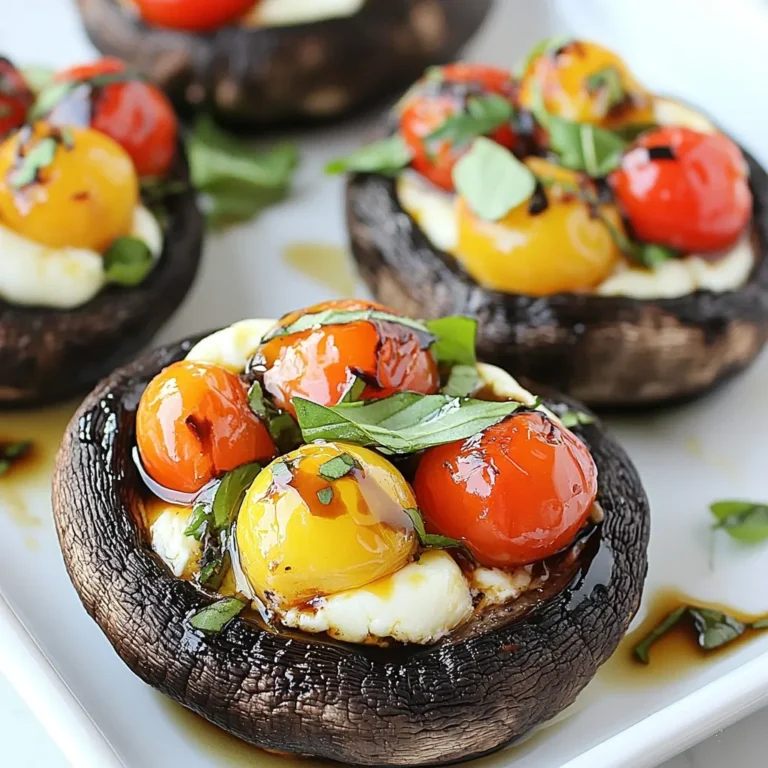
Caprese Stuffed Portobello Mushrooms Savory Delight
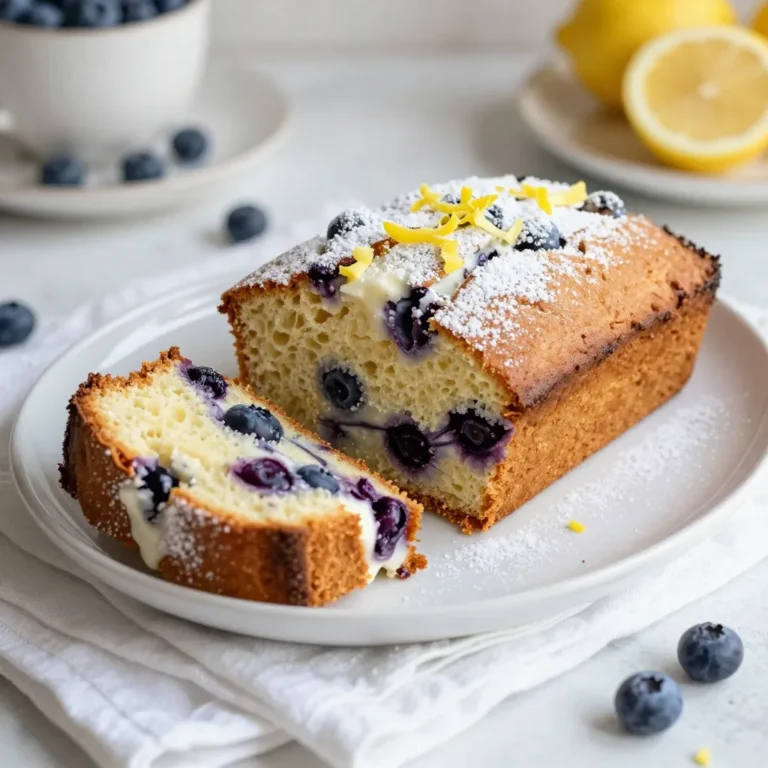
Lemon Blueberry Yogurt Loaf Simple and Delicious Recipe
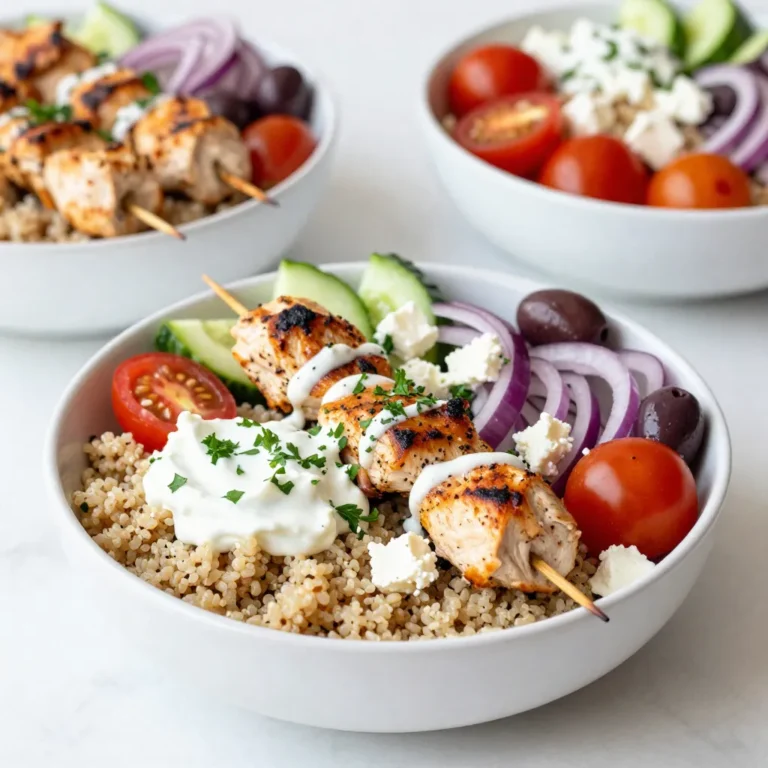
Greek Chicken Souvlaki Bowls Flavorful and Simple Meal
Salted Caramel Pretzel Bark Irresistible Sweet Snack
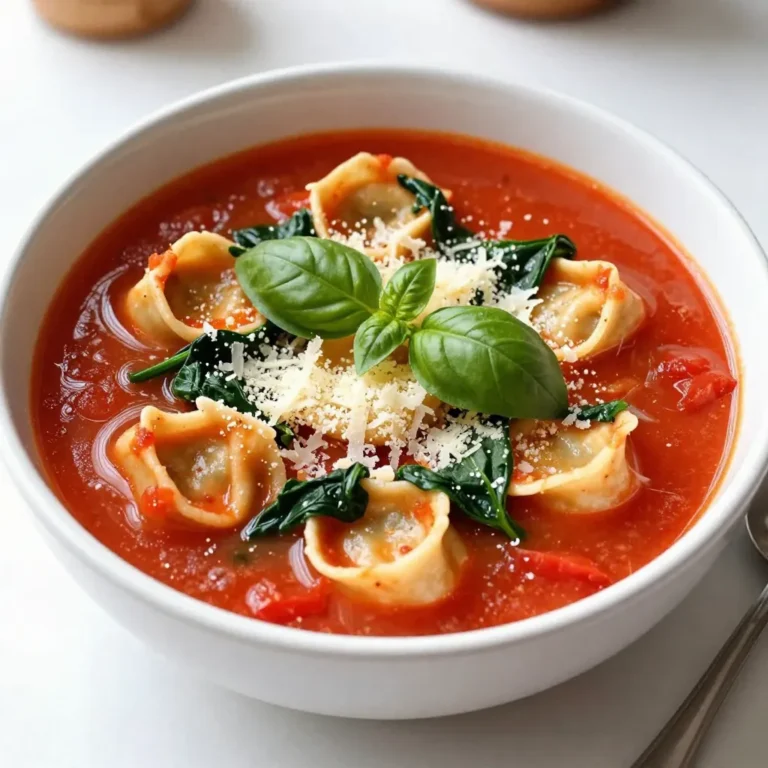
Tomato Basil Tortellini Soup Flavorful Comfort Meal
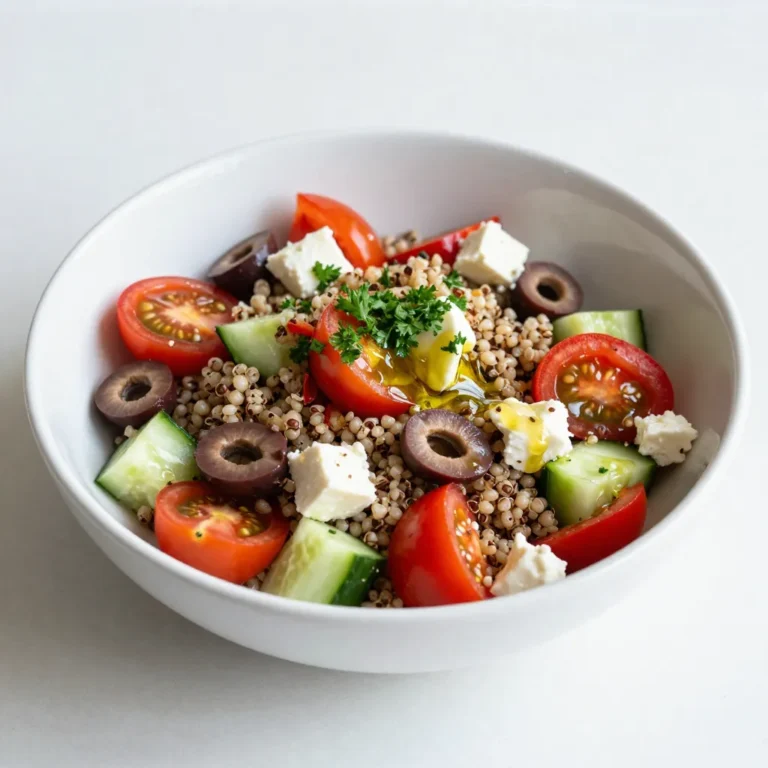
Mediterranean Quinoa Salad Fresh and Flavorful Meal
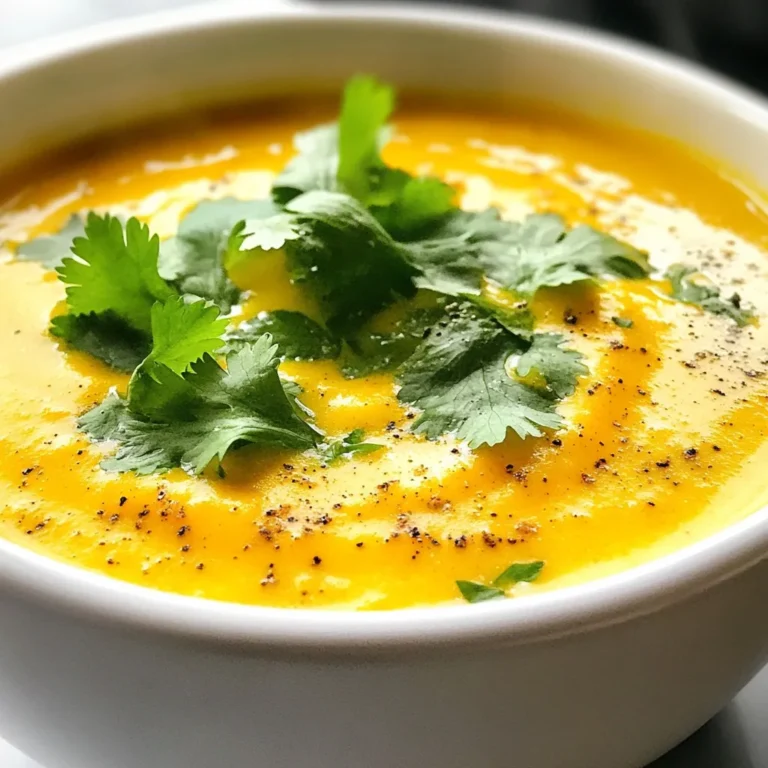
Ginger Turmeric Carrot Soup Creamy and Flavorful Dish
PREV
1
2
3
…
86
NEXT