
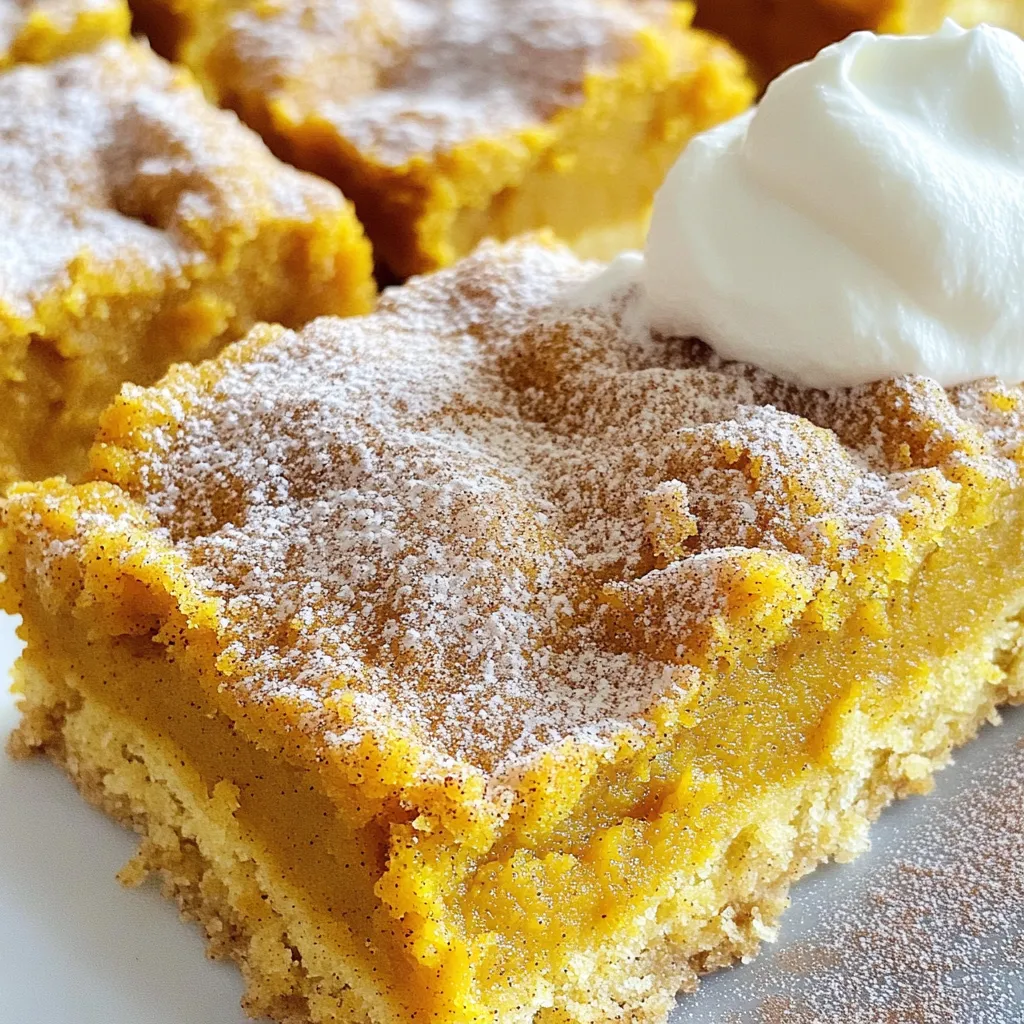
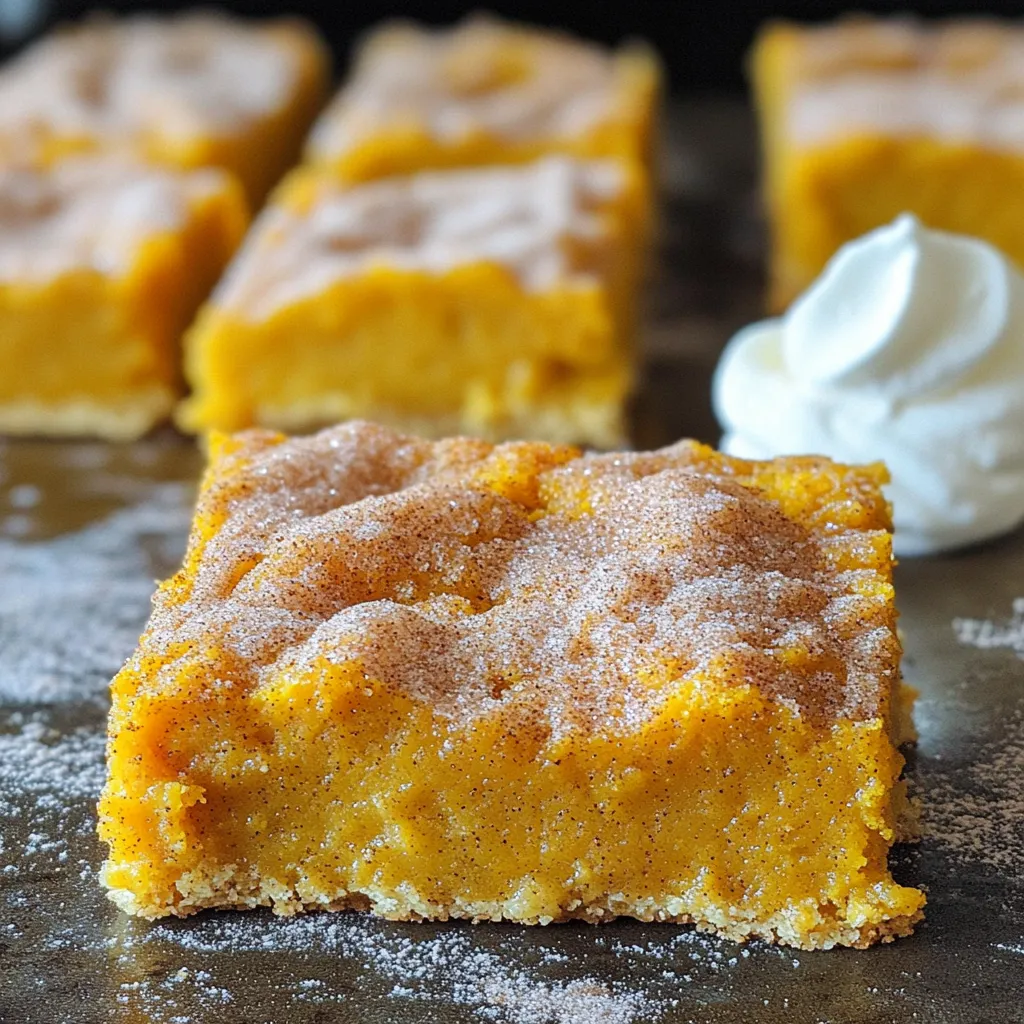
Get ready for a treat that screams fall! Pumpkin Snickerdoodle Bars are delightfully soft and bursting with flavor. In this article, I’ll guide you through a simple recipe that combines the warmth of pumpkin and cinnamon in every bite. You’ll learn how to make the perfect bars, plus tips and variations to suit any taste. Let’s dive into this cozy baking adventure that will leave everyone asking for more!
Ingredients
List of Required Ingredients
To make these delicious pumpkin snickerdoodle bars, you will need:
– 1 cup pumpkin puree
– 1 cup granulated sugar
– 1/2 cup brown sugar, packed
– 1/2 cup unsalted butter, softened
– 2 large eggs
– 2 teaspoons vanilla extract
– 2 cups all-purpose flour
– 1 teaspoon baking powder
– 1/2 teaspoon baking soda
– 2 teaspoons cinnamon
– 1/2 teaspoon nutmeg
– 1/2 teaspoon salt
For the cinnamon sugar topping:
– 2 tablespoons granulated sugar
– 1 teaspoon cinnamon
Optional Ingredients for Customization
You can add some personal touches to your bars. Here are a few ideas:
– Chopped nuts like pecans or walnuts for crunch
– Chocolate chips for sweetness and richness
– Raisins or dried cranberries for a chewy texture
– A dash of ginger for extra spice
Overview of Ingredient Functionality
Each ingredient plays a key role in making these bars great.
– Pumpkin puree adds moisture and flavor. It gives the bars a lovely fall taste.
– Granulated and brown sugar provide sweetness. Brown sugar adds chewiness and depth.
– Butter makes the texture soft and rich. It helps the bars stay moist.
– Eggs bind the ingredients and help them rise. They create a lovely texture.
– Vanilla extract gives a warm, sweet flavor that complements the pumpkin.
– All-purpose flour forms the structure. It helps the bars hold their shape.
– Baking powder and baking soda help the bars rise. They make them light and fluffy.
– Cinnamon and nutmeg add warmth and spice, enhancing the pumpkin flavor.
– Salt balances the sweetness, making all flavors pop.
With these ingredients, your pumpkin snickerdoodle bars will be soft, tasty, and perfect for sharing!
Step-by-Step Instructions
Prepping the Oven and Pan
Start by preheating your oven to 350°F (175°C). This heat is perfect for baking. While it warms, grab a 9×13-inch baking pan. You can grease it with butter or line it with parchment paper. Lining it helps the bars come out easily.
Mixing Wet Ingredients
In a large mixing bowl, add 1/2 cup of softened butter. Then, pour in 1 cup of granulated sugar and 1/2 cup of brown sugar. Mix these together until the mixture is light and fluffy. This step is key for a soft texture. Next, add in 1 cup of pumpkin puree, 2 large eggs, and 2 teaspoons of vanilla extract. Beat everything until it is fully combined and smooth.
Combining Dry Ingredients and Baking Process
In another bowl, whisk together 2 cups of all-purpose flour, 1 teaspoon of baking powder, 1/2 teaspoon of baking soda, 2 teaspoons of cinnamon, 1/2 teaspoon of nutmeg, and 1/2 teaspoon of salt. Gradually add this dry mix to the wet mixture. Stir gently until just combined. Be careful not to overmix, as this can make the bars tough.
Pour the batter into your prepared pan, smoothing it out evenly. In a small bowl, mix 2 tablespoons of granulated sugar with 1 teaspoon of cinnamon for the topping. Sprinkle this mixture over the top of the batter. Now, bake your bars for 25-30 minutes. Check them with a toothpick; it should come out clean. Once baked, let the bars cool in the pan for 10-15 minutes. Then, transfer them to a wire rack to cool completely. Finally, cut into squares and enjoy!
Tips & Tricks
Achieving the Perfect Texture
To get those soft, chewy bars, follow these steps closely. First, measure your flour correctly. Too much flour makes the bars dry. Use a spoon to scoop flour into your measuring cup, then level it off. Next, don’t overmix your batter. Mix just until combined to keep the texture light. Also, be sure to use room-temperature butter and eggs. This helps create a creamy mixture that holds air well.
Common Mistakes to Avoid
Watch out for these common pitfalls. First, don’t skip the cinnamon sugar topping. It adds flavor and makes the bars look great. Second, avoid opening the oven door too early. This can cause your bars to sink. Lastly, check the bars with a toothpick at the 25-minute mark. It’s better to underbake slightly than to overbake.
Serving Suggestions and Presentation Tips
Serving these bars warm makes them extra tasty. I suggest adding a sprinkle of cinnamon sugar on top for flair. A dollop of whipped cream or a scoop of vanilla ice cream pairs perfectly. You can also cut them into fun shapes if you’re serving guests. For a festive touch, add some fall-themed decorations on the plate.
Variations
Alternative Flavor Combinations
You can change the taste of these bars by adding different spices. Try some ginger or allspice for a new twist. You can also swap the pumpkin puree for applesauce. This change gives a fruity flavor while keeping the bars moist and soft. Another option is to add chocolate chips or butterscotch chips. They add sweetness and richness to each bite.
Dietary Modifications (Gluten-Free, Vegan)
If you want a gluten-free version, use a gluten-free flour blend. Just make sure it has xanthan gum to help bind the bars. For a vegan option, replace the eggs with flaxseed meal. Mix one tablespoon of flaxseed with three tablespoons of water. Let it sit until it thickens. Use coconut oil instead of butter for a rich flavor that also keeps the bars moist.
Seasonal Variations and Add-ins
You can switch things up with seasonal ingredients. In the fall, add chopped pecans or walnuts for extra crunch. In winter, try dried cranberries or raisins for a chewy texture. For a summer treat, you can mix in fresh berries instead of pumpkin. Each season brings new flavors, so feel free to experiment!
Storage Info
Best Methods for Storing Leftovers
To keep your pumpkin snickerdoodle bars fresh, store them in an airtight container. Use parchment paper between layers to prevent sticking. You can keep them at room temperature for up to three days. If you want them to last longer, place them in the fridge. They can stay good for about a week when refrigerated.
Freezing Instructions for Long-term Storage
For long-term storage, freeze your bars. Wrap each piece tightly in plastic wrap. Then, place them in a freezer-safe bag or container. Make sure to label them with the date. They can last up to three months in the freezer. When you’re ready to enjoy them, simply thaw them in the fridge overnight.
Reheating Tips for Enjoying Later
To enjoy your pumpkin snickerdoodle bars later, you can reheat them. Preheat your oven to 350°F (175°C). Place the bars on a baking sheet and warm them for about 10 minutes. You can also use the microwave. Heat them for about 15-20 seconds. Enjoy them warm, and consider adding a sprinkle of cinnamon sugar or a scoop of ice cream on top.
FAQs
What is the best way to cut pumpkin snickerdoodle bars?
To cut pumpkin snickerdoodle bars, wait until they cool. I recommend using a sharp knife. First, grease the knife with a bit of oil. This helps the knife glide smoothly. Cut the bars into squares or rectangles. A ruler can help you make even cuts. For best results, wipe the knife after each cut. This keeps the edges clean and neat.
How can I make these bars more cake-like?
To make these bars more cake-like, add an extra egg. You can also reduce the flour by half a cup. Another trick is to beat the eggs longer. This adds air to the batter, making it fluffier. You can also bake for a few more minutes. Keep an eye on them to avoid overbaking. A toothpick test will help you know when they’re done.
Can I use fresh pumpkin instead of canned pumpkin puree?
Yes, you can use fresh pumpkin instead of canned puree. Start by roasting the pumpkin. Cut it in half, remove the seeds, and bake it until soft. Blend the flesh until smooth. Use this fresh puree in your recipe. It may have a different flavor, but it will still be tasty. Adjust the spices to enhance the flavor if needed.
You’ve learned about the key ingredients for delicious pumpkin snickerdoodle bars. We covered mixing methods and baking tips for great texture. Remember to avoid common mistakes for the best results. Explore fun variations and dietary options to cater to all tastes. Finally, make the most of your leftovers with smart storage techniques. Enjoy your baking adventure, and don’t hesitate to experiment with flavors and tweaks. Happy baking, and may your treats be a hit!
