
Fall is the perfect time to indulge in Pumpkin Spice Snickerdoodle Blondies. With warm spices and rich flavors, these treats are sure to impress. I’ll guide you through easy steps to make these soft, chewy delights. You’ll find simple tips to enhance the taste and storage advice to keep them fresh. Get ready to enjoy every bite of this irresistible treat that captures the spirit of the season!
Ingredients
Main Ingredients for Pumpkin Spice Snickerdoodle Blondies
– 1 cup unsalted butter, melted
– 1 1/2 cups brown sugar, packed
– 1/2 cup granulated sugar
– 2 large eggs
– 1 cup pumpkin puree
– 2 teaspoons vanilla extract
– 2 cups all-purpose flour
– 2 teaspoons baking powder
– 1 tablespoon pumpkin pie spice
– 1/2 teaspoon salt
– 1/2 cup white chocolate chips (optional)
To create these delicious blondies, you need a few key items. First, unsalted butter gives a rich taste. You will mix brown sugar and granulated sugar for sweetness. Eggs and pumpkin puree add moisture and flavor. Vanilla extract rounds out the taste.
Next, you will need all-purpose flour, baking powder, and pumpkin pie spice. These create a light and fluffy base. Salt helps enhance the flavors. If you like, you can add white chocolate chips for a sweet twist.
Topping Ingredients
– 1/4 cup granulated sugar (for topping)
– 1 teaspoon cinnamon (for topping)
For the topping, you need granulated sugar and cinnamon. This mixture will add a sweet and spicy layer to your blondies. It gives a nice crunch on top when baked.
Gather these ingredients, and you are ready to bake! Each part plays a role in making these Pumpkin Spice Snickerdoodle Blondies a treat you will love.
Step-by-Step Instructions
Preparing Your Oven and Pan
Preheat your oven to 350°F (175°C). This helps the blondies bake evenly. Grease a 9×13 inch baking pan. Then, line it with parchment paper. Leave some paper hanging over the edges. This makes it easy to lift the blondies out later.
Mixing the Wet Ingredients
In a large bowl, mix 1 cup of melted butter, 1 ½ cups of brown sugar, and ½ cup of granulated sugar. Whisk this until it is creamy. Then, add 2 large eggs, one at a time. Mix well after each egg. Next, stir in 1 cup of pumpkin puree and 2 teaspoons of vanilla extract. Make sure everything is well combined.
Preparing the Dry Mixture
In another bowl, combine 2 cups of all-purpose flour, 2 teaspoons of baking powder, 1 tablespoon of pumpkin pie spice, and ½ teaspoon of salt. Whisk this mixture to break up any clumps. Gradually add the dry mixture to the wet mixture. Mix until just combined. Be careful not to overmix.
Combining and Baking
If you want, fold in ½ cup of white chocolate chips for extra sweetness. Spread the batter evenly in your prepared baking pan. In a small bowl, mix ¼ cup of granulated sugar with 1 teaspoon of cinnamon. Sprinkle this mixture over the batter. Bake the blondies for 25 to 30 minutes. A toothpick should come out clean, with only a few moist crumbs.
Cooling and Serving Instructions
Let the blondies cool in the pan for about 15 minutes. Use the parchment paper to lift them out. Set them on a wire rack to cool completely. Once cool, cut the blondies into squares. Enjoy your tasty treat!
Tips & Tricks
Perfecting Your Blondies
To make your pumpkin spice snickerdoodle blondies moist and full of flavor, follow these tips:
– Use fresh pumpkin puree for the best taste. Canned pumpkin works, but fresh is better.
– Melt your butter, then let it cool slightly before mixing. This helps keep your blondies soft.
– Do not overmix your batter. Mix until just combined to keep them fluffy.
– Use brown sugar for a richer flavor. It adds depth and moisture compared to white sugar.
Presentation Ideas
How you serve your blondies can make them even more tempting. Here are some fun ideas:
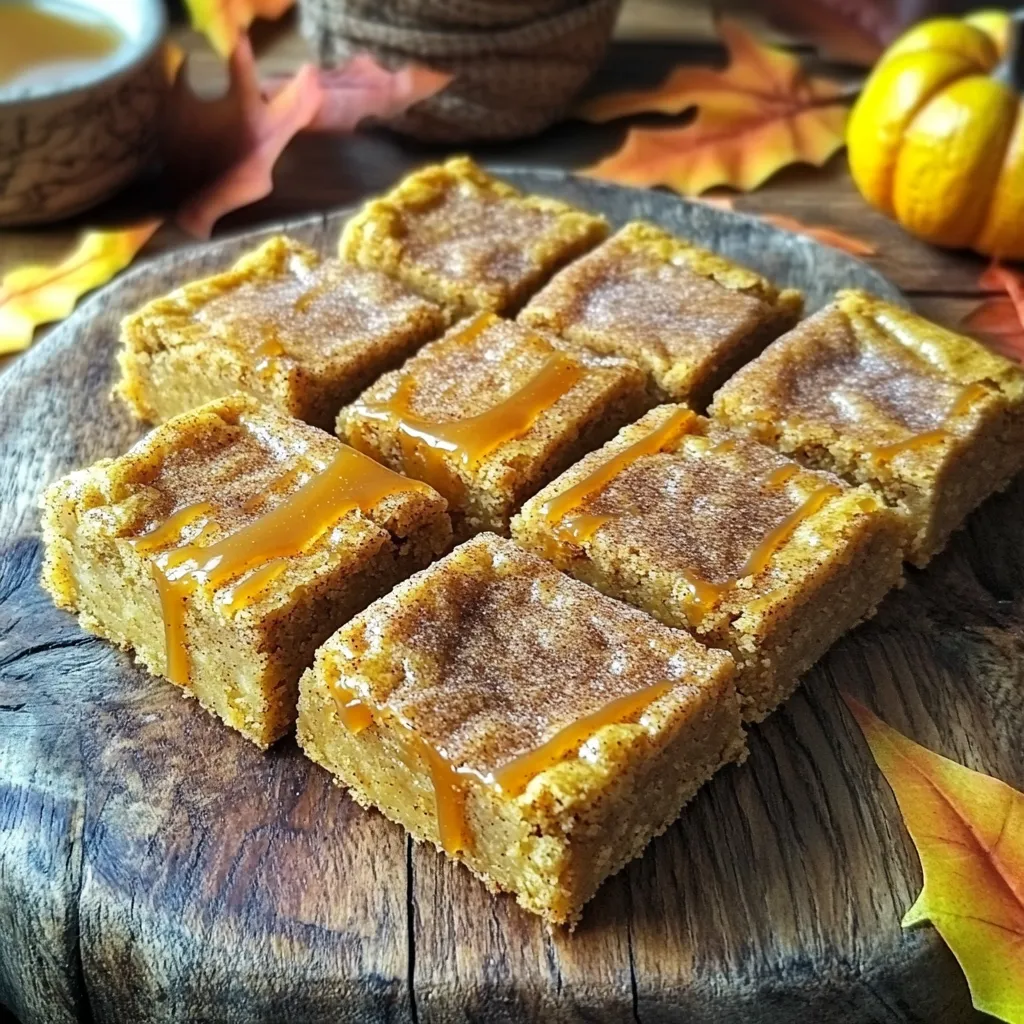
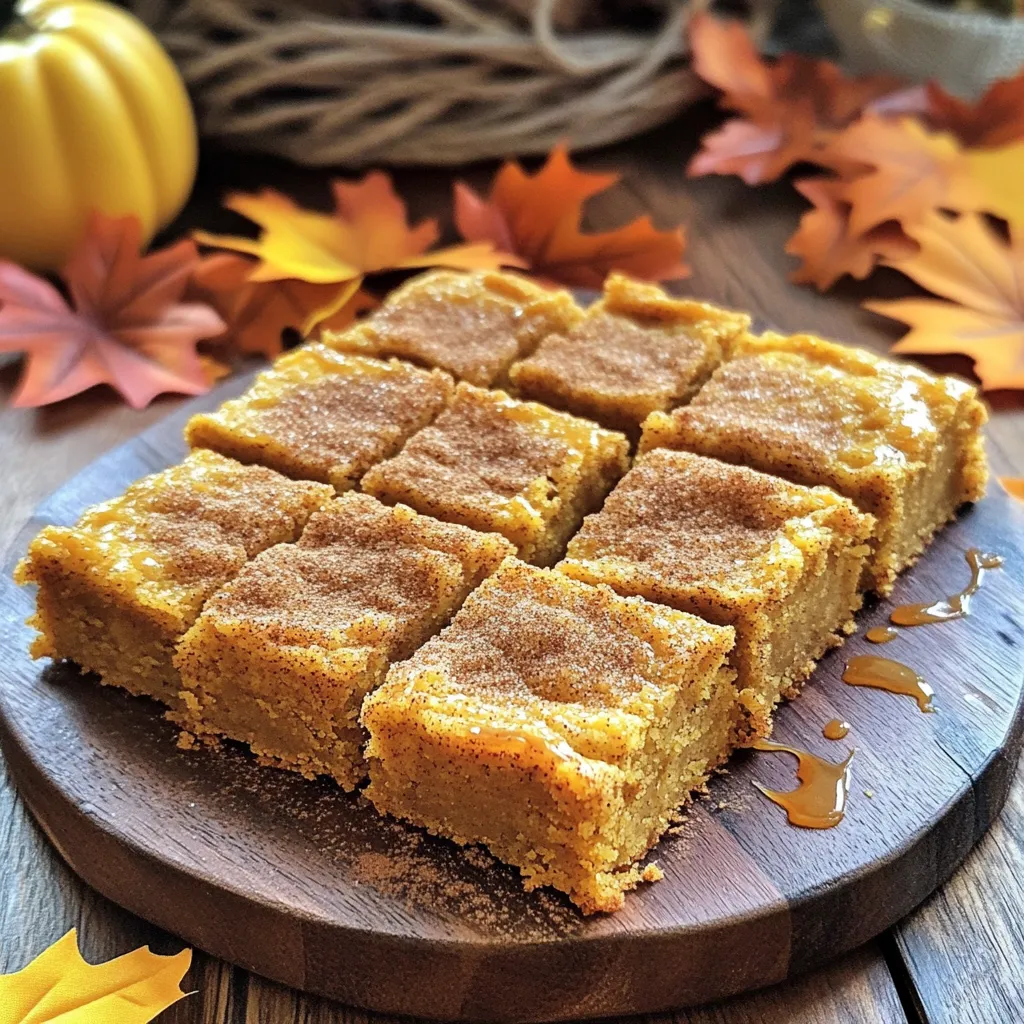
– Cut the blondies into squares and place them on a rustic wooden board.
– Drizzle caramel sauce on top for a sweet touch. It pairs perfectly with pumpkin spice.
– Use a festive platter to match the autumn vibe. Add some fall leaves or small pumpkins for decor.
Troubleshooting Common Issues
Sometimes, blondies can turn out differently than expected. If yours are too dry or overcooked, try these steps:
– If they are dry, check your oven temperature. An oven that is too hot can bake them too fast.
– To fix overcooked blondies, serve them warm with a scoop of ice cream. The creaminess helps balance the dryness.
– For next time, use a toothpick to check doneness. Remove them when there are moist crumbs, not clean.
Variations
Flavor Swaps
You can change the pumpkin puree for applesauce or mashed bananas. These swaps give a different taste. For spices, try cinnamon or nutmeg instead of pumpkin pie spice. Each swap alters the flavor in a fun way.
Add-ins and Mix-ins
White chocolate chips add sweetness, but you can use dark chocolate or nuts. Pecans or walnuts work well for crunch. Dried cranberries or raisins add chewy bites. Experiment with what you love for a unique twist.
Gluten-Free or Vegan Options
To make these blondies gluten-free, swap all-purpose flour for almond or coconut flour. For a vegan version, use flax eggs instead of real eggs. Combine one tablespoon of ground flaxseed with three tablespoons of water. Let it sit for five minutes to thicken. Replace butter with coconut oil or vegan butter. These changes keep the blondies tasty and friendly for everyone.
Storage Info
Best Practices for Storage
To keep your pumpkin spice snickerdoodle blondies fresh, follow these steps:
– Cool completely: Let them cool on a wire rack. This prevents moisture from making them soggy.
– Use an airtight container: Place the blondies in an airtight container. This helps keep them soft and chewy.
– Layer with parchment paper: If stacking, use parchment paper between layers. This avoids sticking.
Freezing Instructions
If you want to save some for later, here’s how to freeze your blondies:
1. Cut into squares: Wait until they are completely cool, then cut them.
2. Wrap well: Wrap each square in plastic wrap tightly. This helps prevent freezer burn.
3. Place in a freezer bag: Put the wrapped blondies in a freezer-safe bag. Remove as much air as possible.
4. Label and date: Write the date on the bag. This helps you track how long they’ve been frozen.
5. Thaw properly: When ready to eat, take them out and let them thaw in the fridge overnight.
Shelf Life
Your blondies will last for a while! Here’s how long you can keep them:
– Room temperature: They stay fresh for about 3 to 5 days.
– Refrigerator: If stored in the fridge, they last about a week.
Enjoy your blondies while they are soft and tasty!
FAQs
Can I use homemade pumpkin puree instead of canned?
Yes, you can use homemade pumpkin puree. Just make sure it is smooth and not too watery. Homemade puree can taste fresher than canned, which adds a nice touch to your blondies. To make it, roast a pumpkin, scoop out the flesh, and blend until smooth. This gives you a rich flavor.
What can I substitute for white chocolate chips?
If you want a change, you can use dark chocolate chips or butterscotch chips. Nuts, like walnuts or pecans, can also add a nice crunch. For a fruity twist, try dried cranberries or cherries. Each option brings unique flavors to your blondies.
How do I know when my blondies are done baking?
To check if your blondies are done, insert a toothpick in the center. If it comes out clean or with a few moist crumbs, they are ready. The edges should be slightly golden, and the center should feel set but still soft. Overbaking can lead to dry blondies.
Can I make these blondies ahead of time for an event?
Yes, you can make these blondies a day or two before your event. Just store them in an airtight container to keep them fresh. For best taste, let them cool completely before cutting. This allows the flavors to meld beautifully.
You’ve learned all about making delicious Pumpkin Spice Snickerdoodle Blondies. We covered the best ingredients and step-by-step instructions for baking your treats. Plus, we shared tips on presenting and storing them.
Remember, you can also customize the flavors or make them fit different diets. With these ideas, your blondies can be a hit! Enjoy baking and sharing these delights with friends and family. Happy baking!
