

LATEST RECIPES


LET'S GET COOKING!
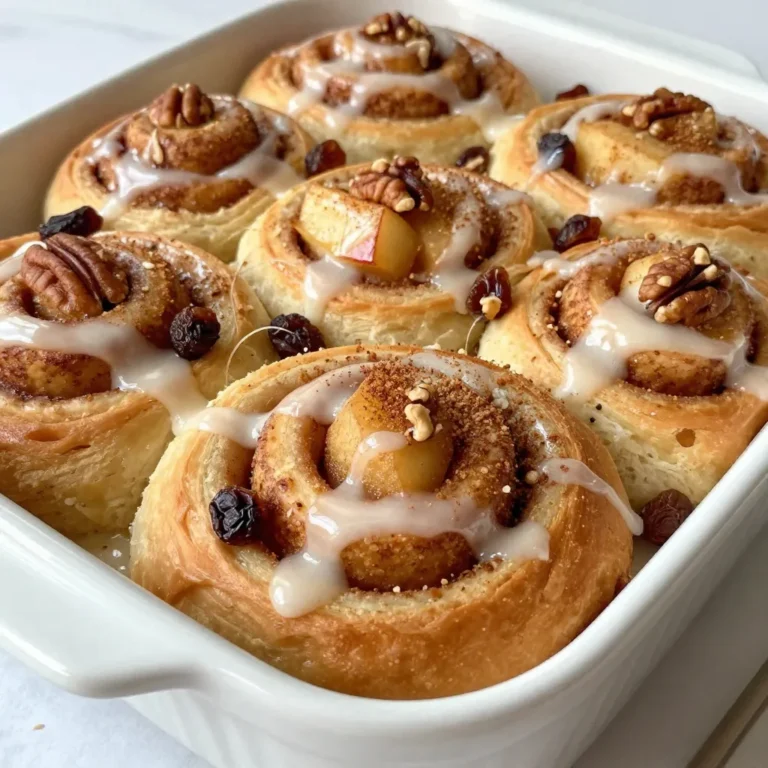
Caramel Pecan Sticky Buns Delightful and Easy Recipe
Caramel pecan sticky buns are a sweet treat that everyone loves. You can make these soft, gooey rolls with simple ingredients found in your kitchen....
Read Full Recipe →